This page will act as a step-by-step guide to saving seeds from the crop varieties grown in the gardens of the ABC Project. The seeds of some varieties such as beans and peas are simple to save while others such as tomatoes and cucumbers require more time and patience. One of the key aspects of saving seeds — especially if you intend on exchanging seeds with fellow gardeners — is to label your seeds in every step of the process to ensure that seeds are not cross pollinated. If seed varieties are crossed during the saving process, unwanted hybrid varieties could emerge in the next season’s planting, and those seeds are not longer true to the original type/variety. In preserving heirloom varieties, crossing that leads to a new hybrid should not occur because the original variety would be lost. However, it is easy to preserve heirloom varieties if they are planted correctly to prevent cross pollination and if the seeds are carefully labeled during the seed saving process.
Cucumbers (This is the same process one would follow when saving seeds from tomatoes, squash, tomatillos, and some melons)
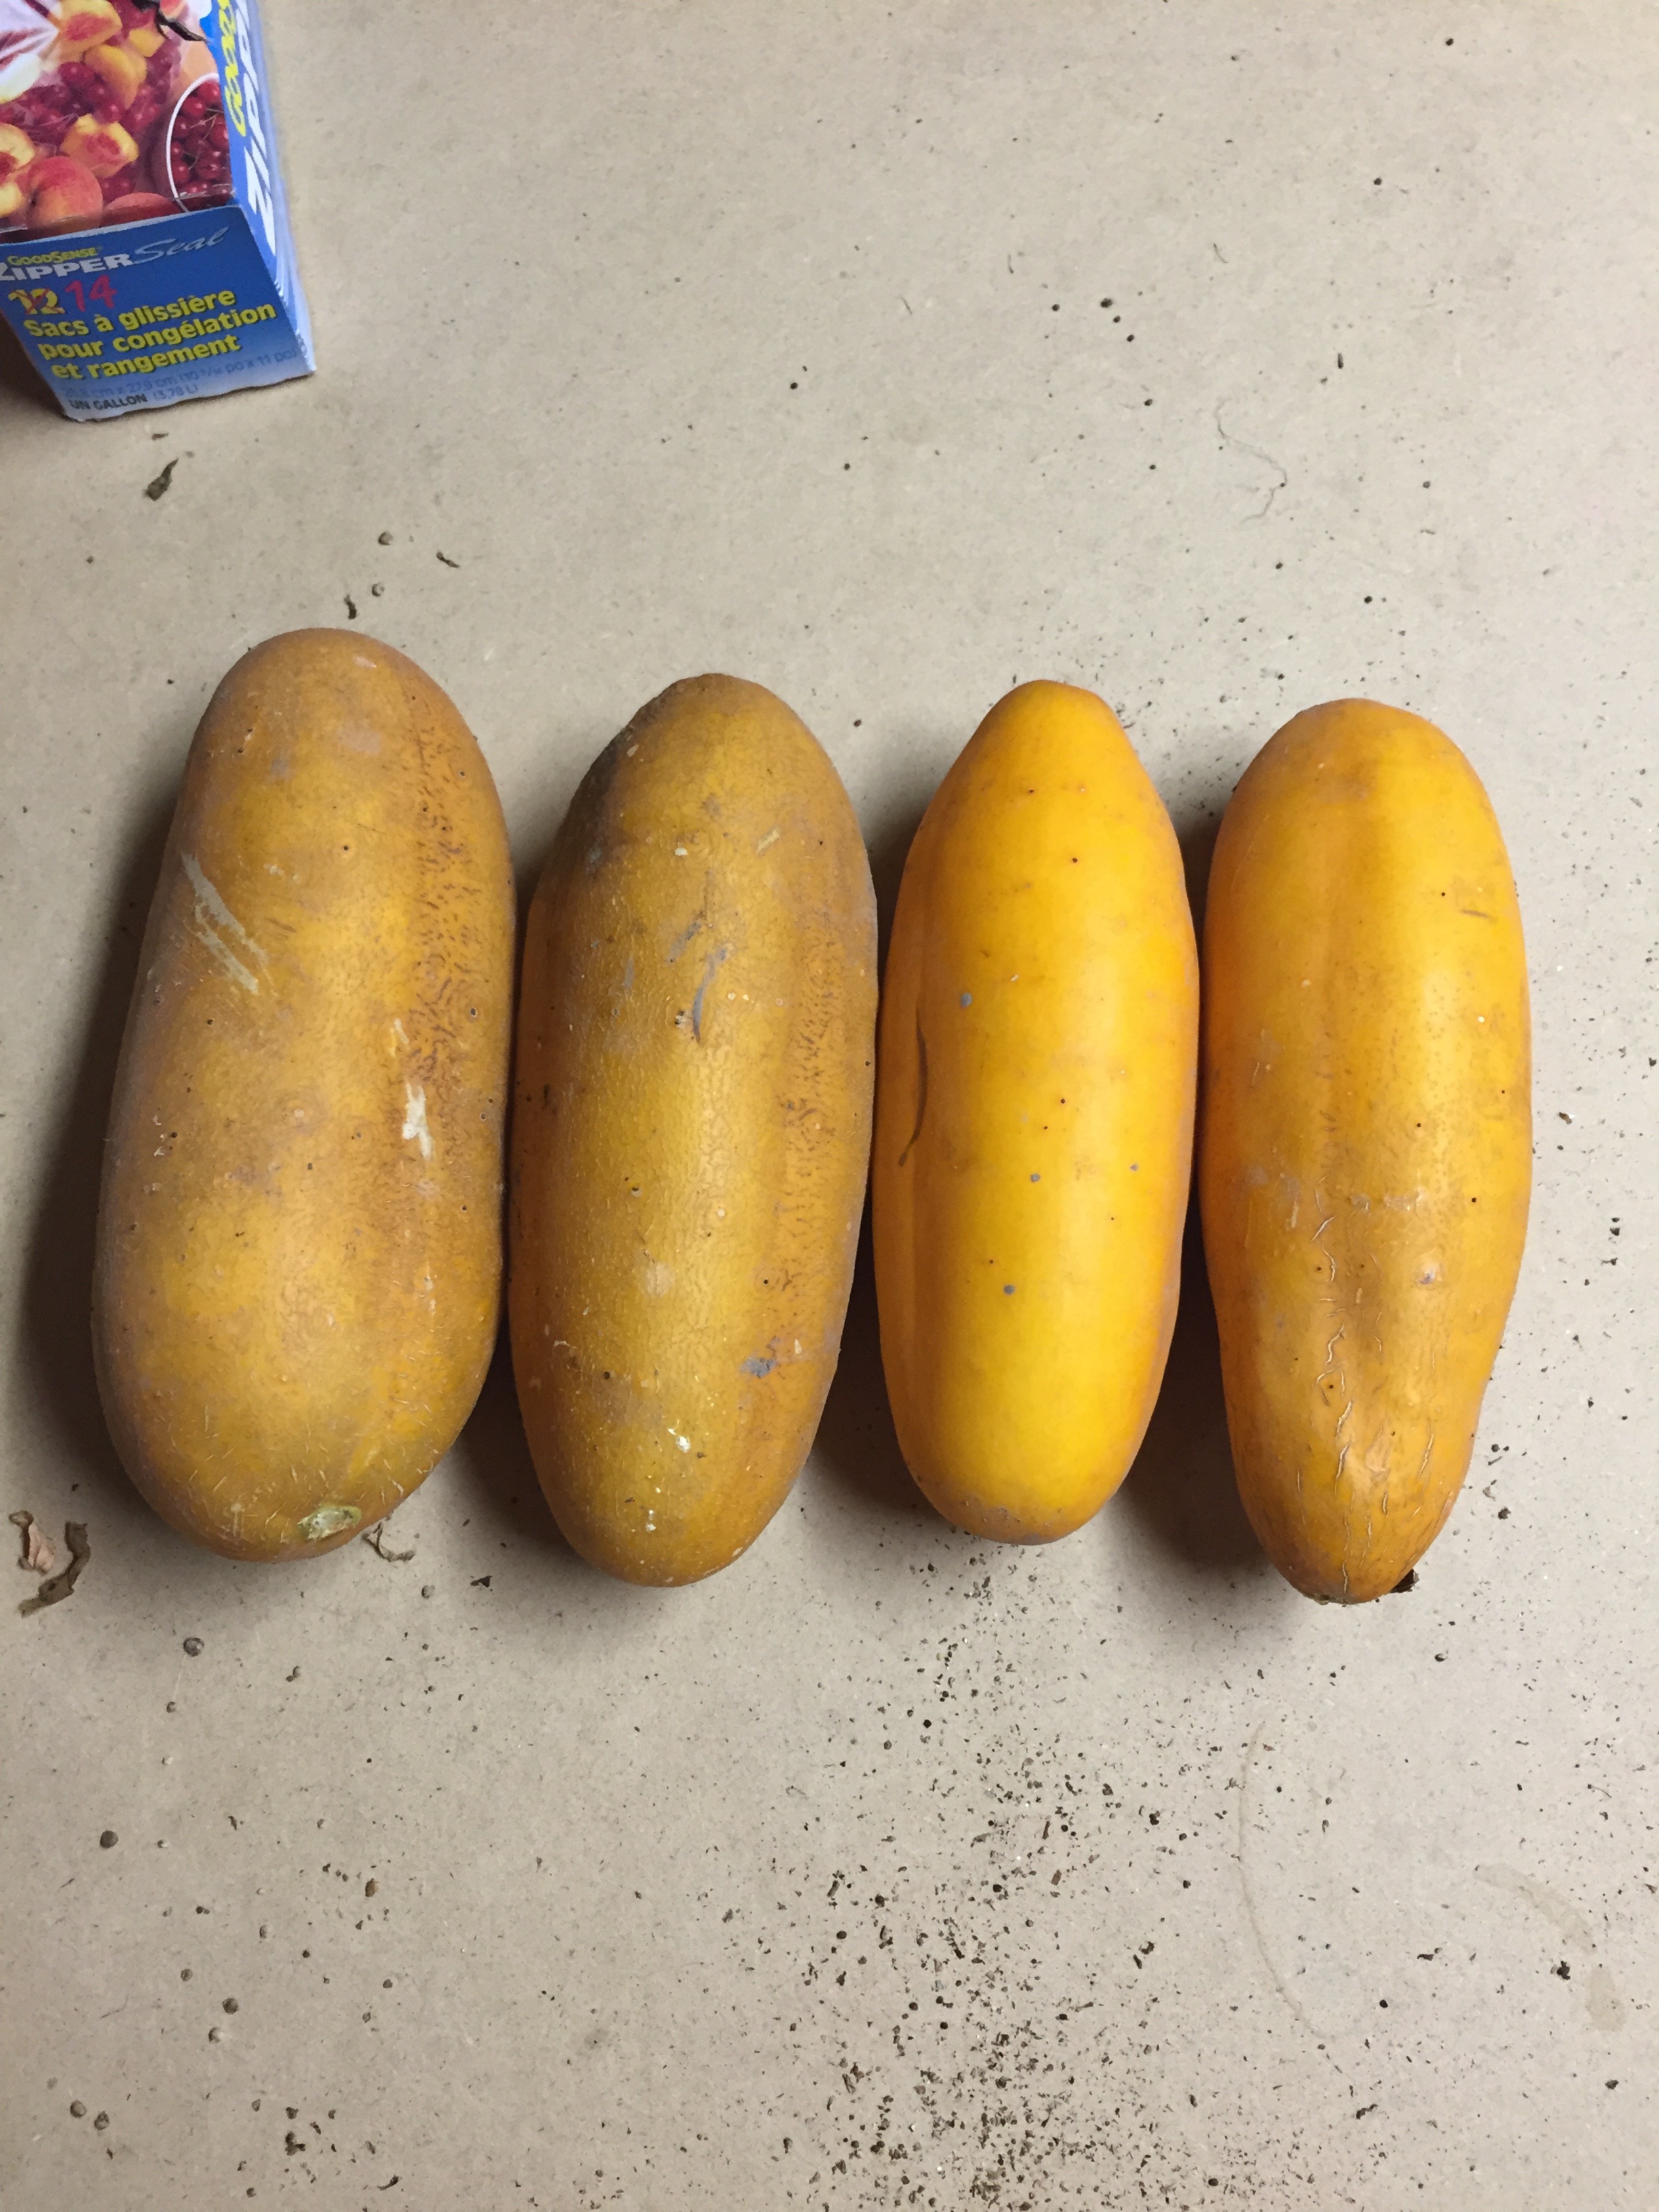
1. Let cucumber fruits go over ripe on the vine, the fruit will be very large and yellow. By letting the fruit go over ripe, you ensure that the seeds are viable. Seeds will most likely not be viable if the fruit does not over-ripen. This is also true with other species, including eggplant.

2. Split each fruit down the center with a knife.
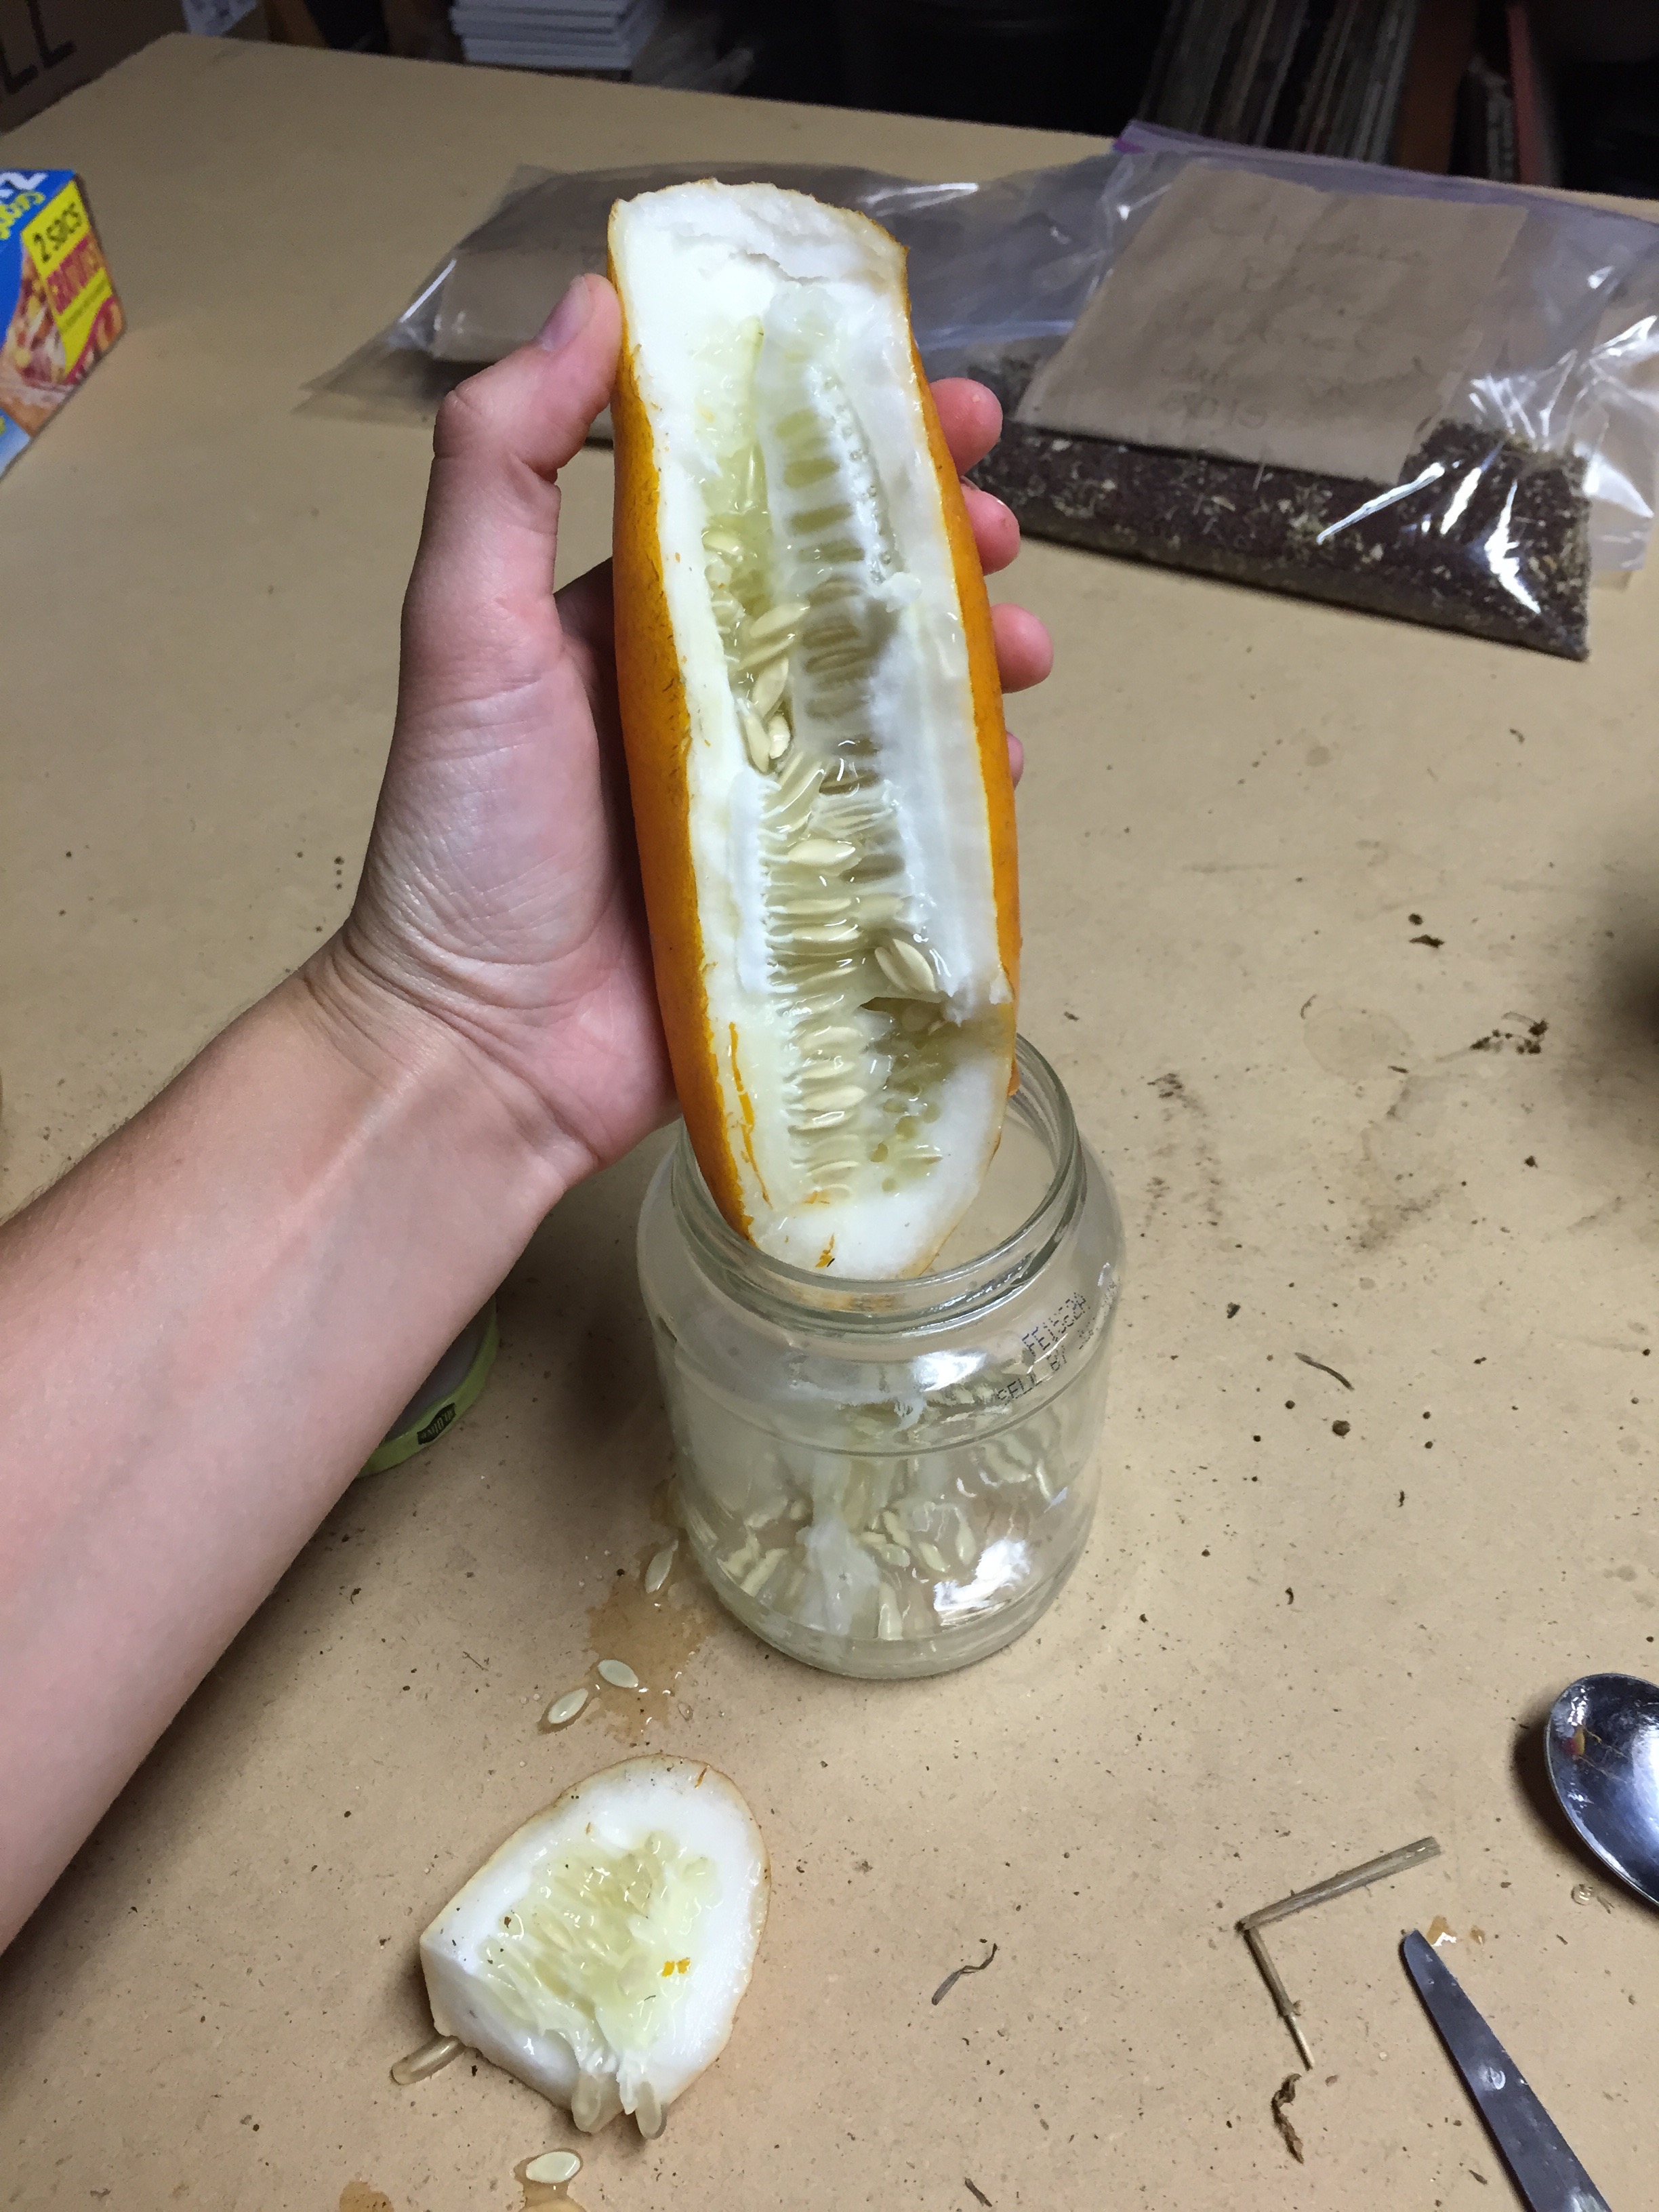
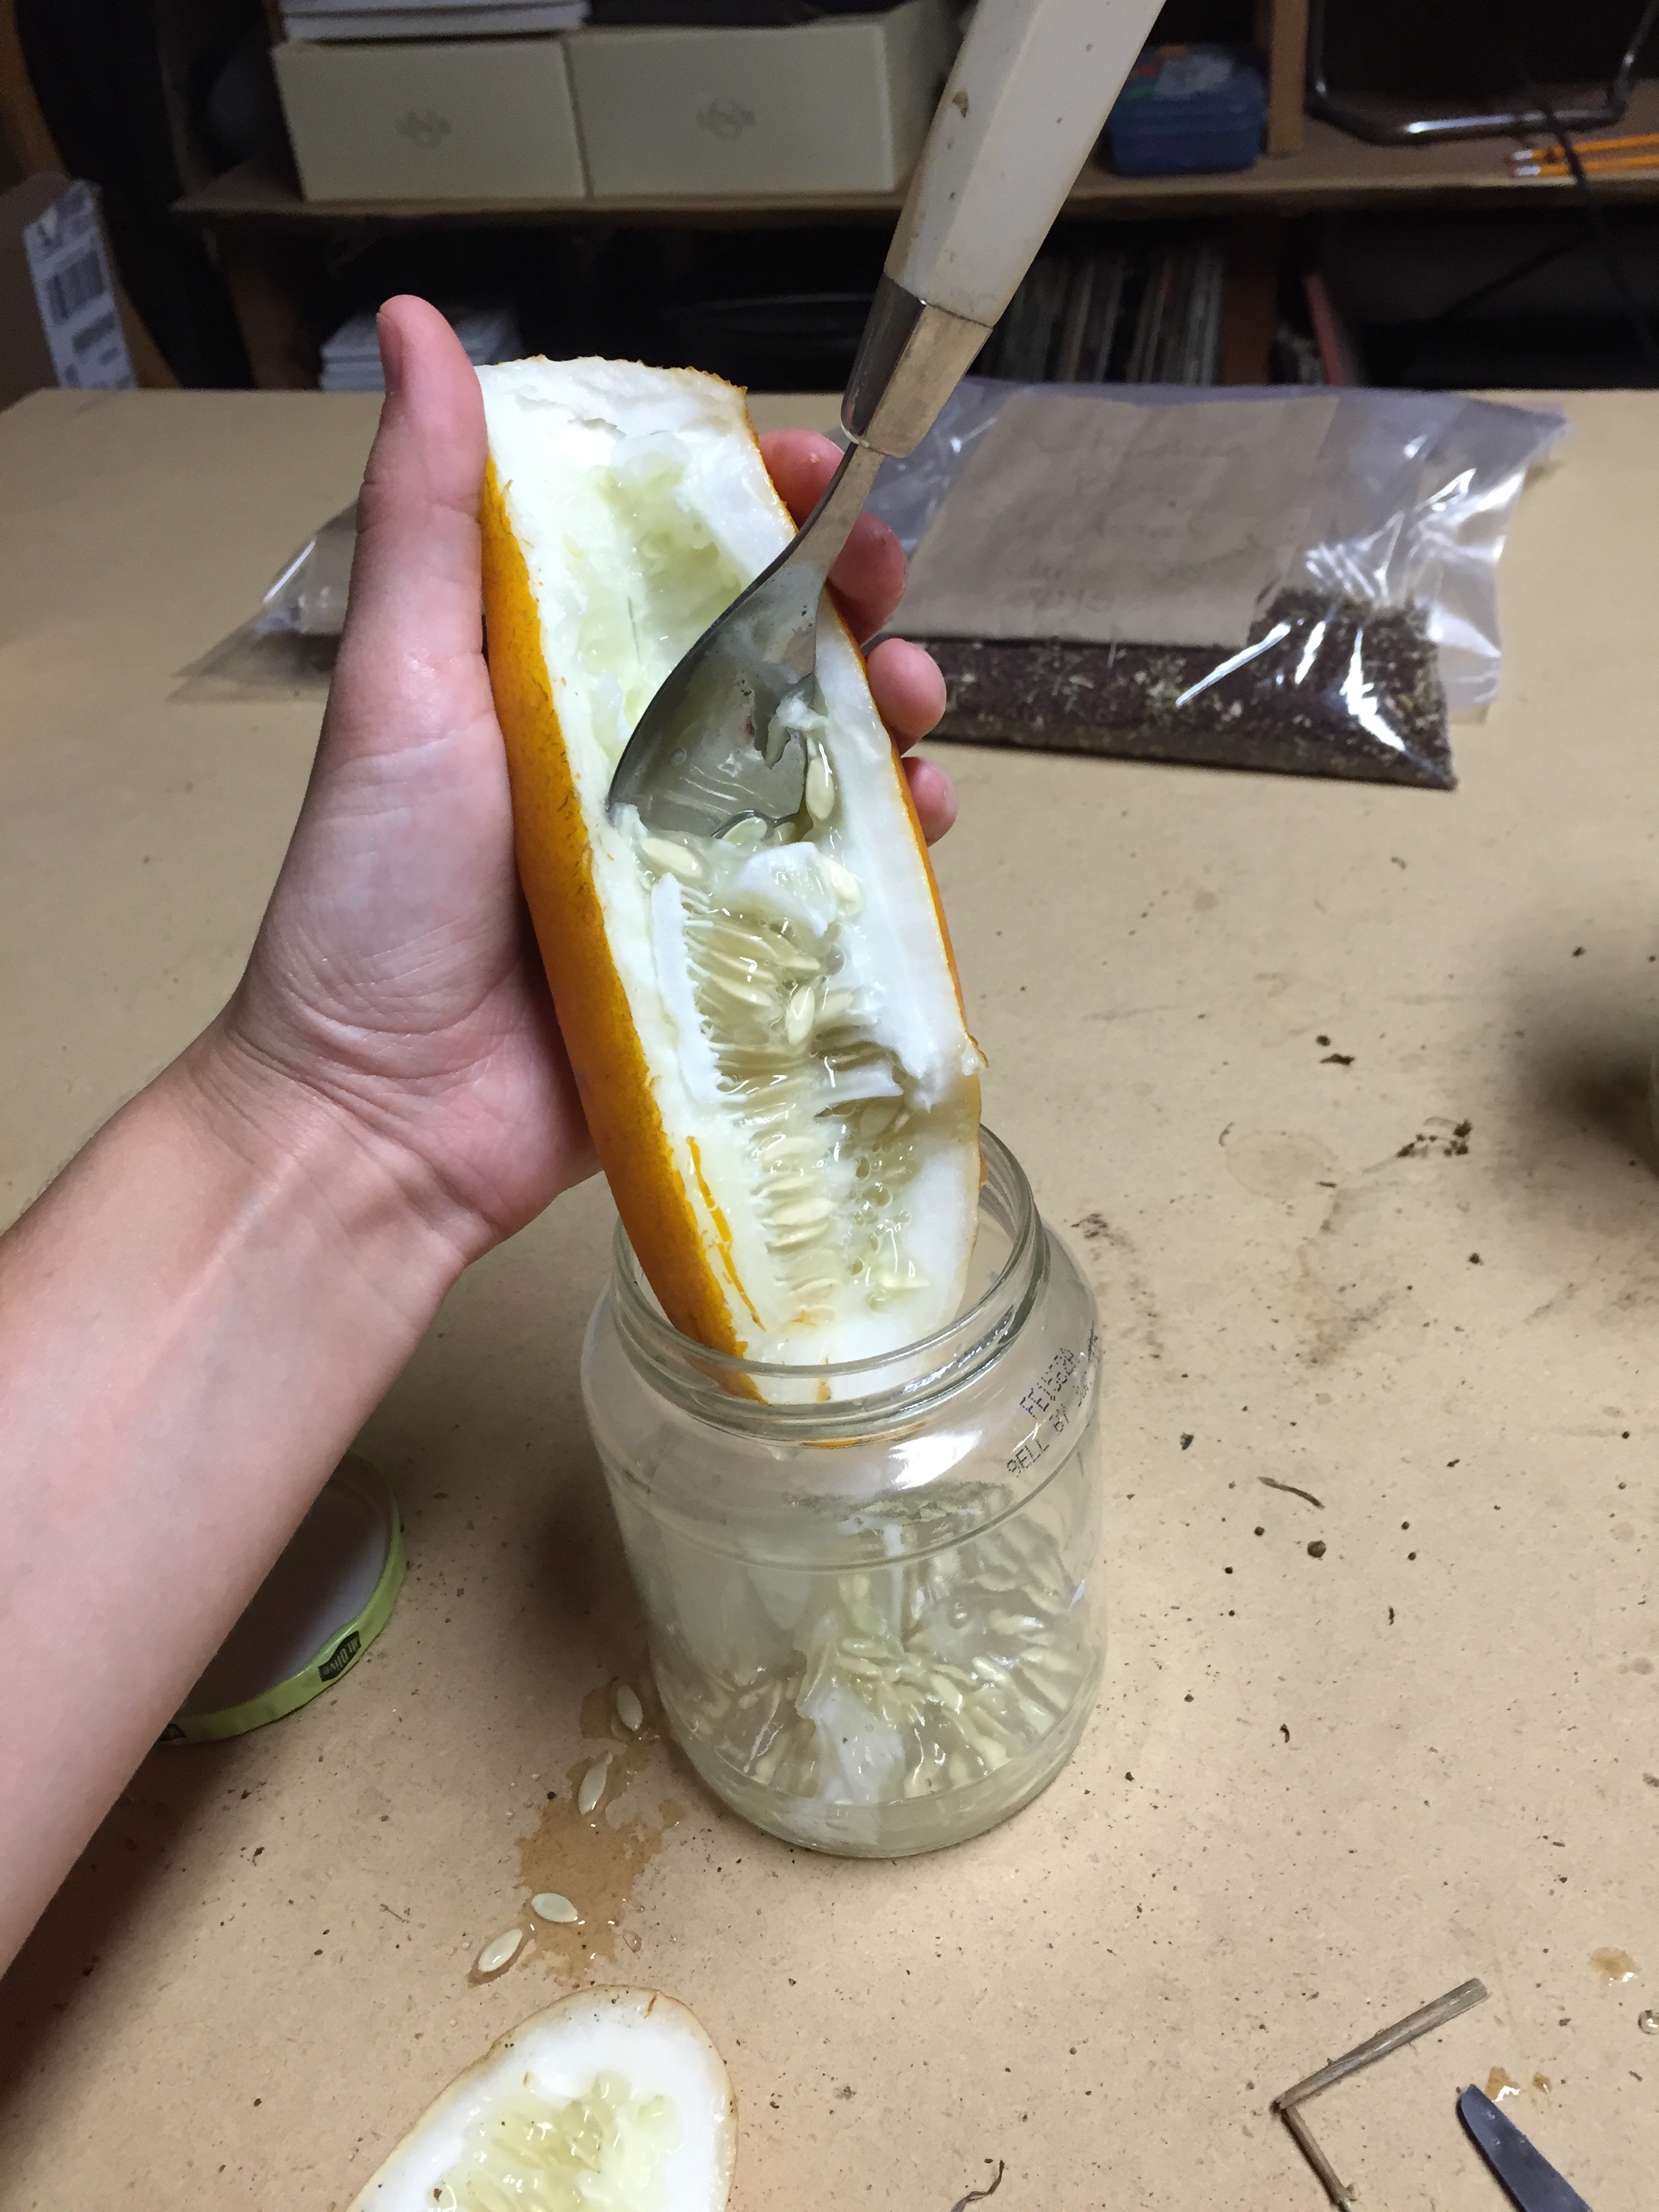
3. Squeeze the seeds of the cucumber into a jar. You may need a spoon to get all of the seeds but try not to get a lot of pulp into the jar.

4. After getting the all of the seeds from each fruit into the jar, add a little bit of water.
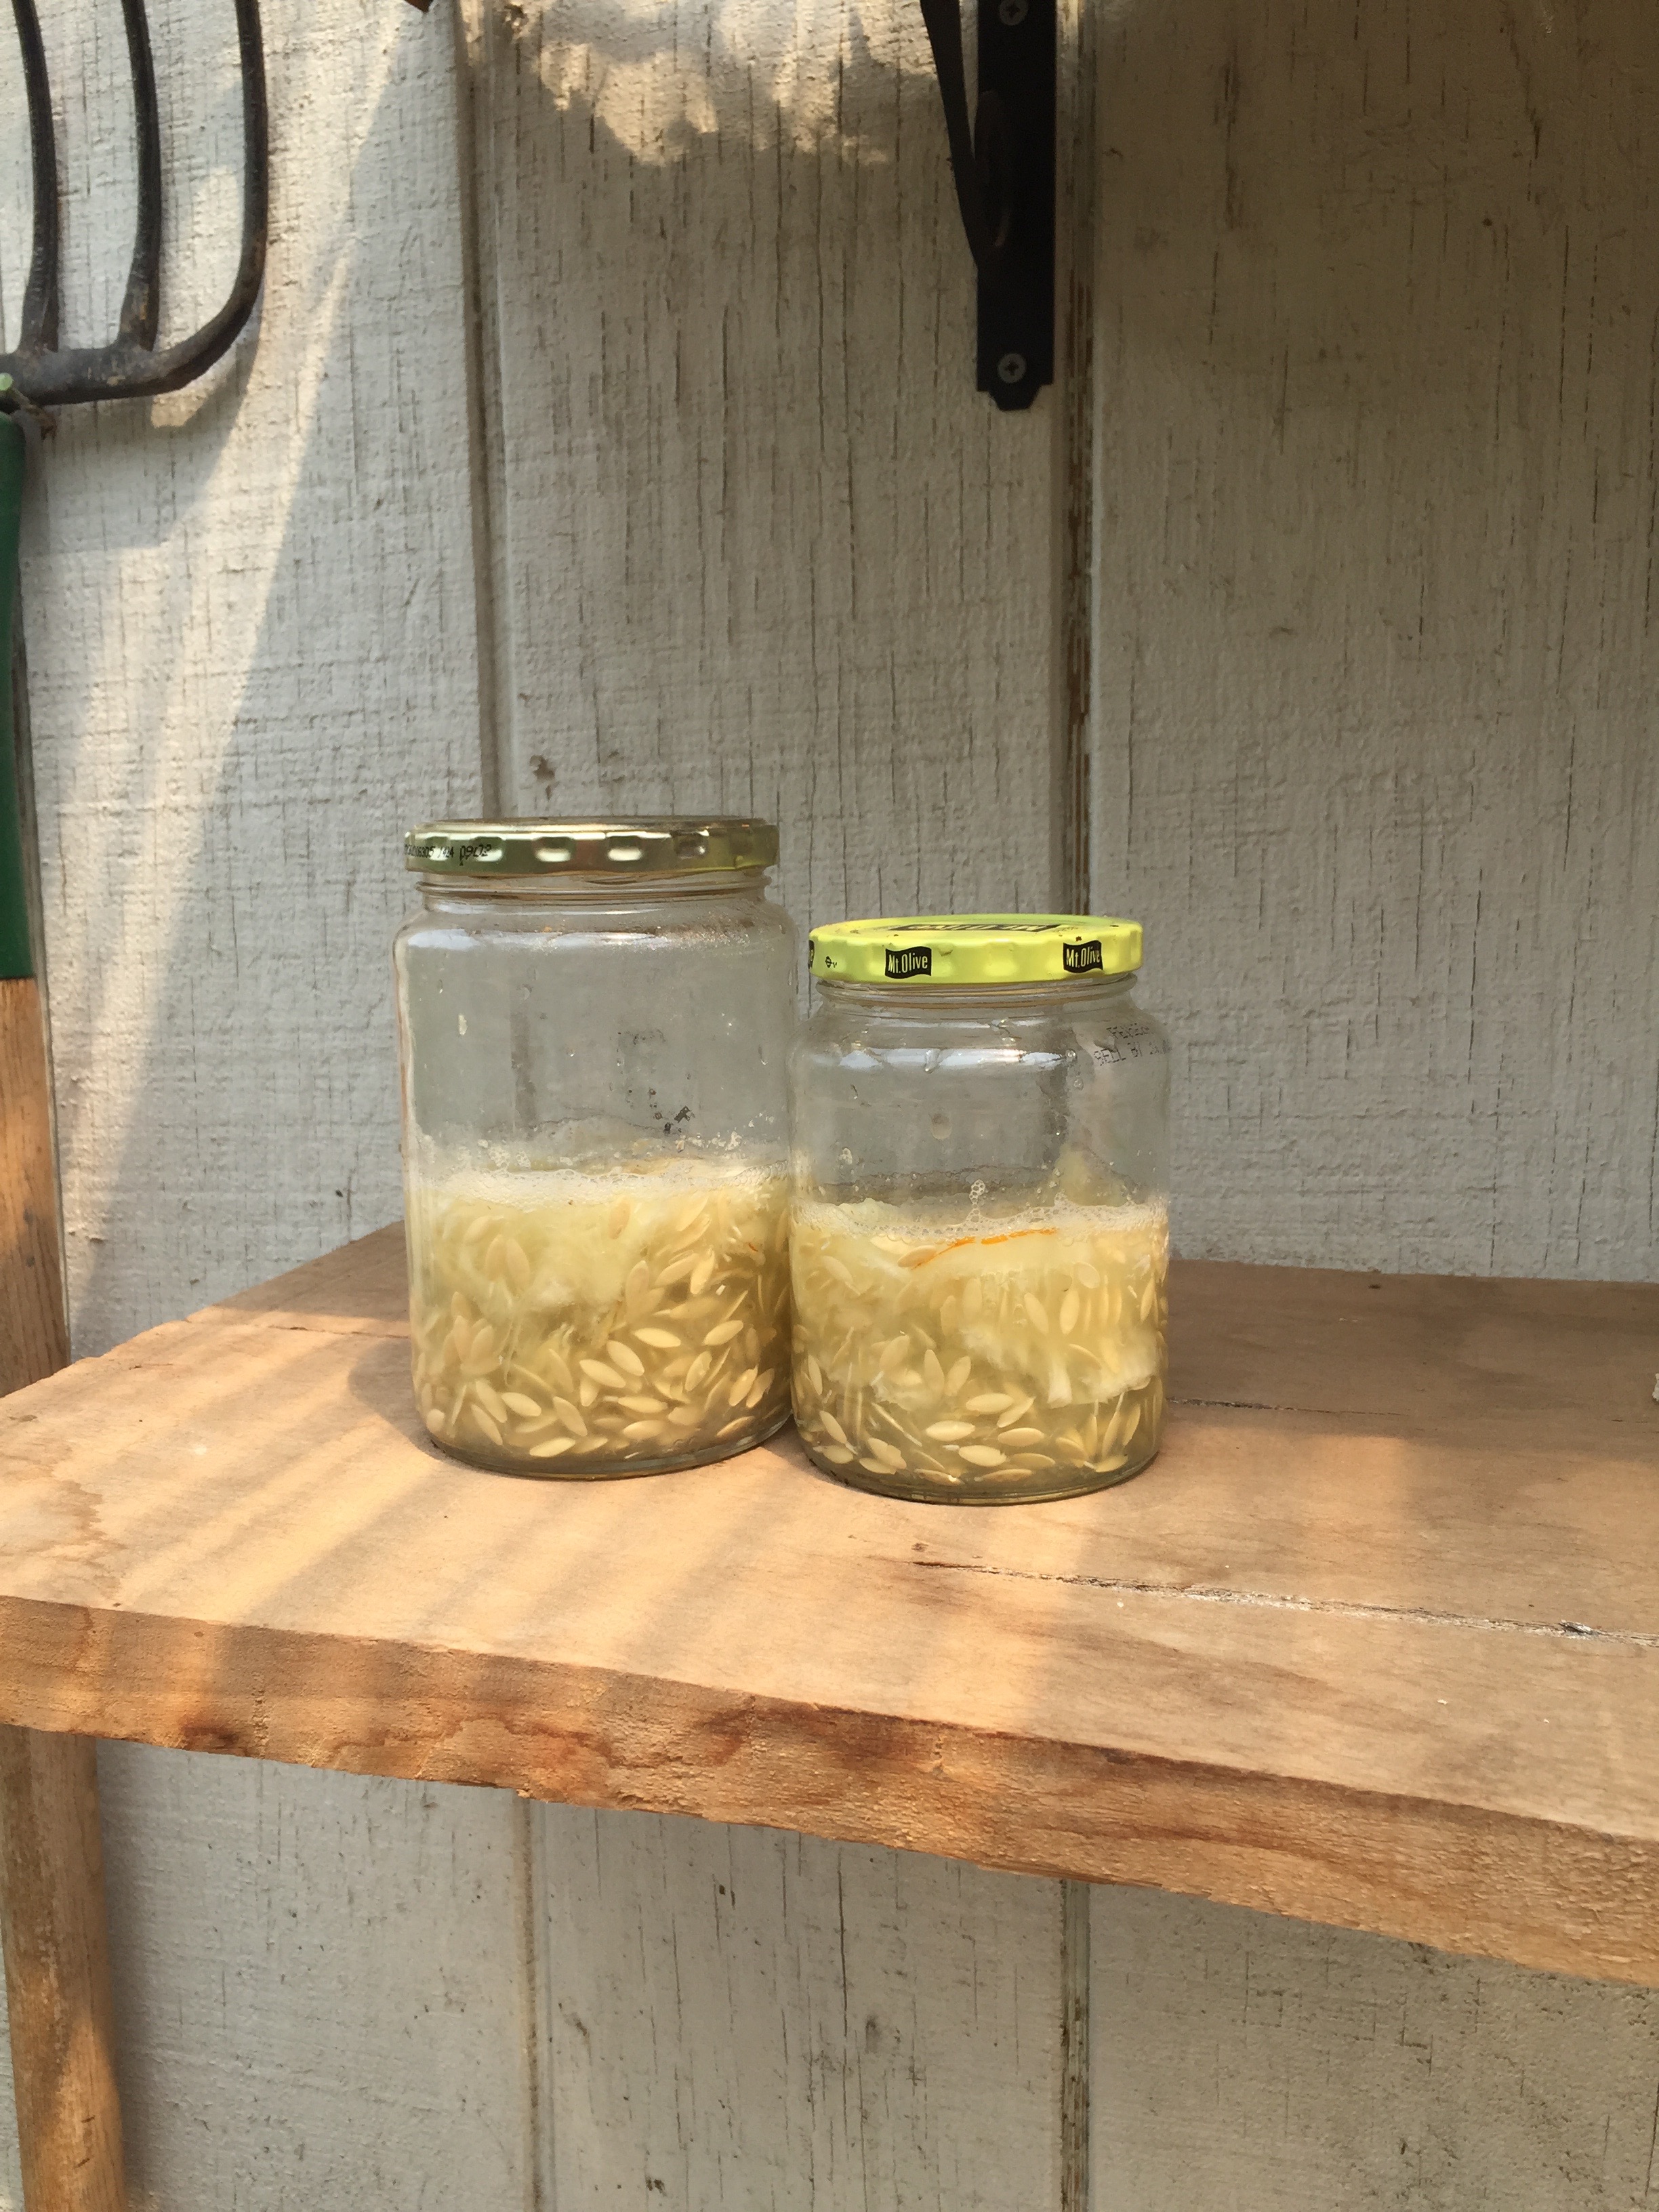
5. Set sealed jars out for four to five days to let seeds ferment. The fermentation process helps to separate the seeds from their gooey coating.


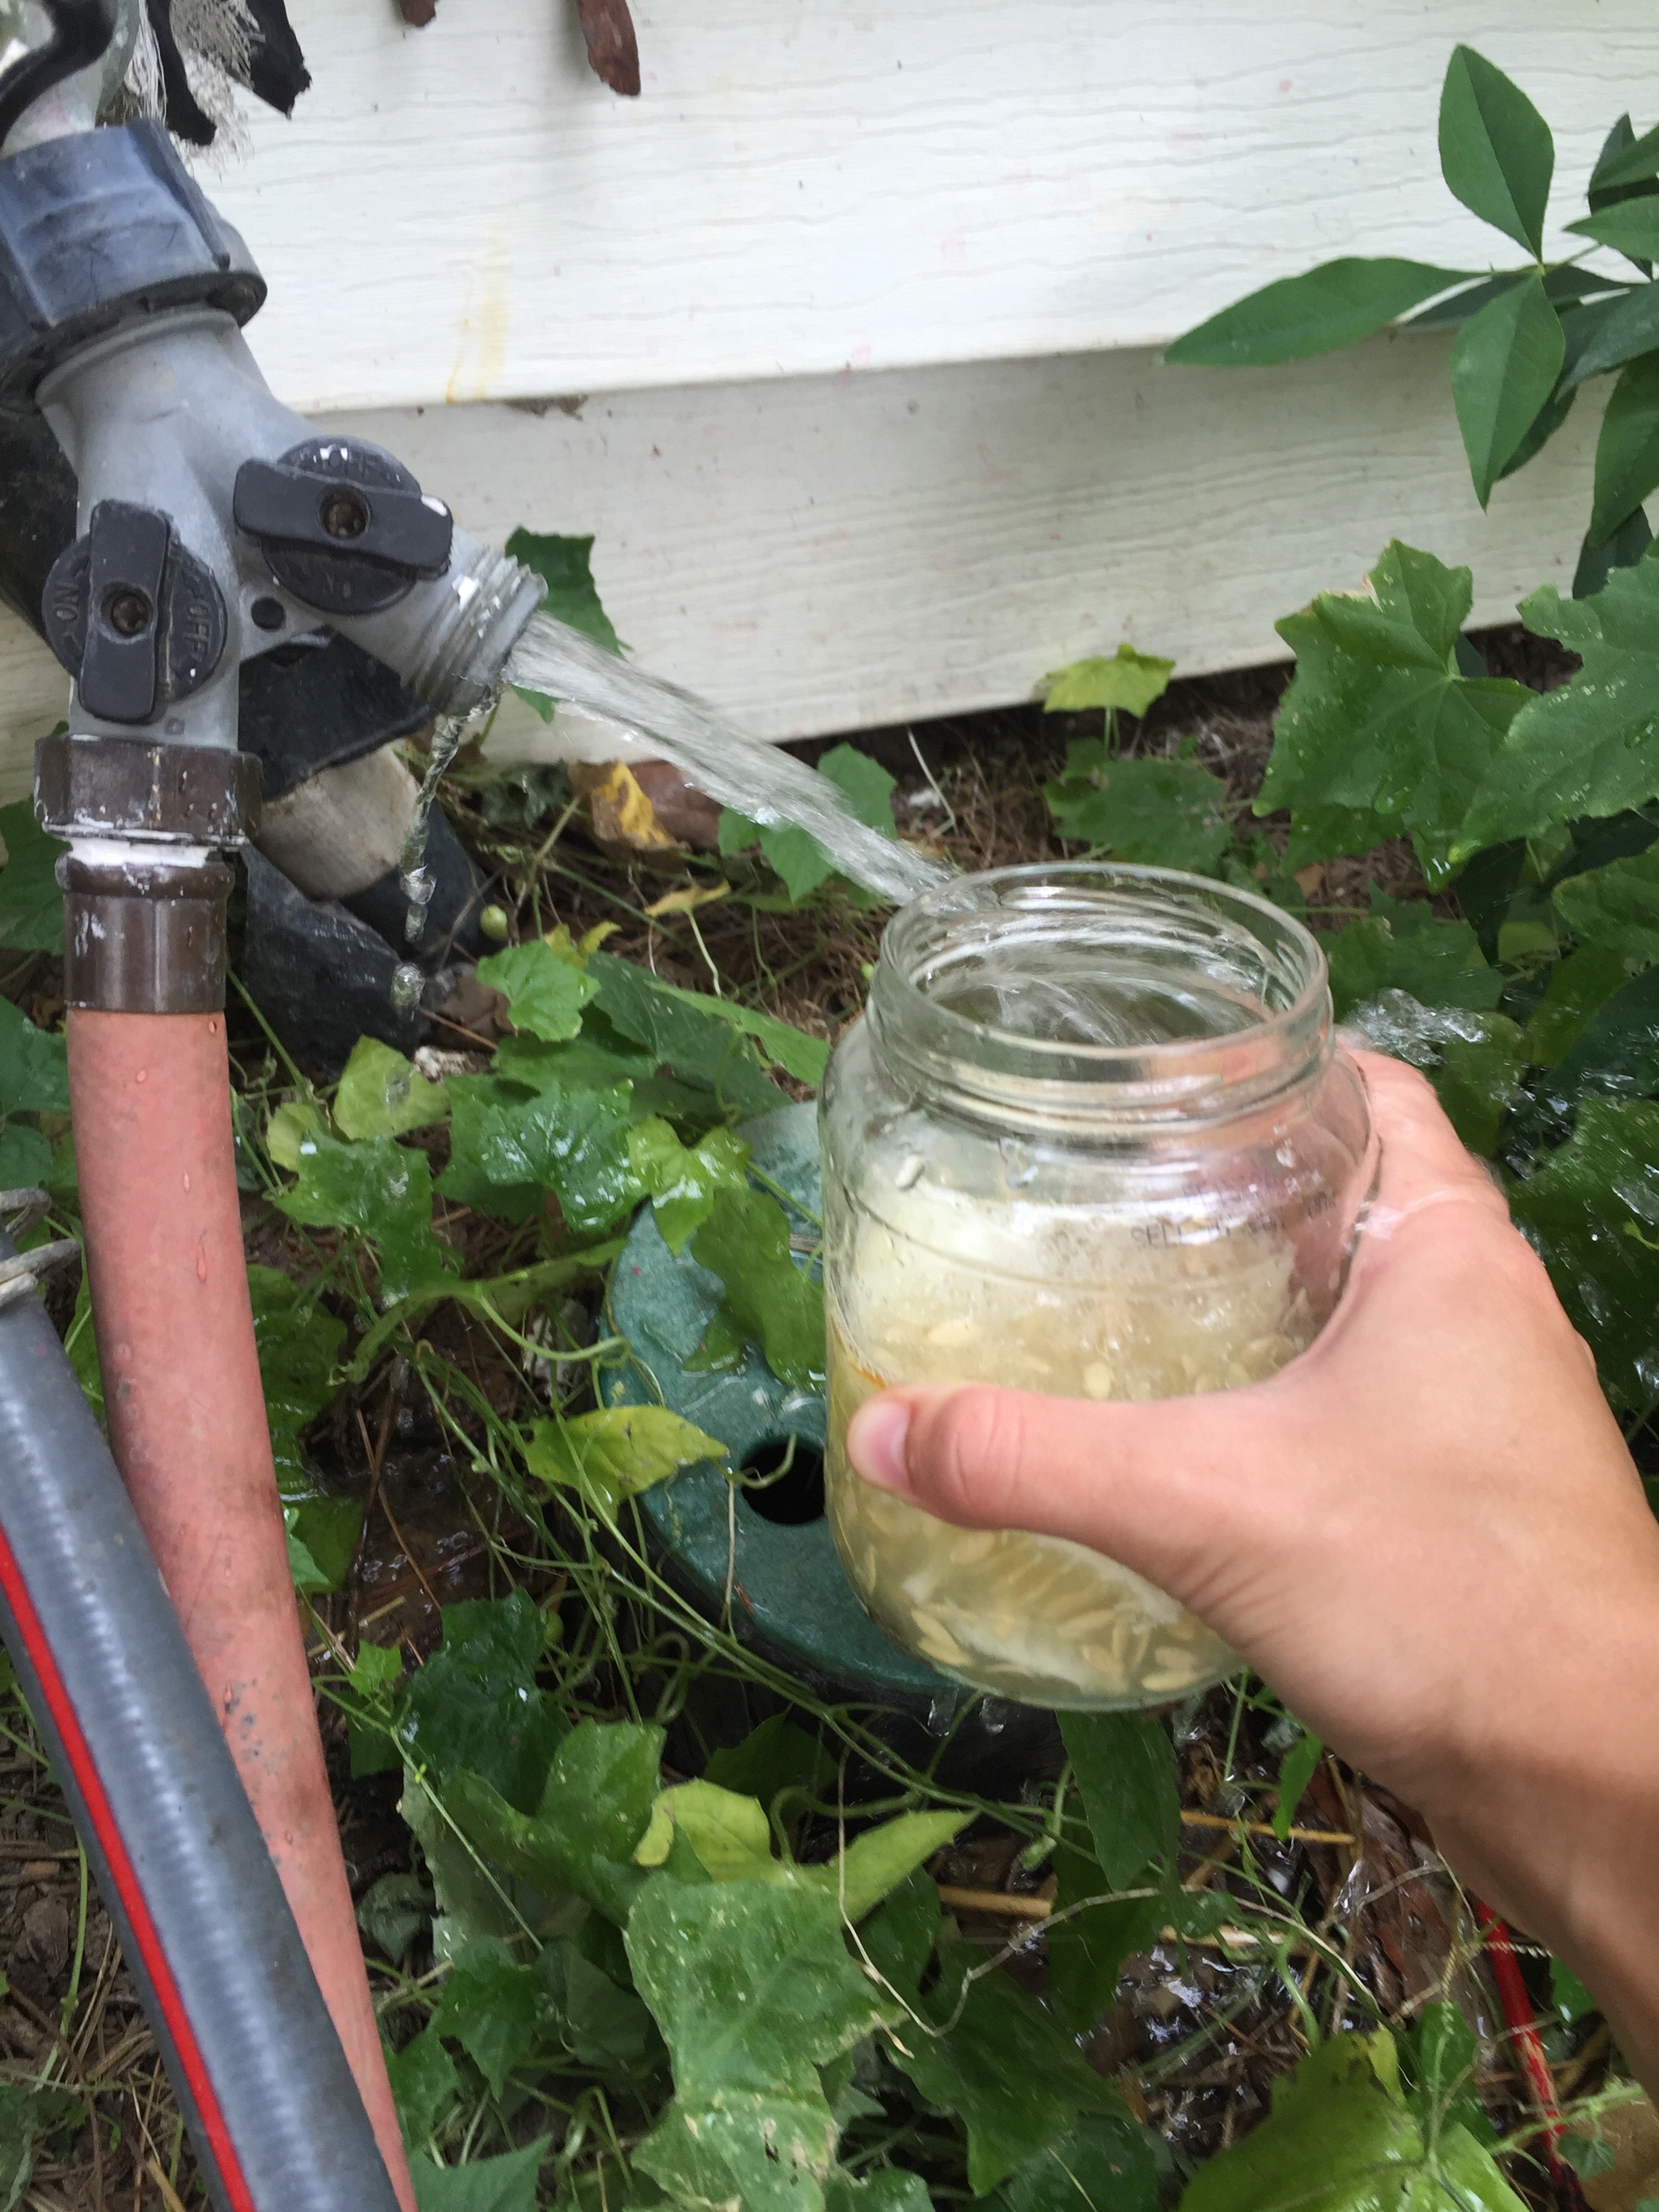
6. After the seeds have fermented, you must rinse them off to remove the slimy pulp residue. You will need a wire colander for this step of the process.

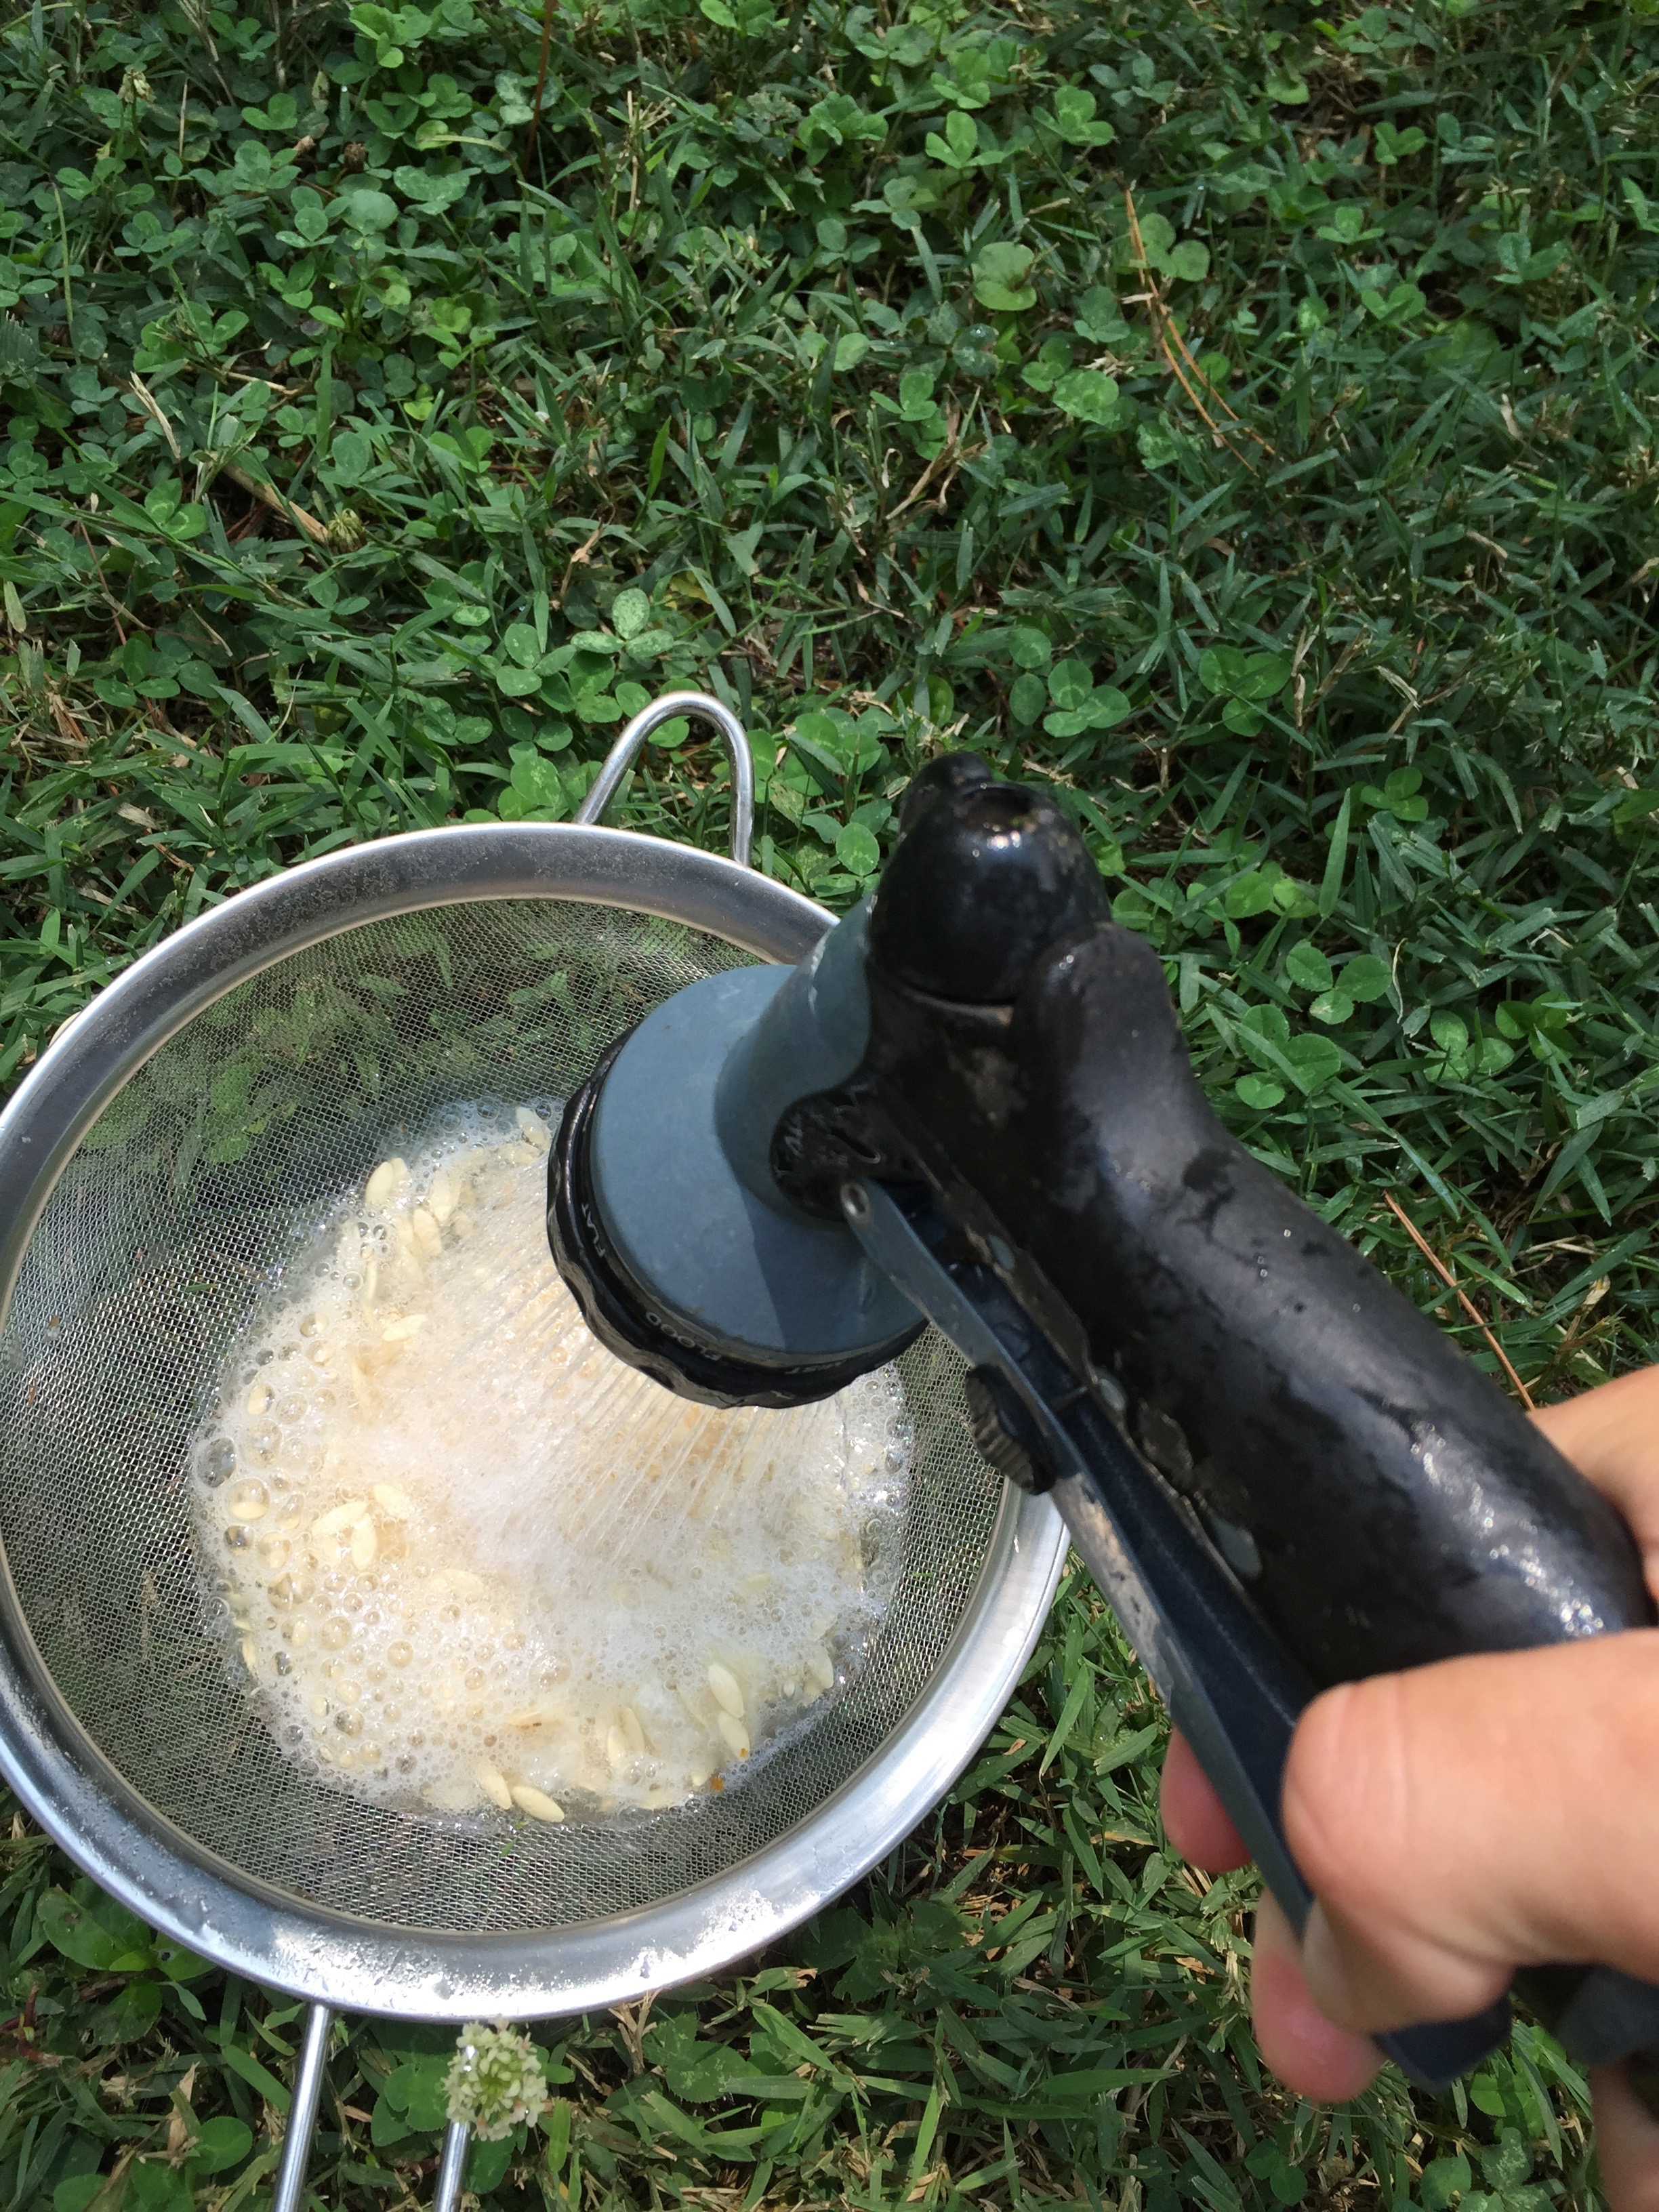
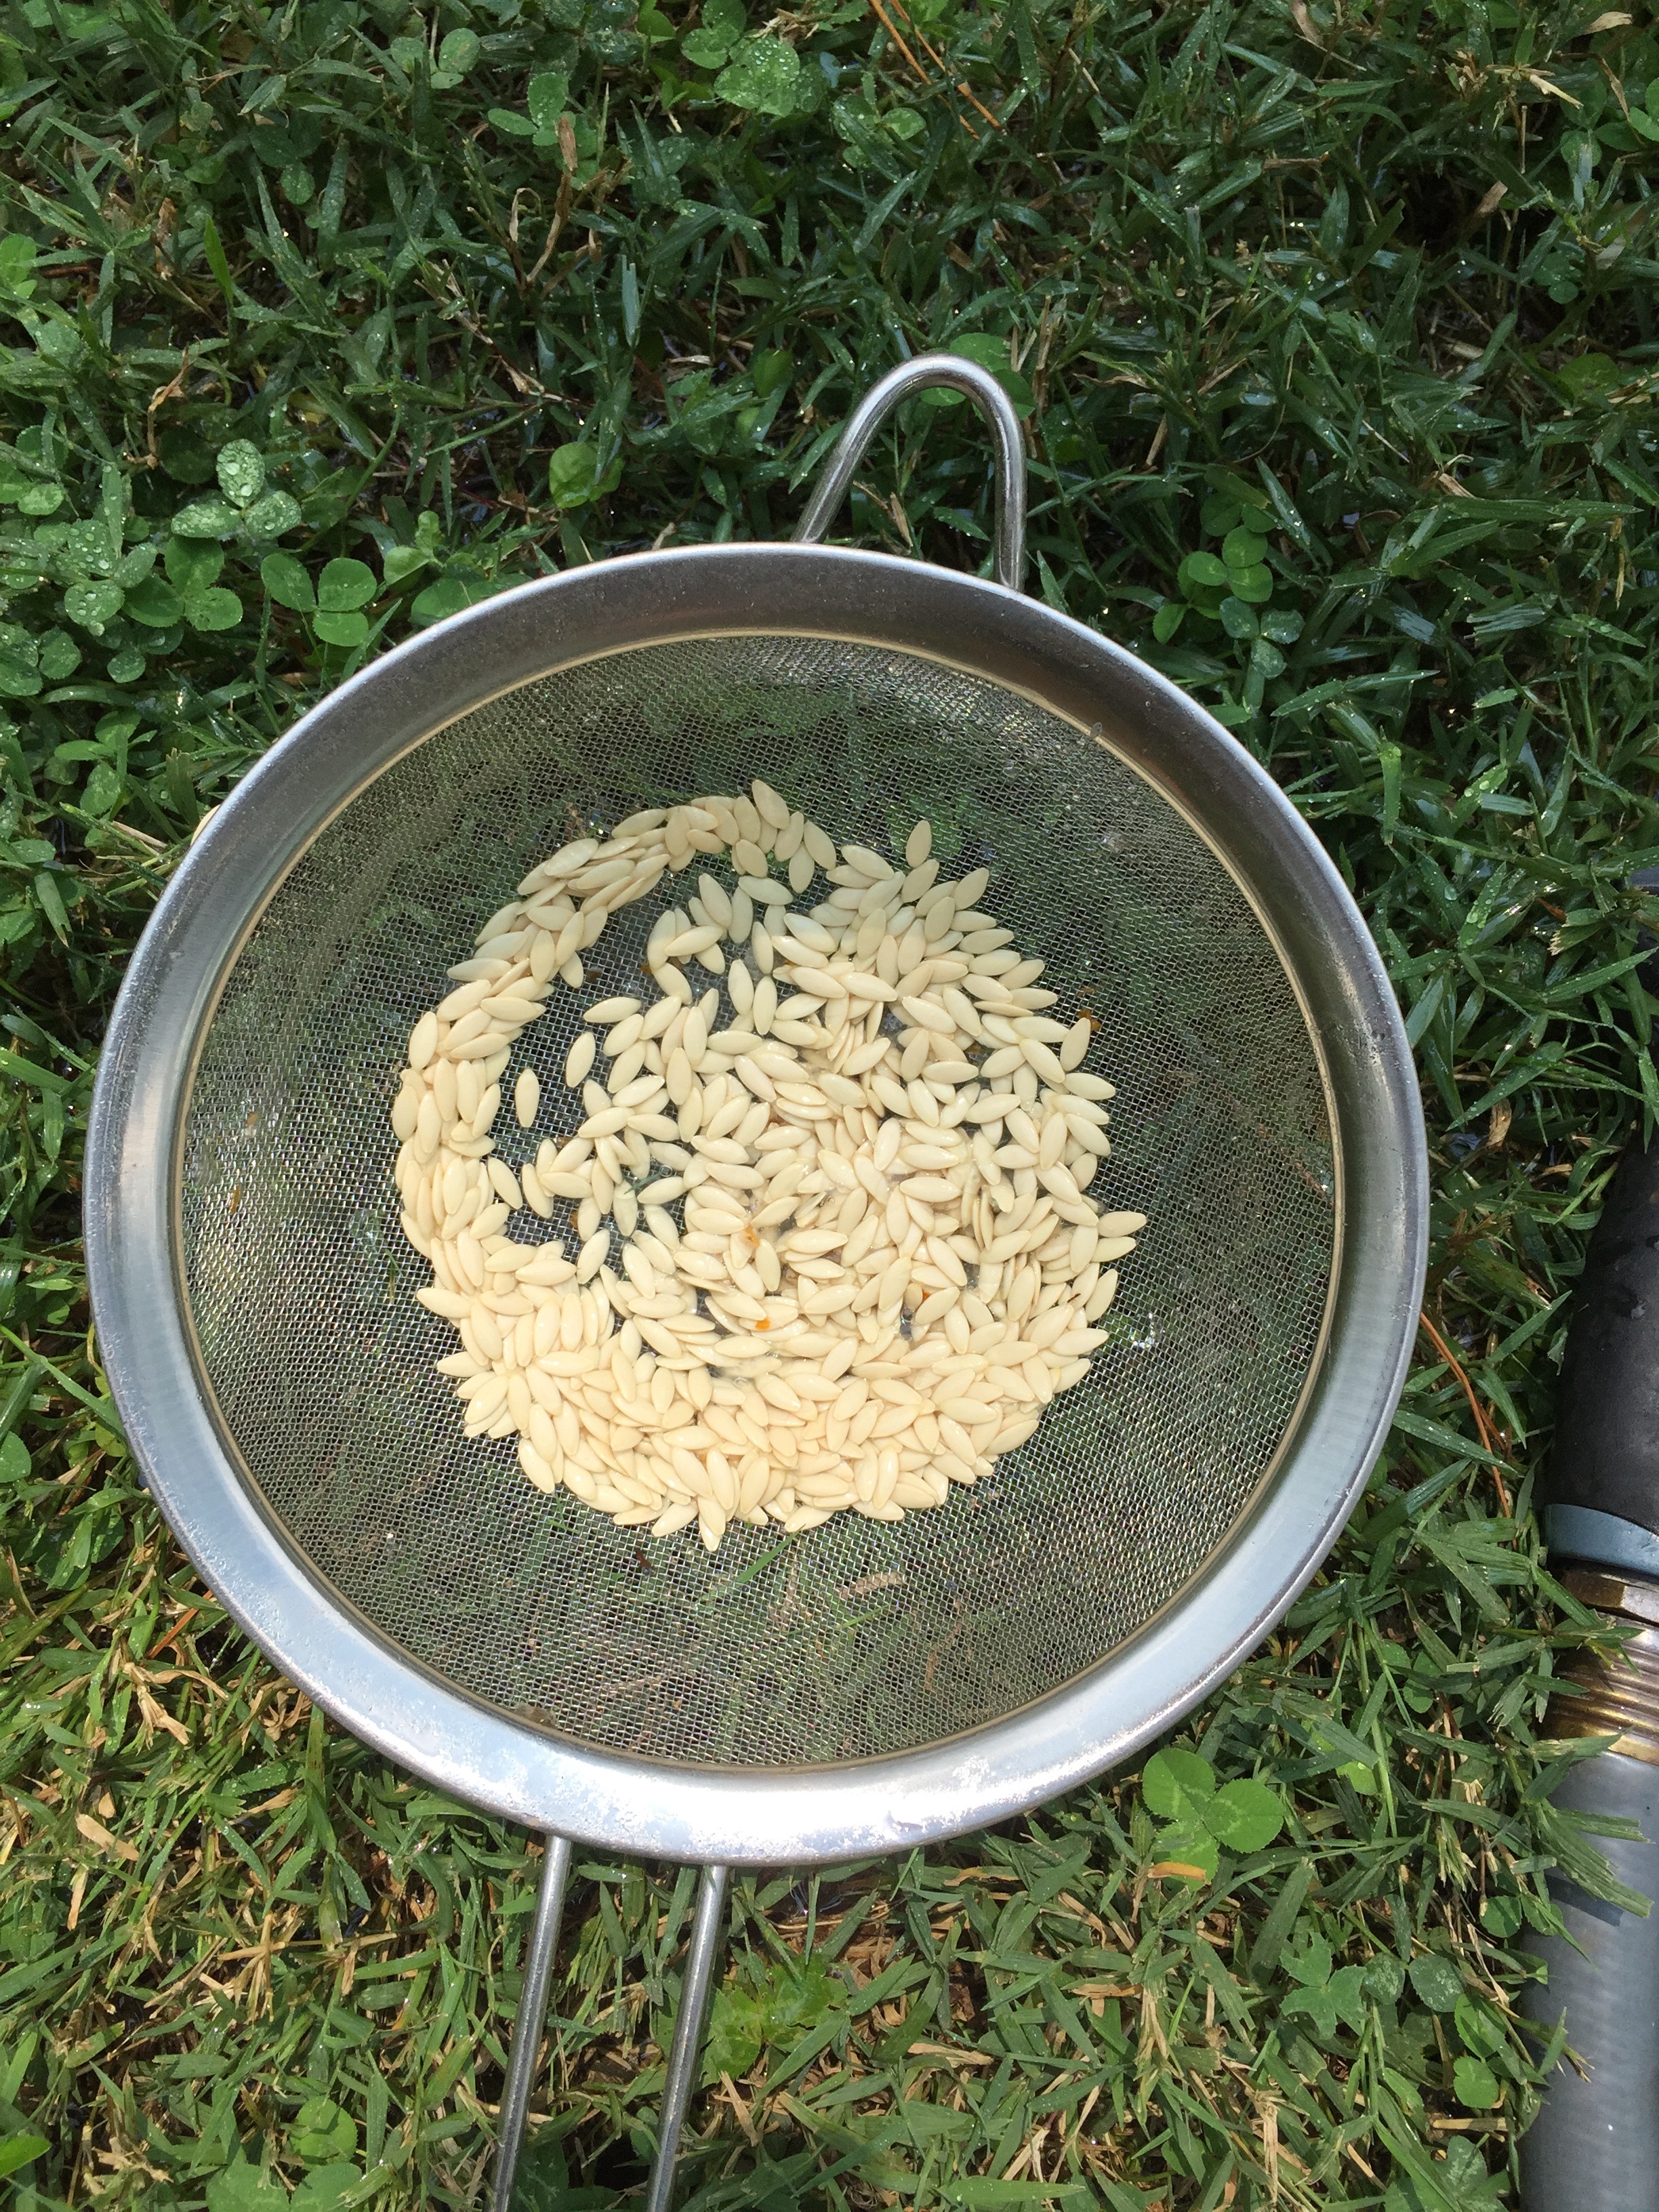
7. Pour contents of the jars into the colander and rinse with a hose until all of the slimy residue is gone from your seeds.
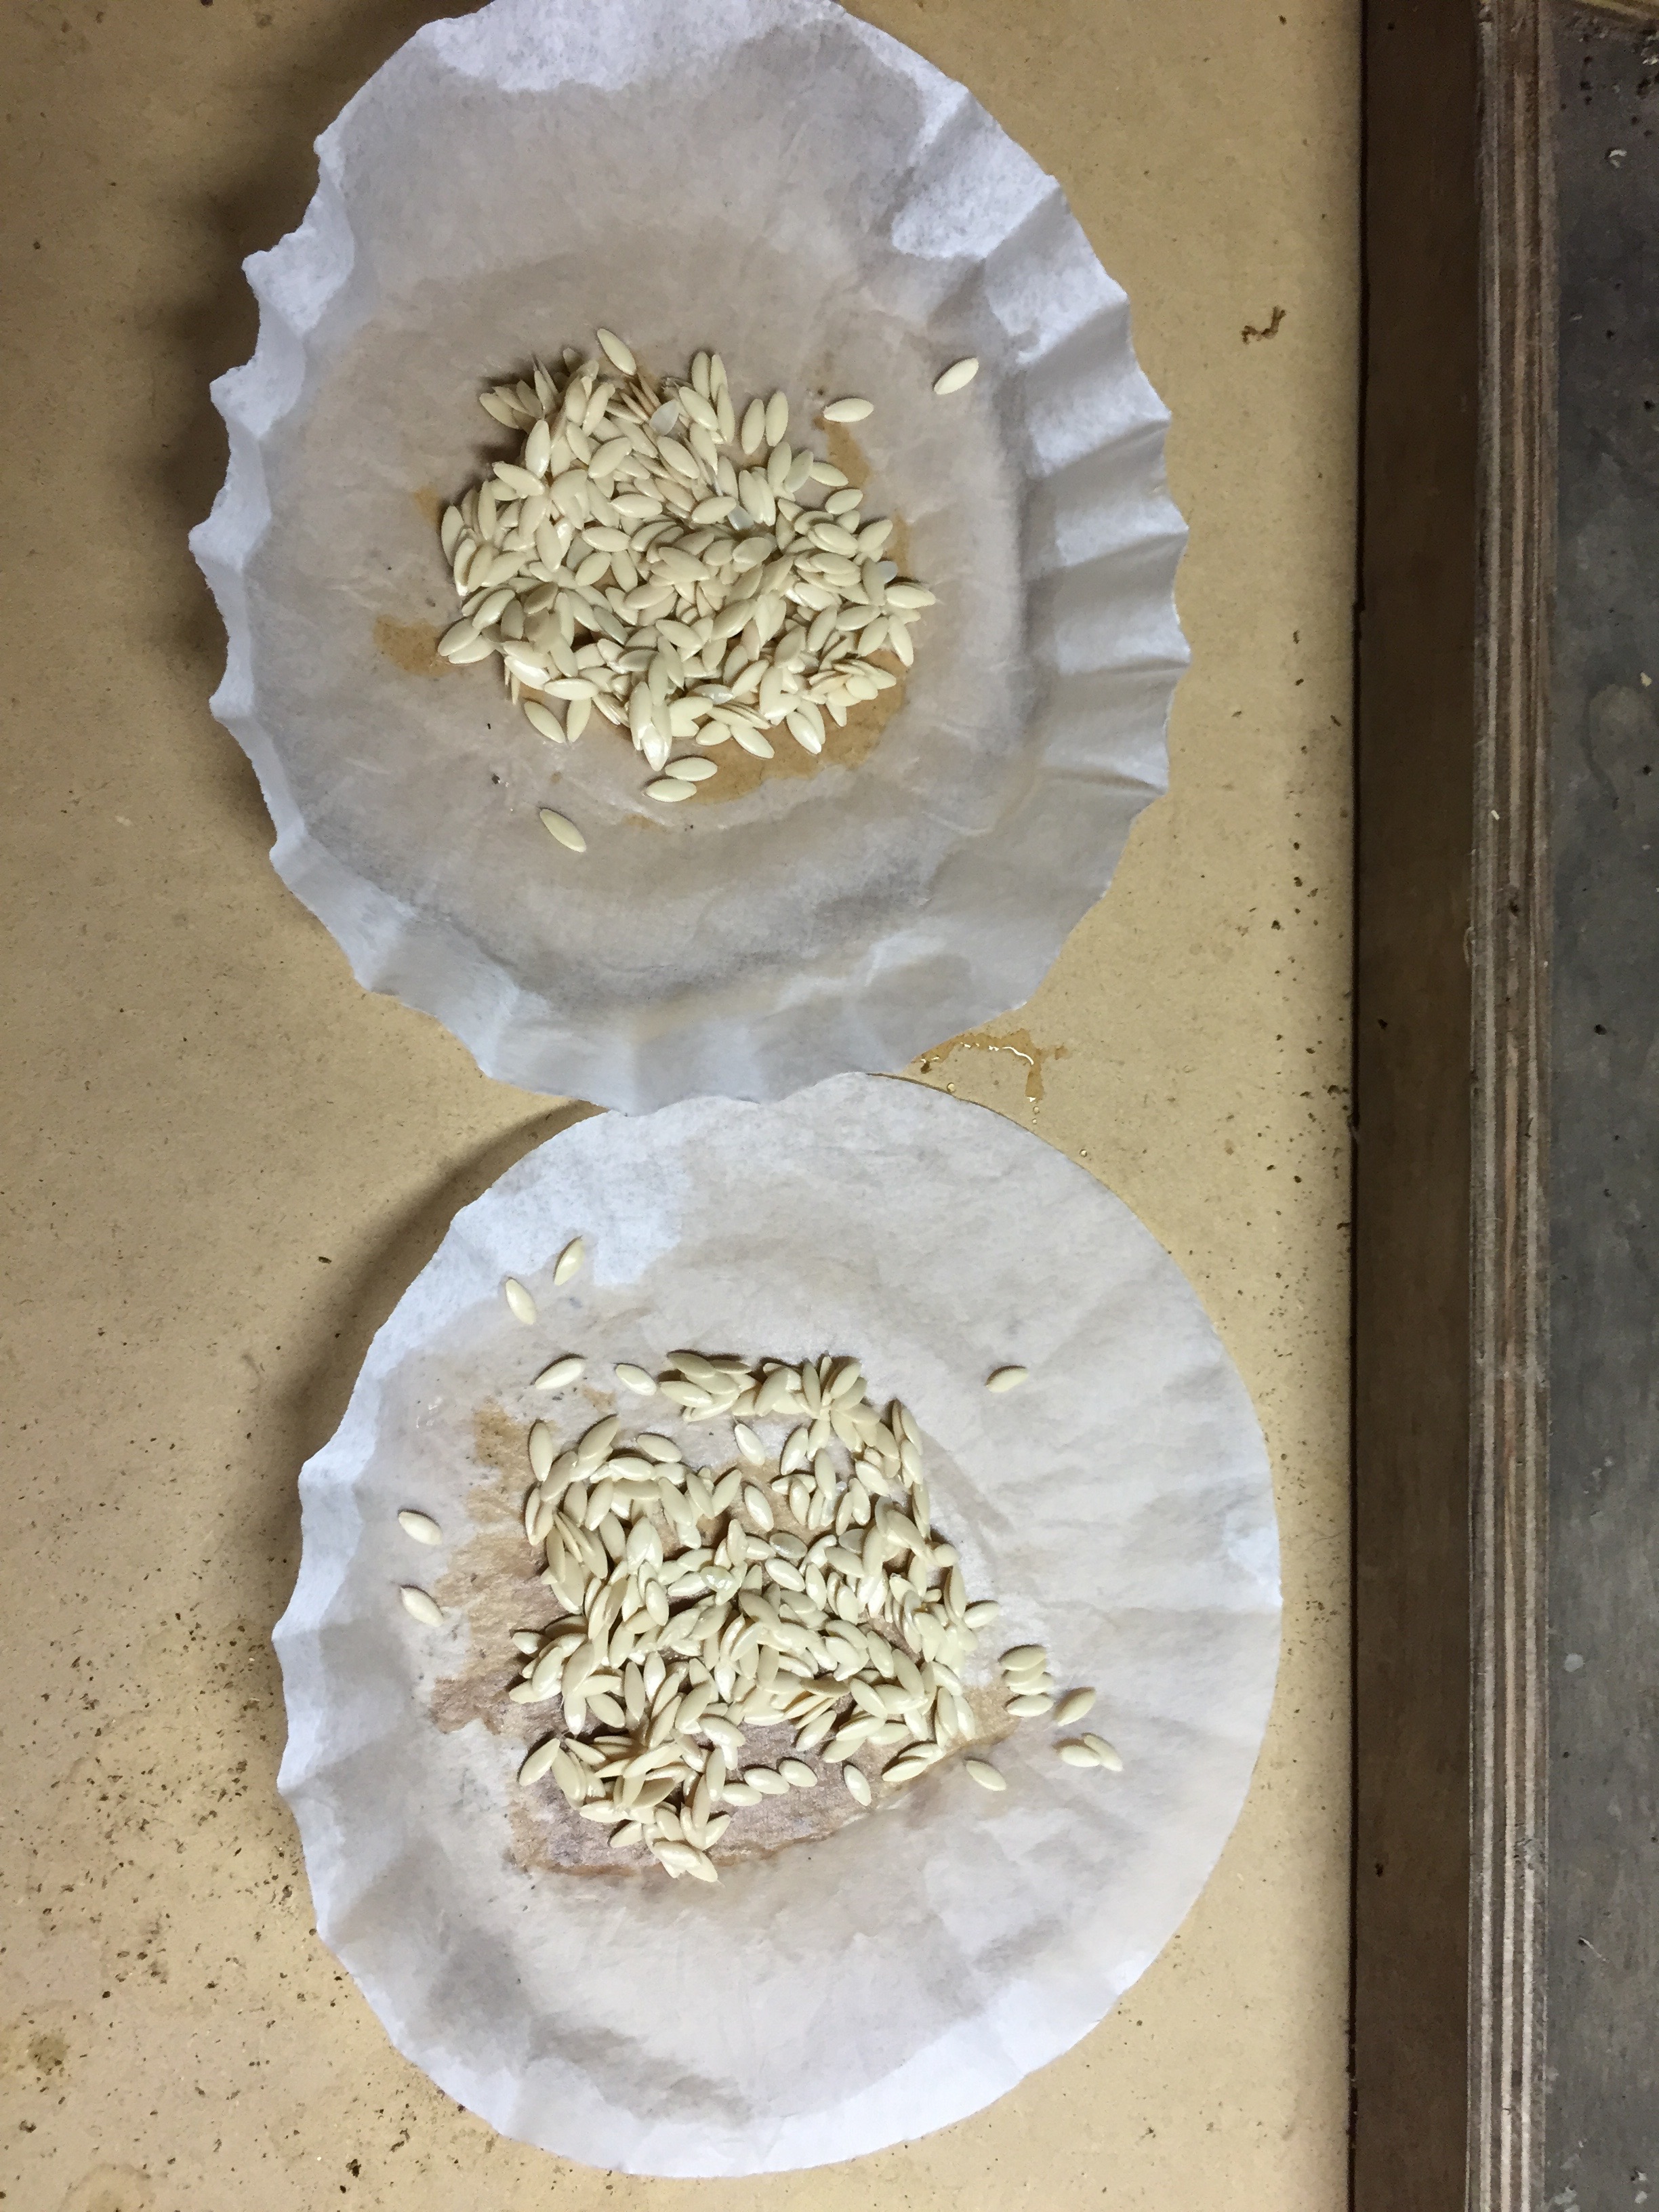
8. After seeds are completely rinsed, empty them onto a coffee filter that you have labeled with the seed variety. A coffee filter works best because the seeds would not stick to it as they do to a paper towel.

9. Let seeds sit to dry for a couple of days until all moisture is gone from the seeds.
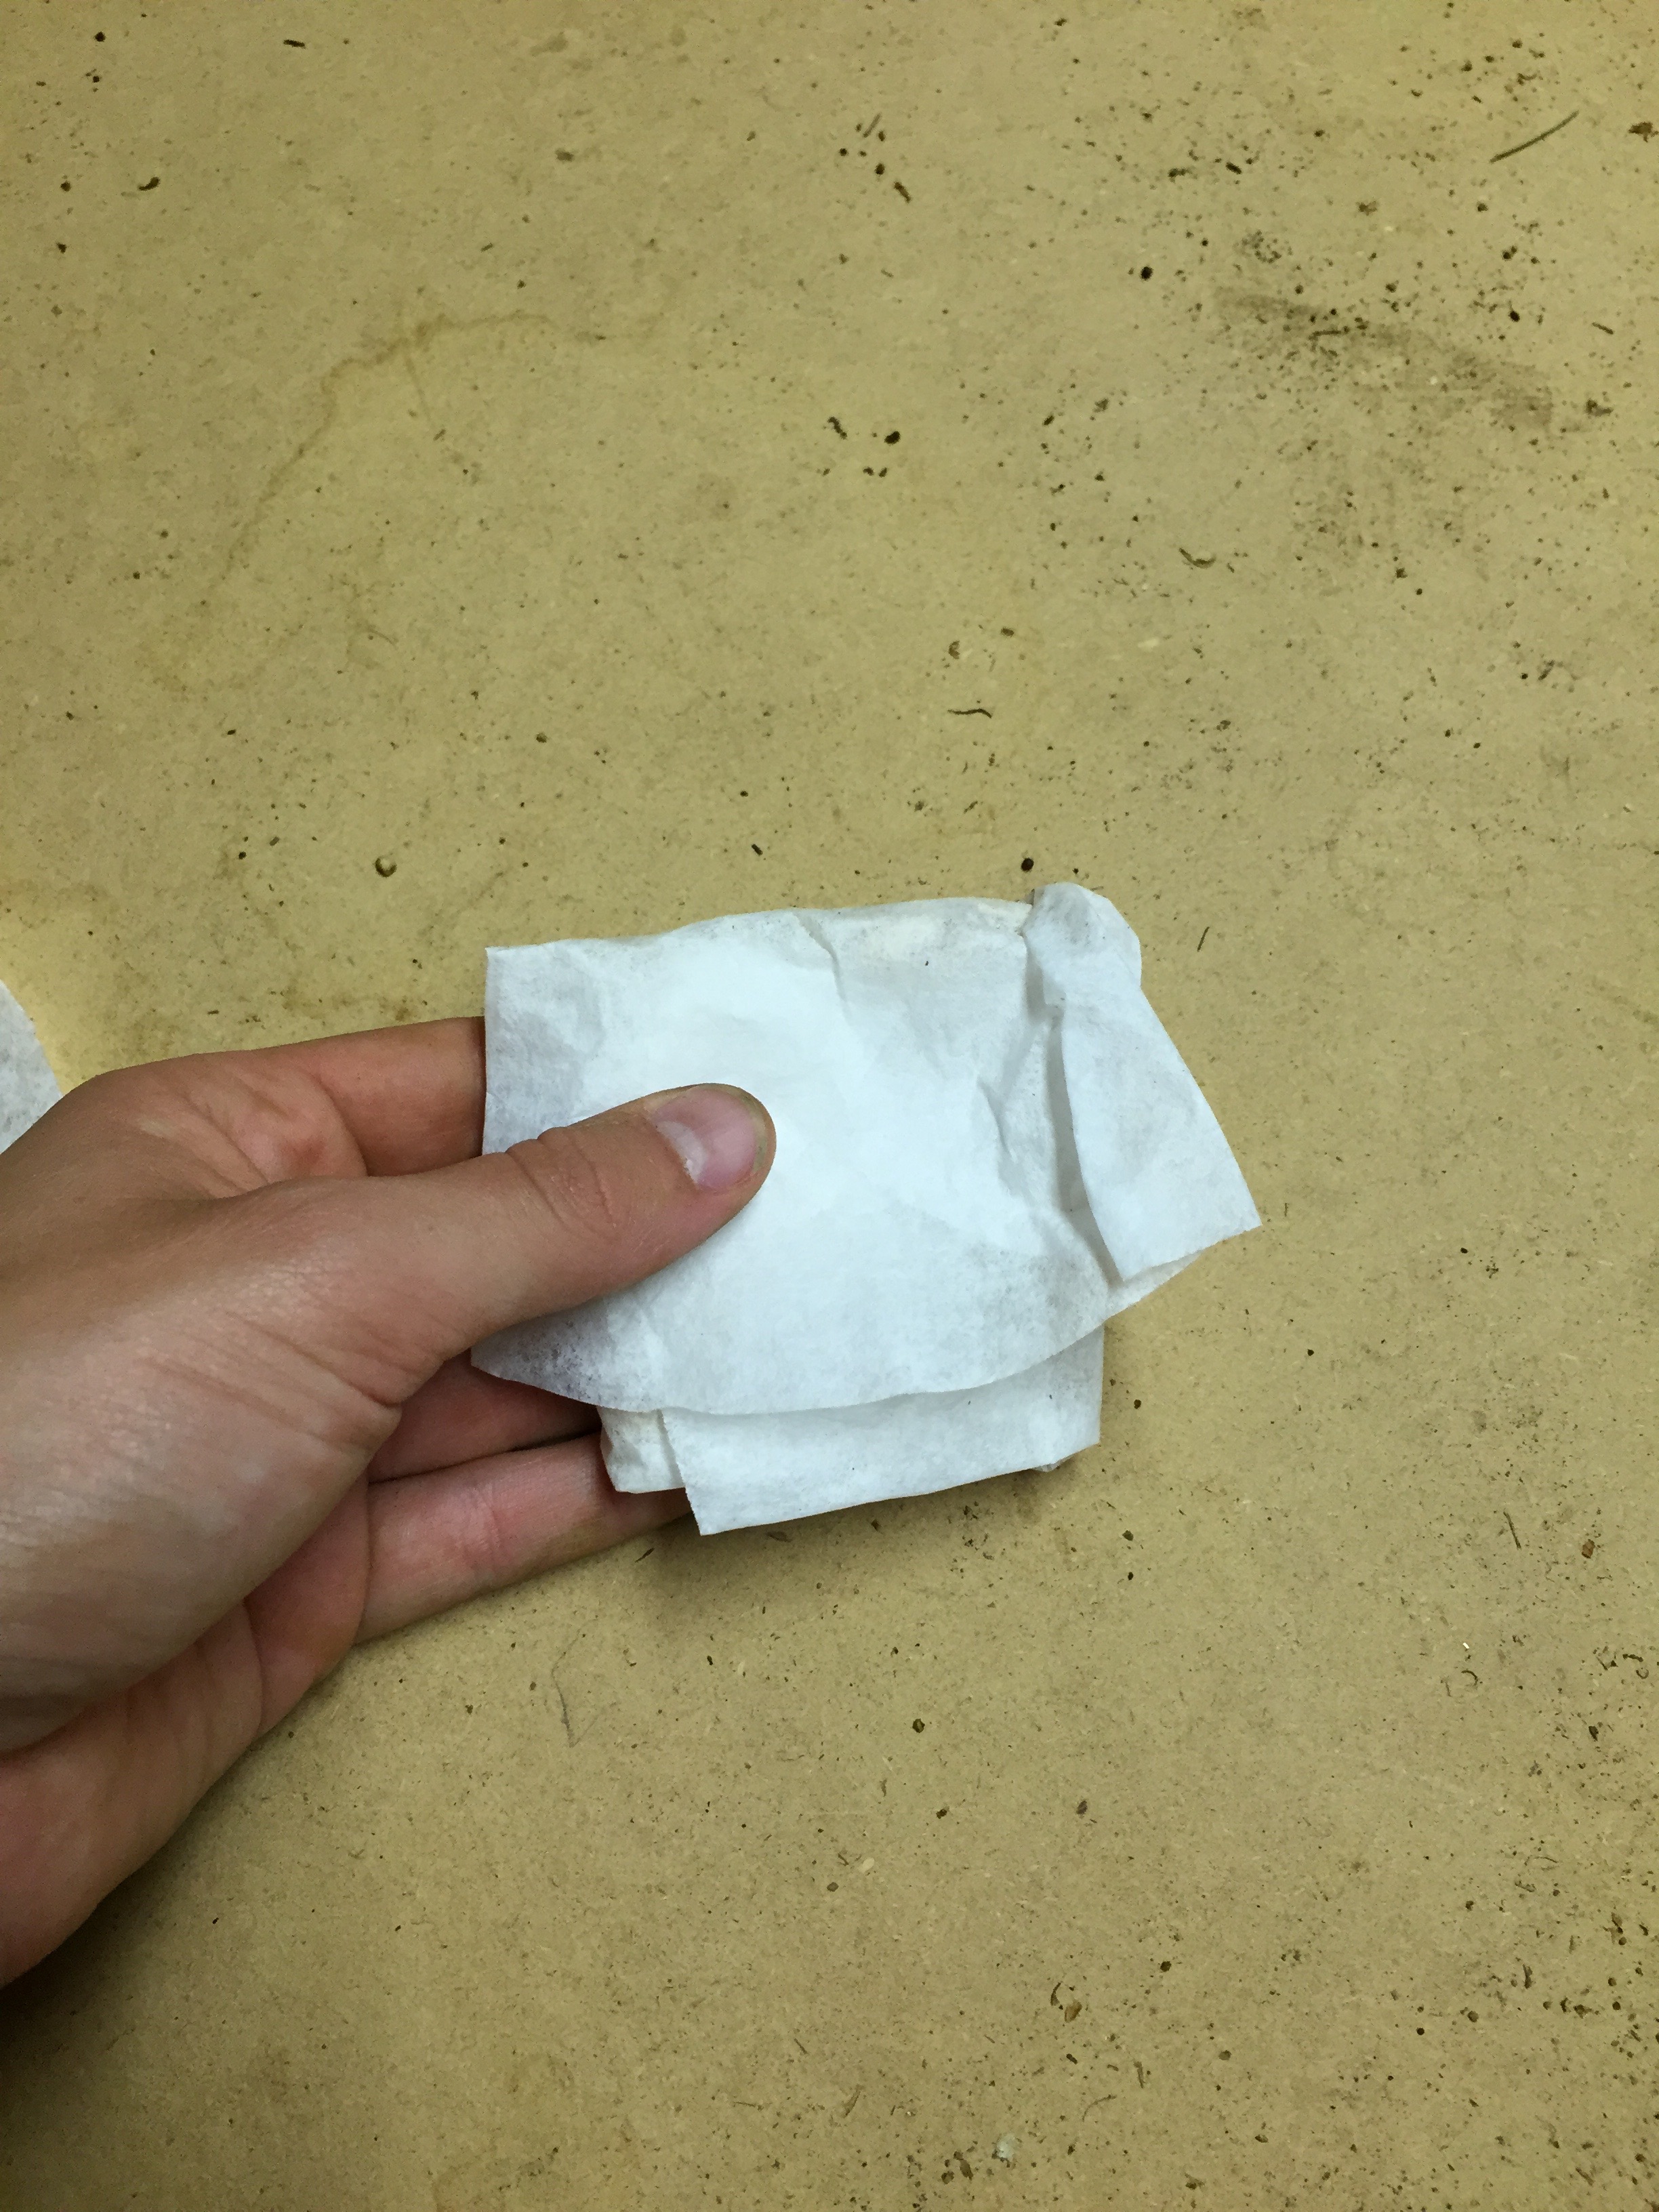
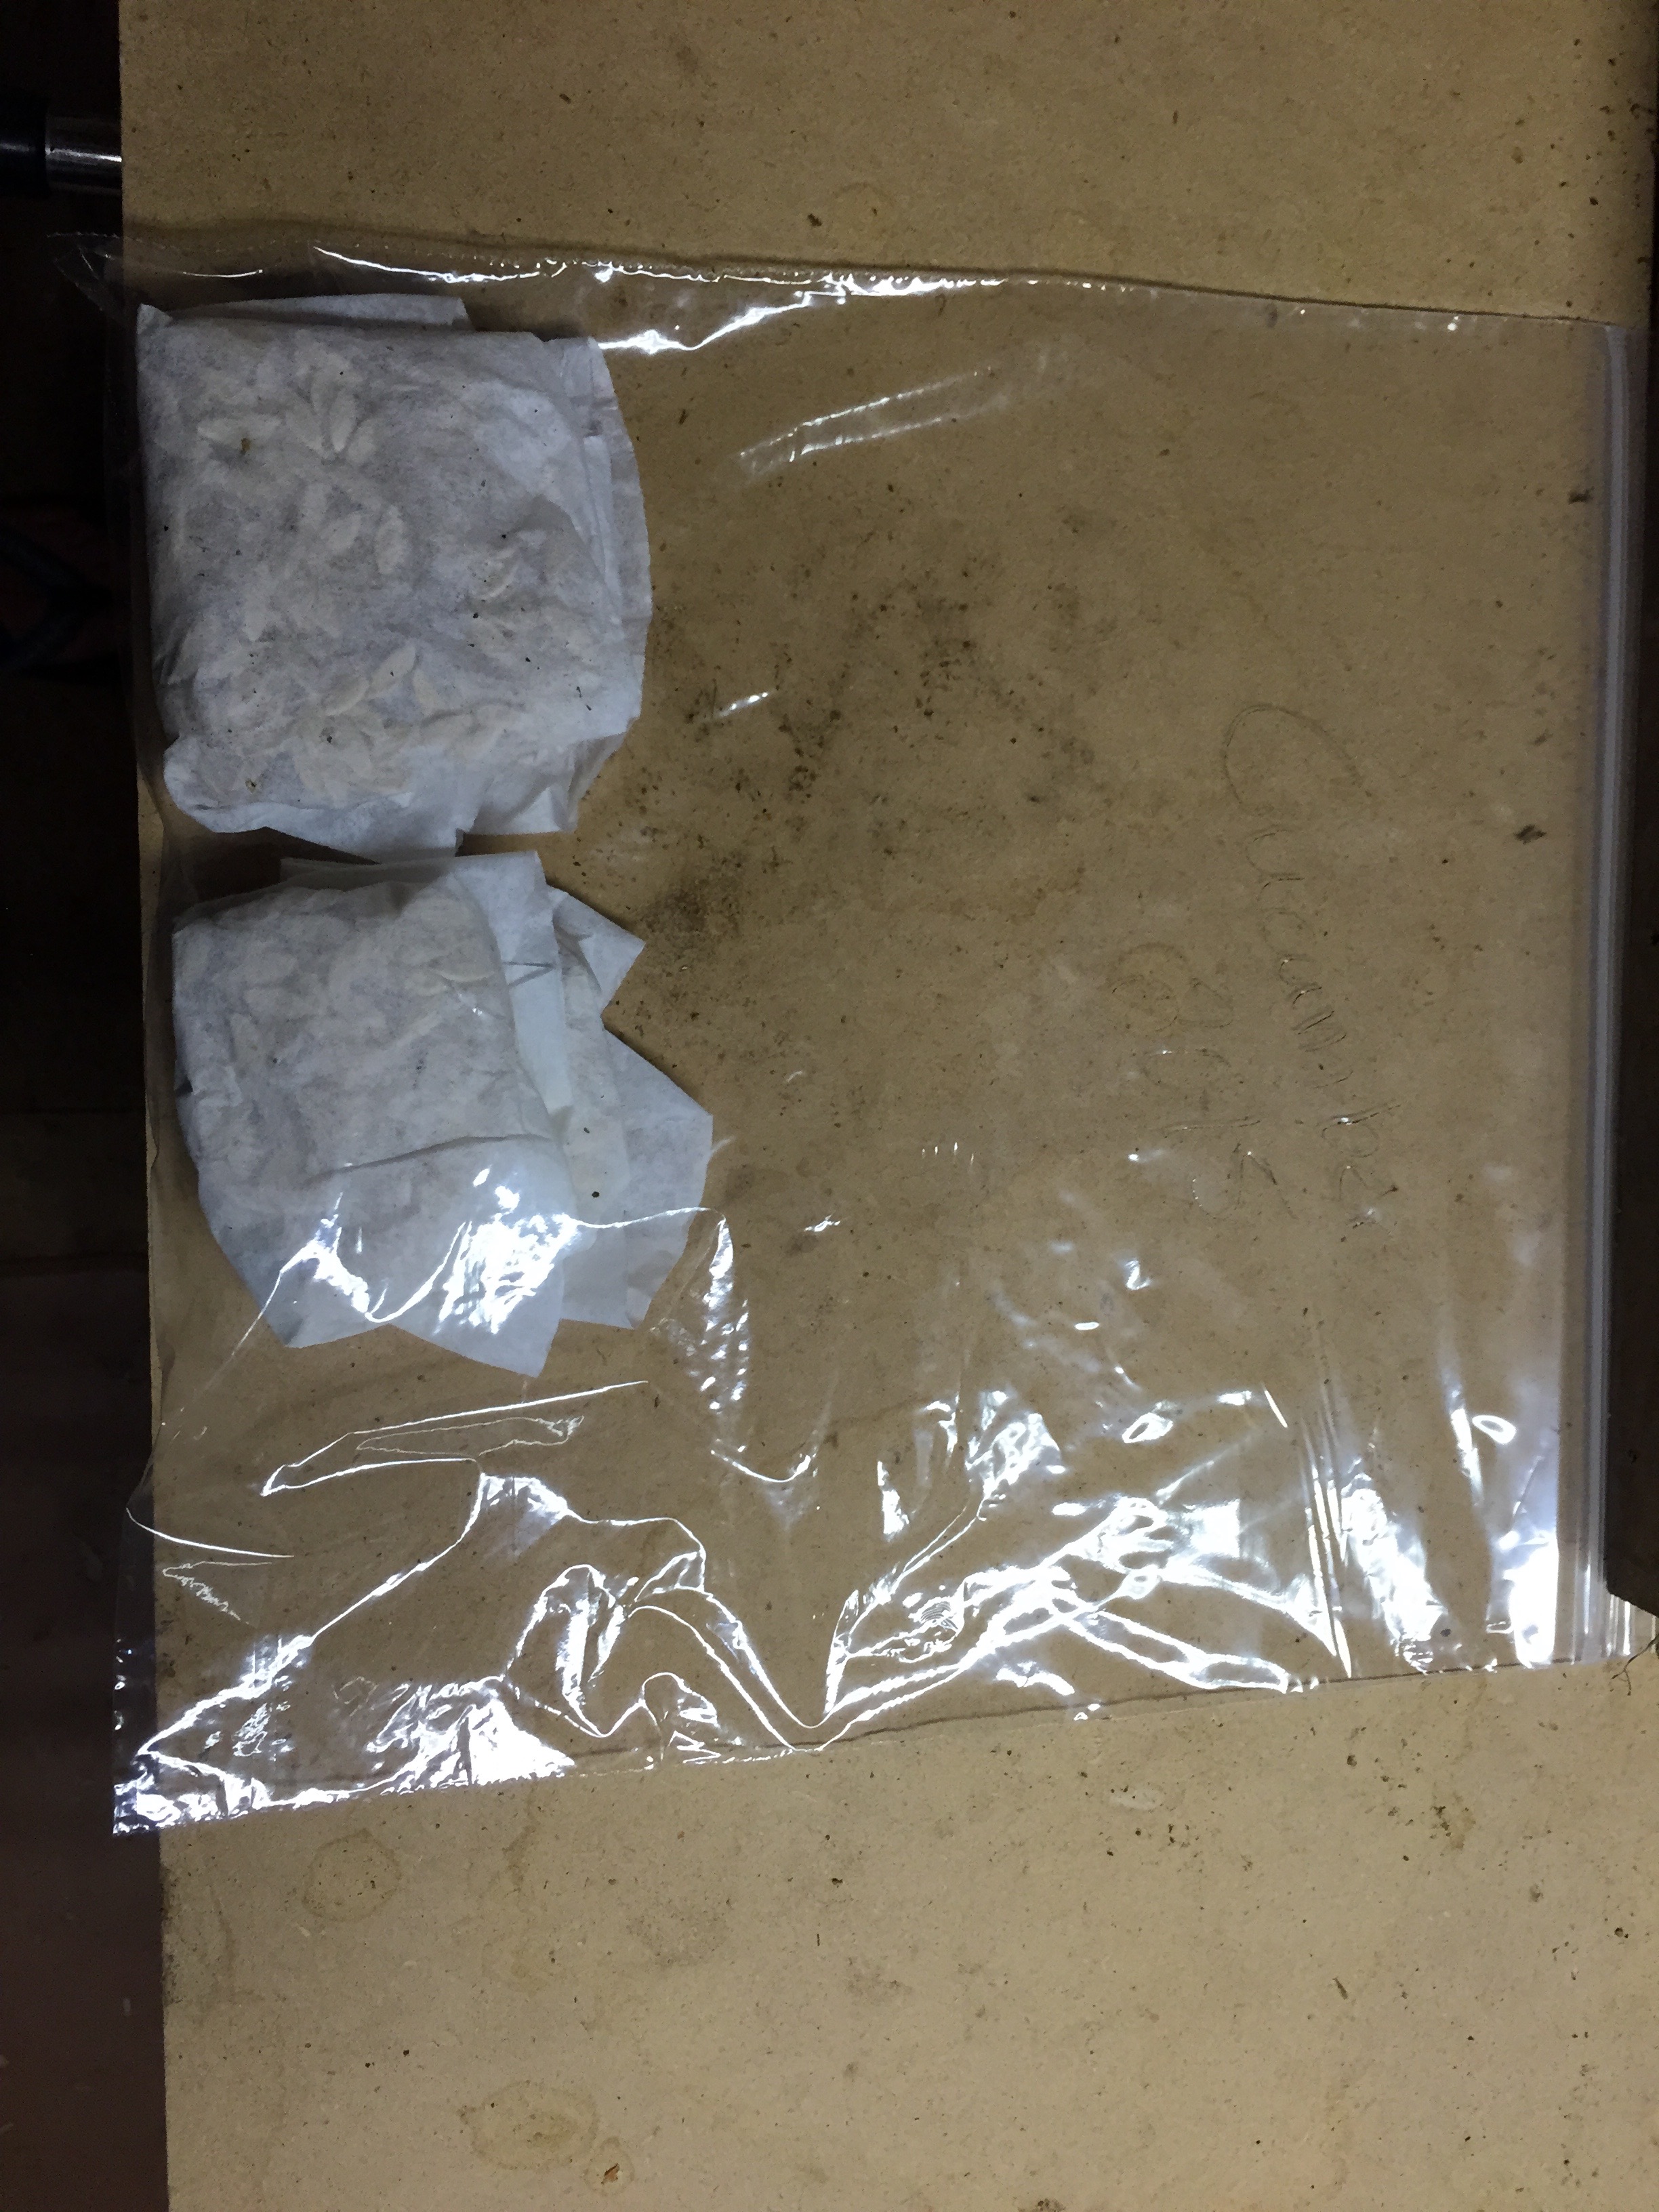
10. Fold the coffee filter around your seeds and pack them in a large zip-lock bag for storage.
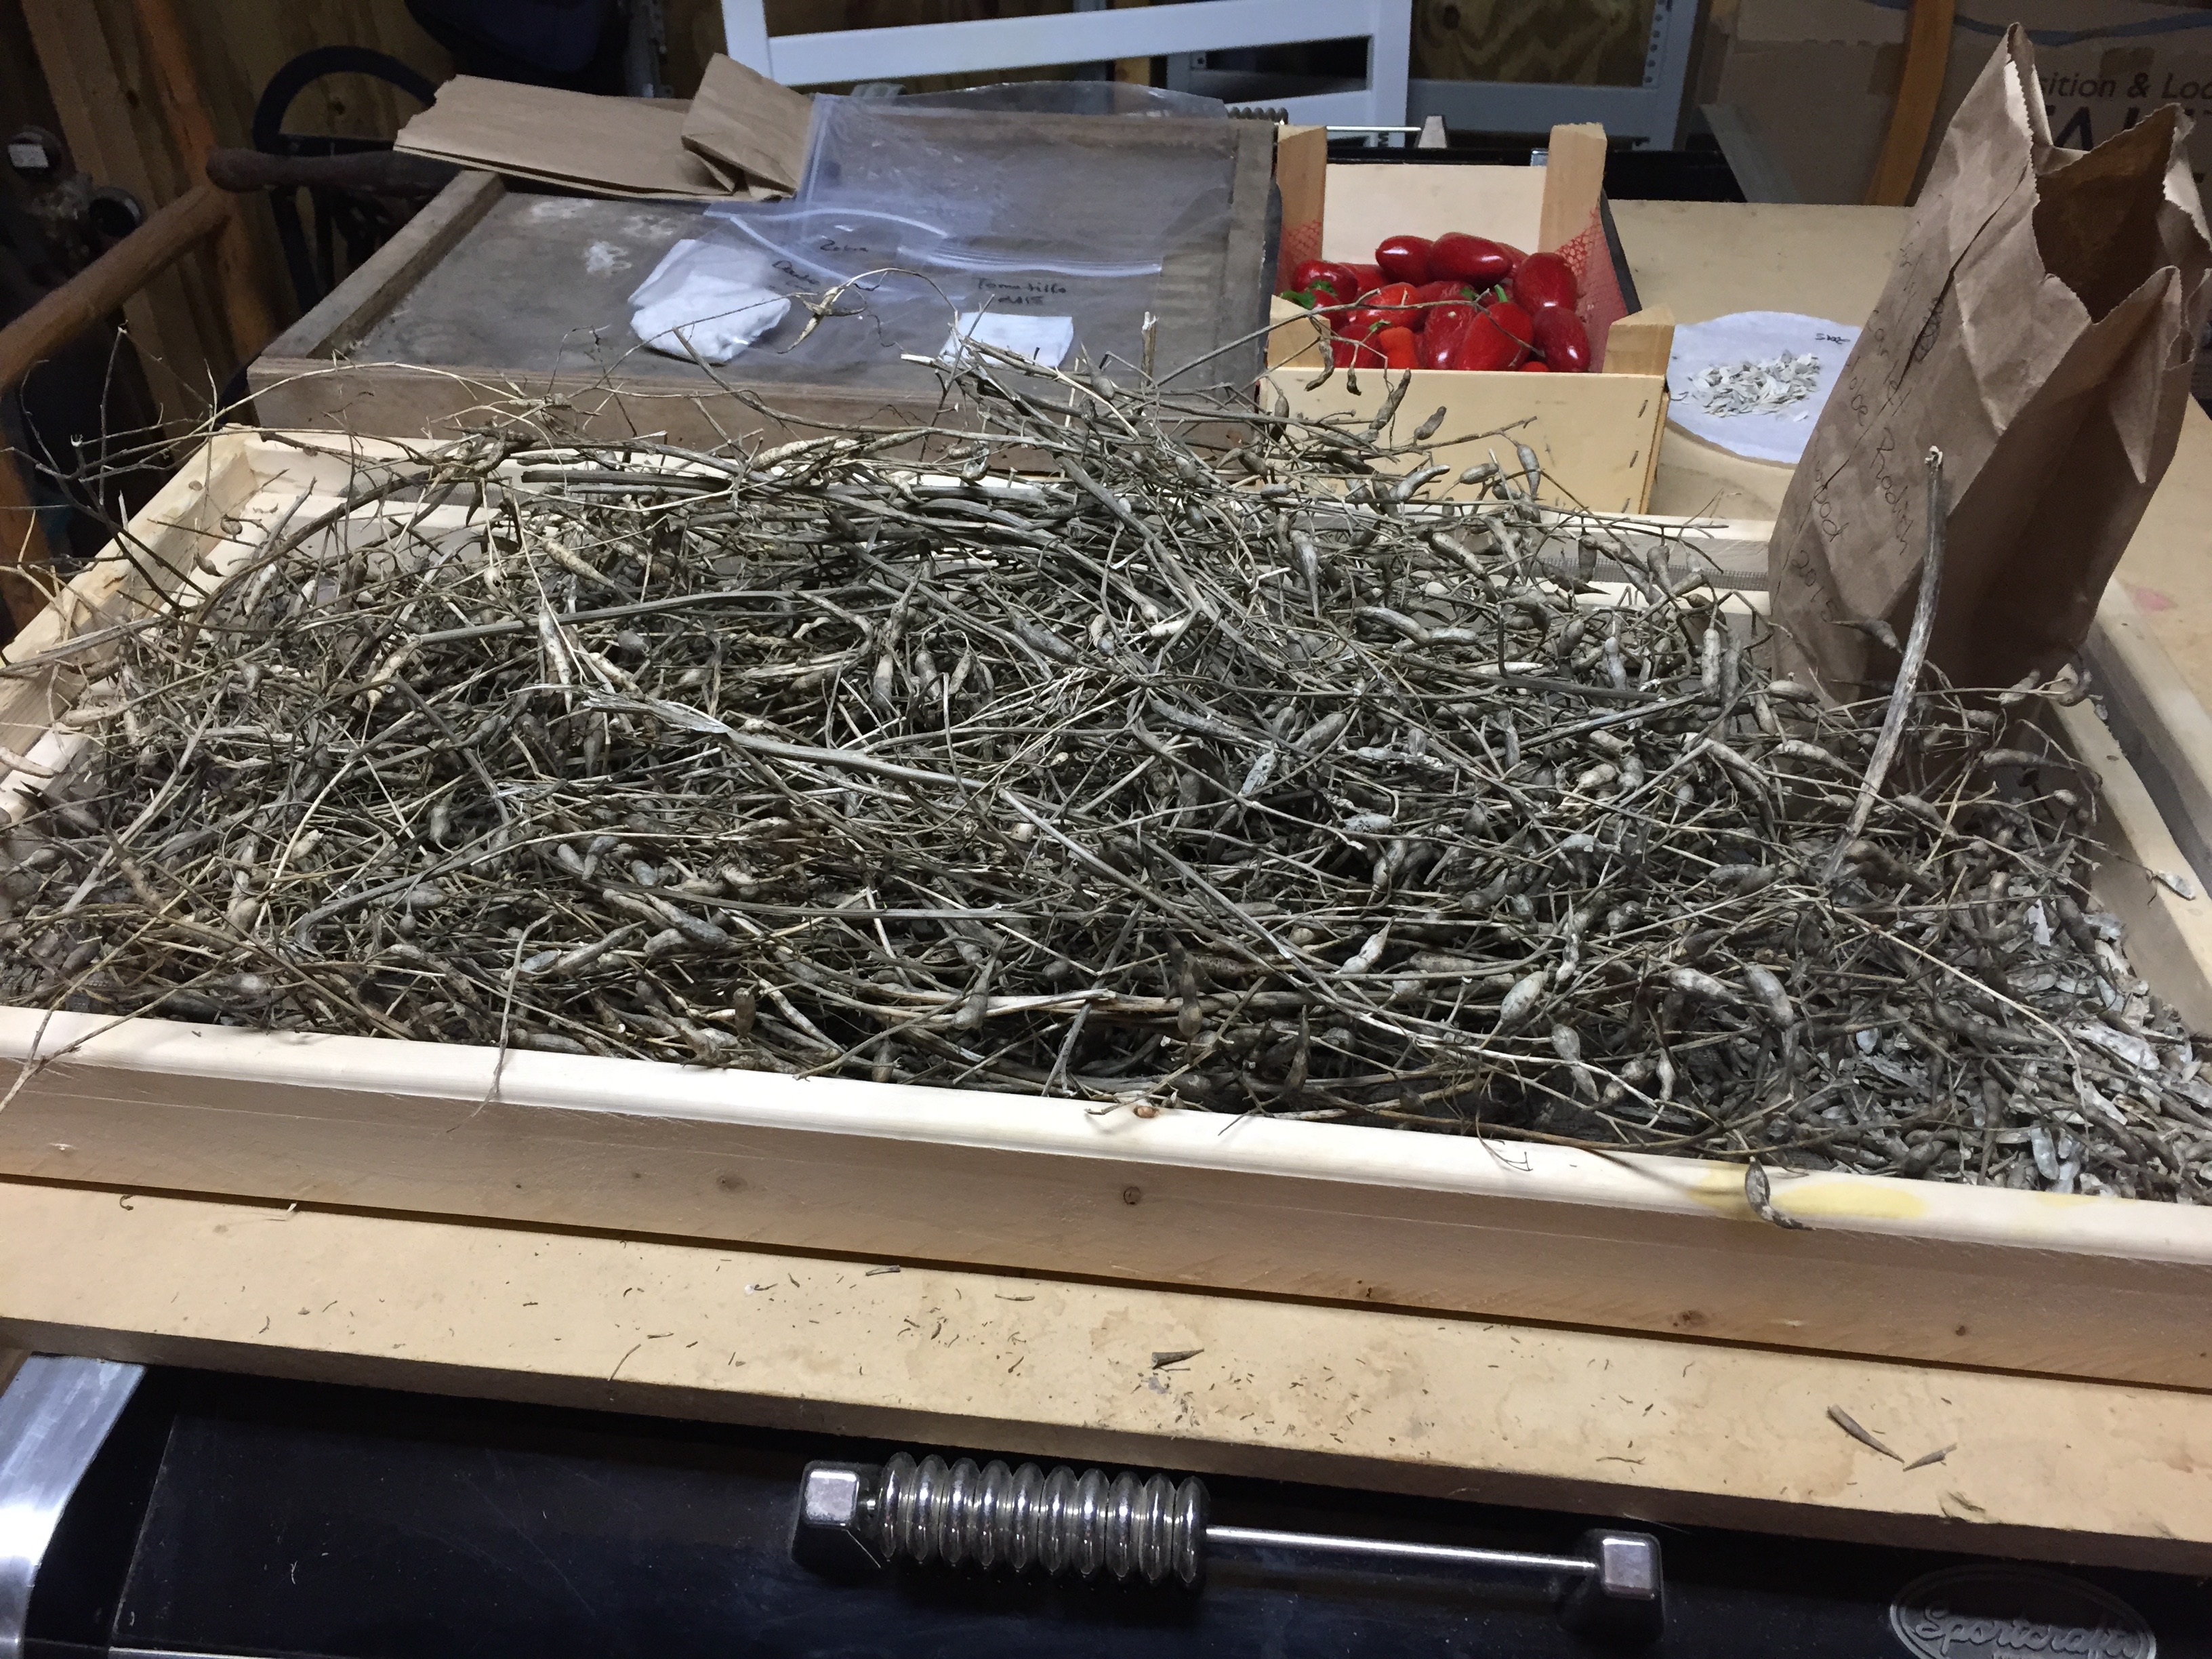
Beans and Peas
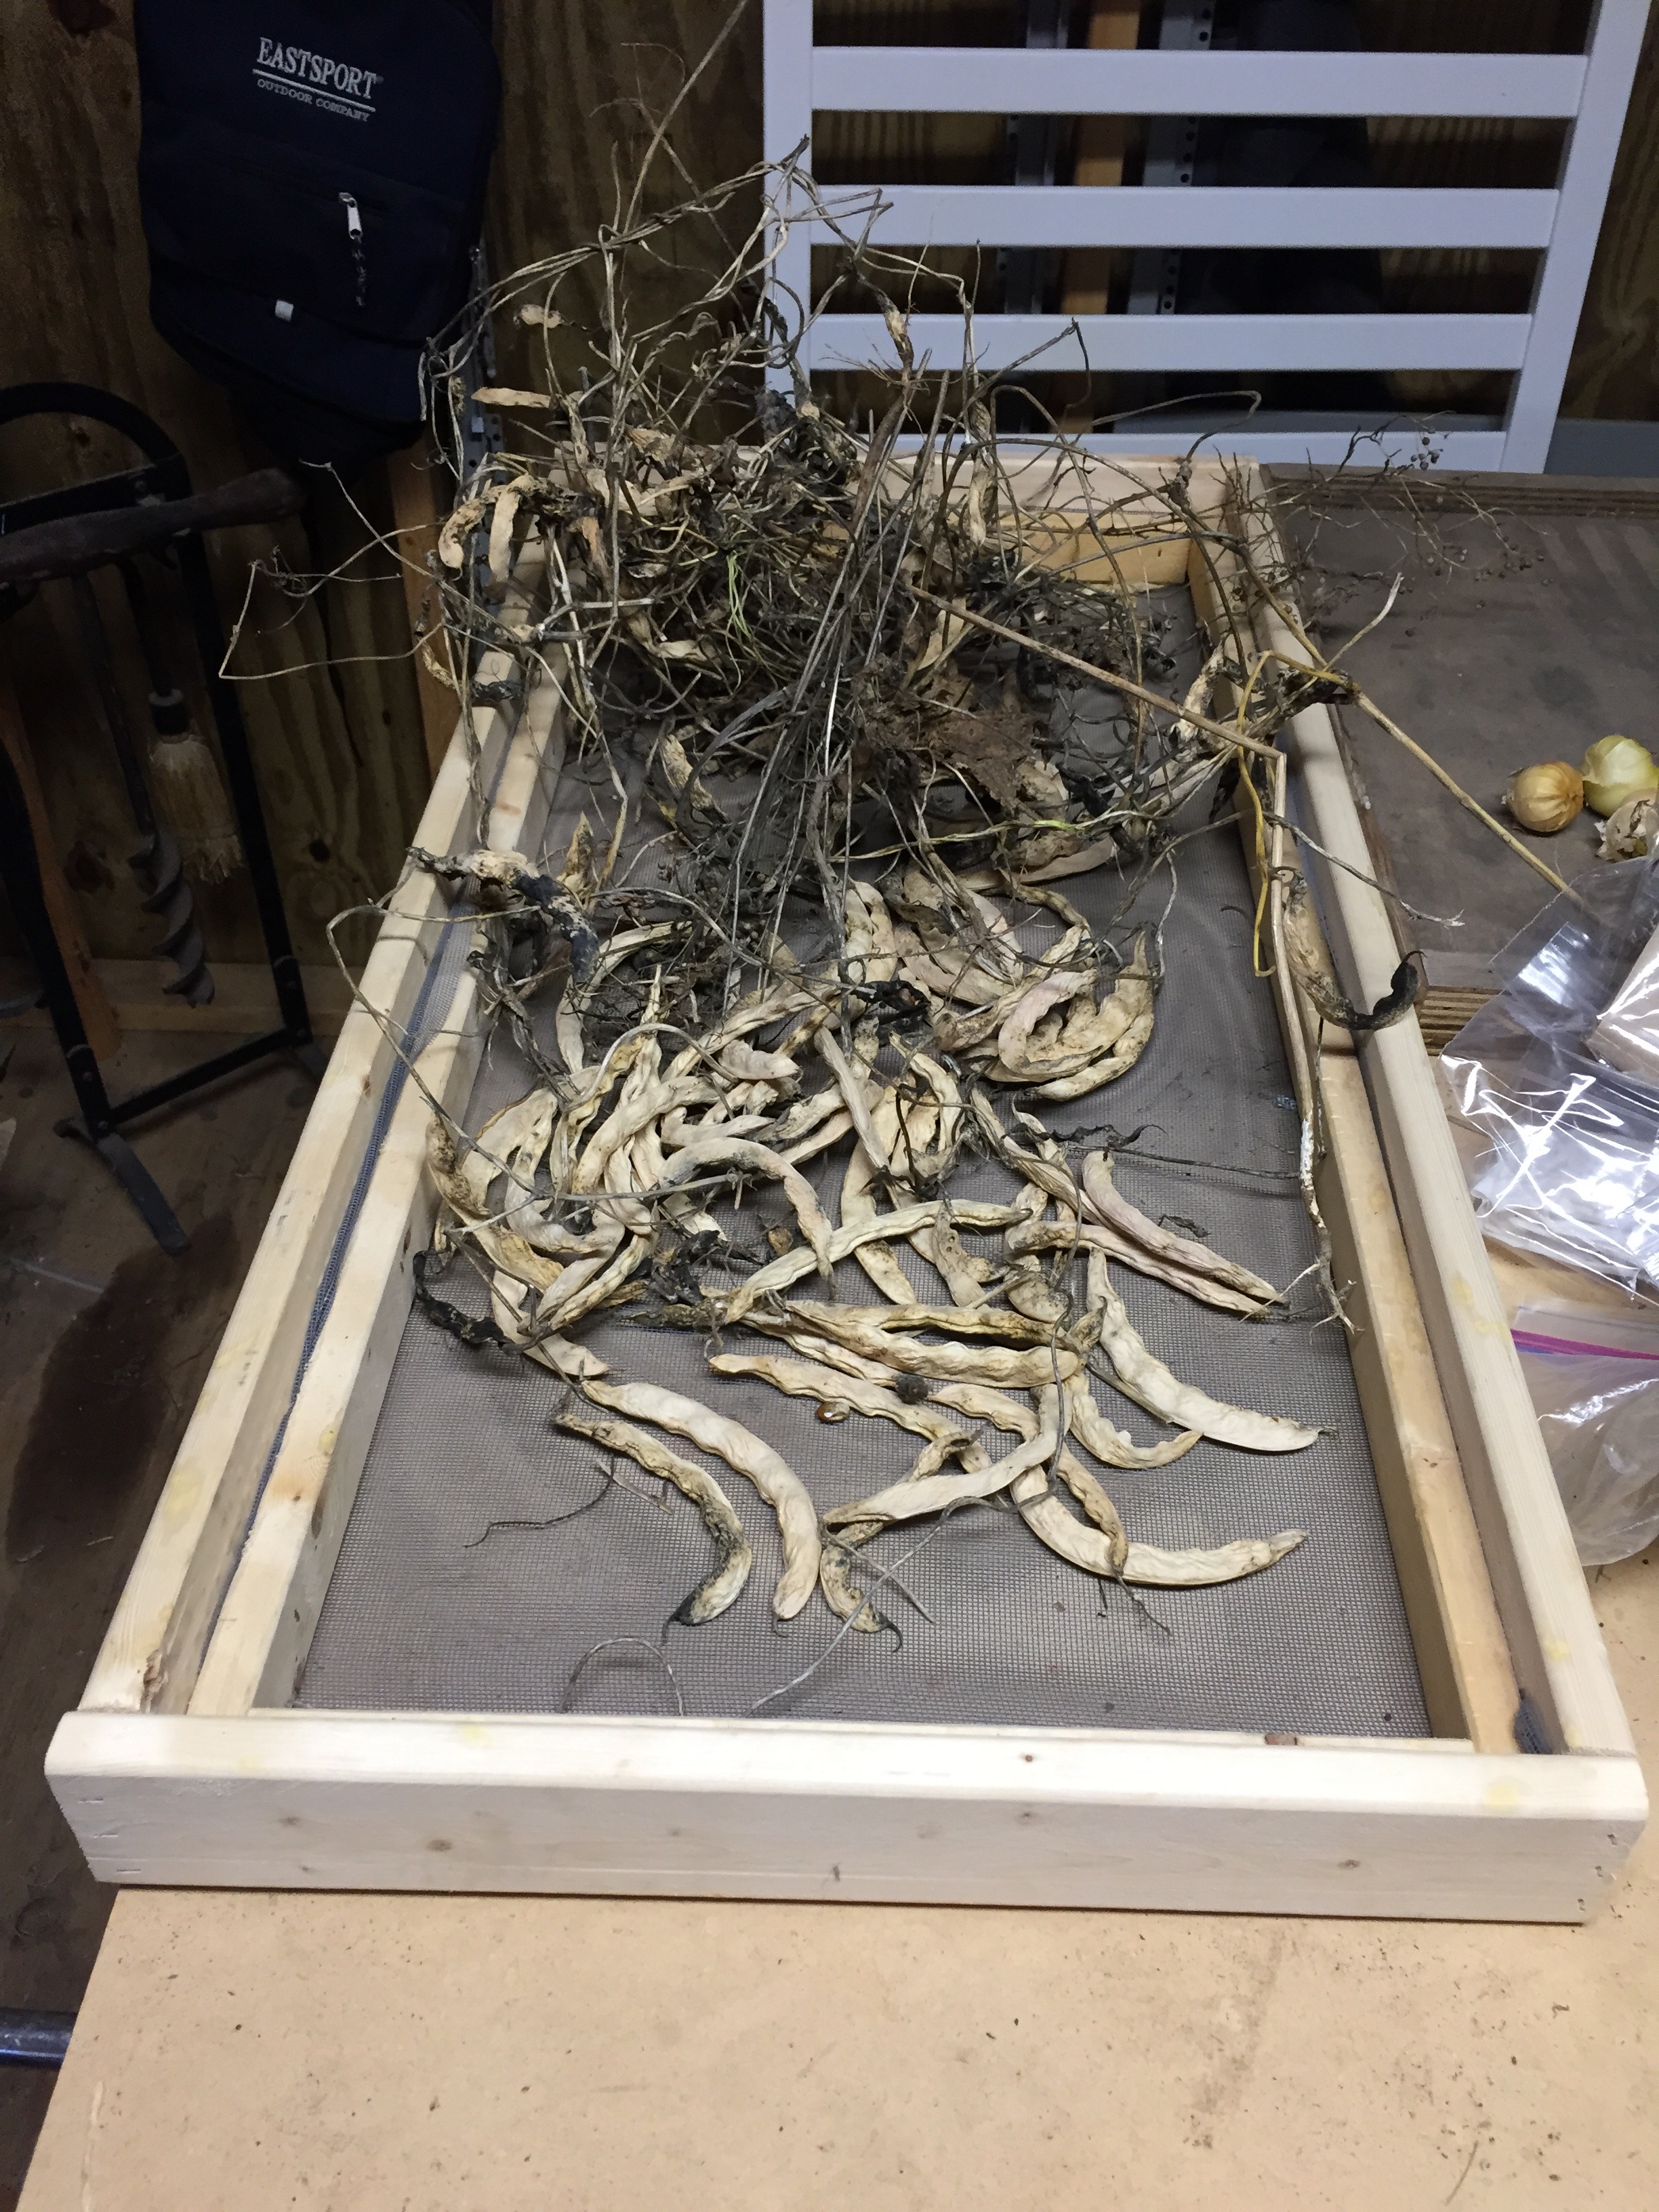
1. Let pods dry on the vine. If you collect the pods too early the seeds will have too much moisture and will not be viable for saving.
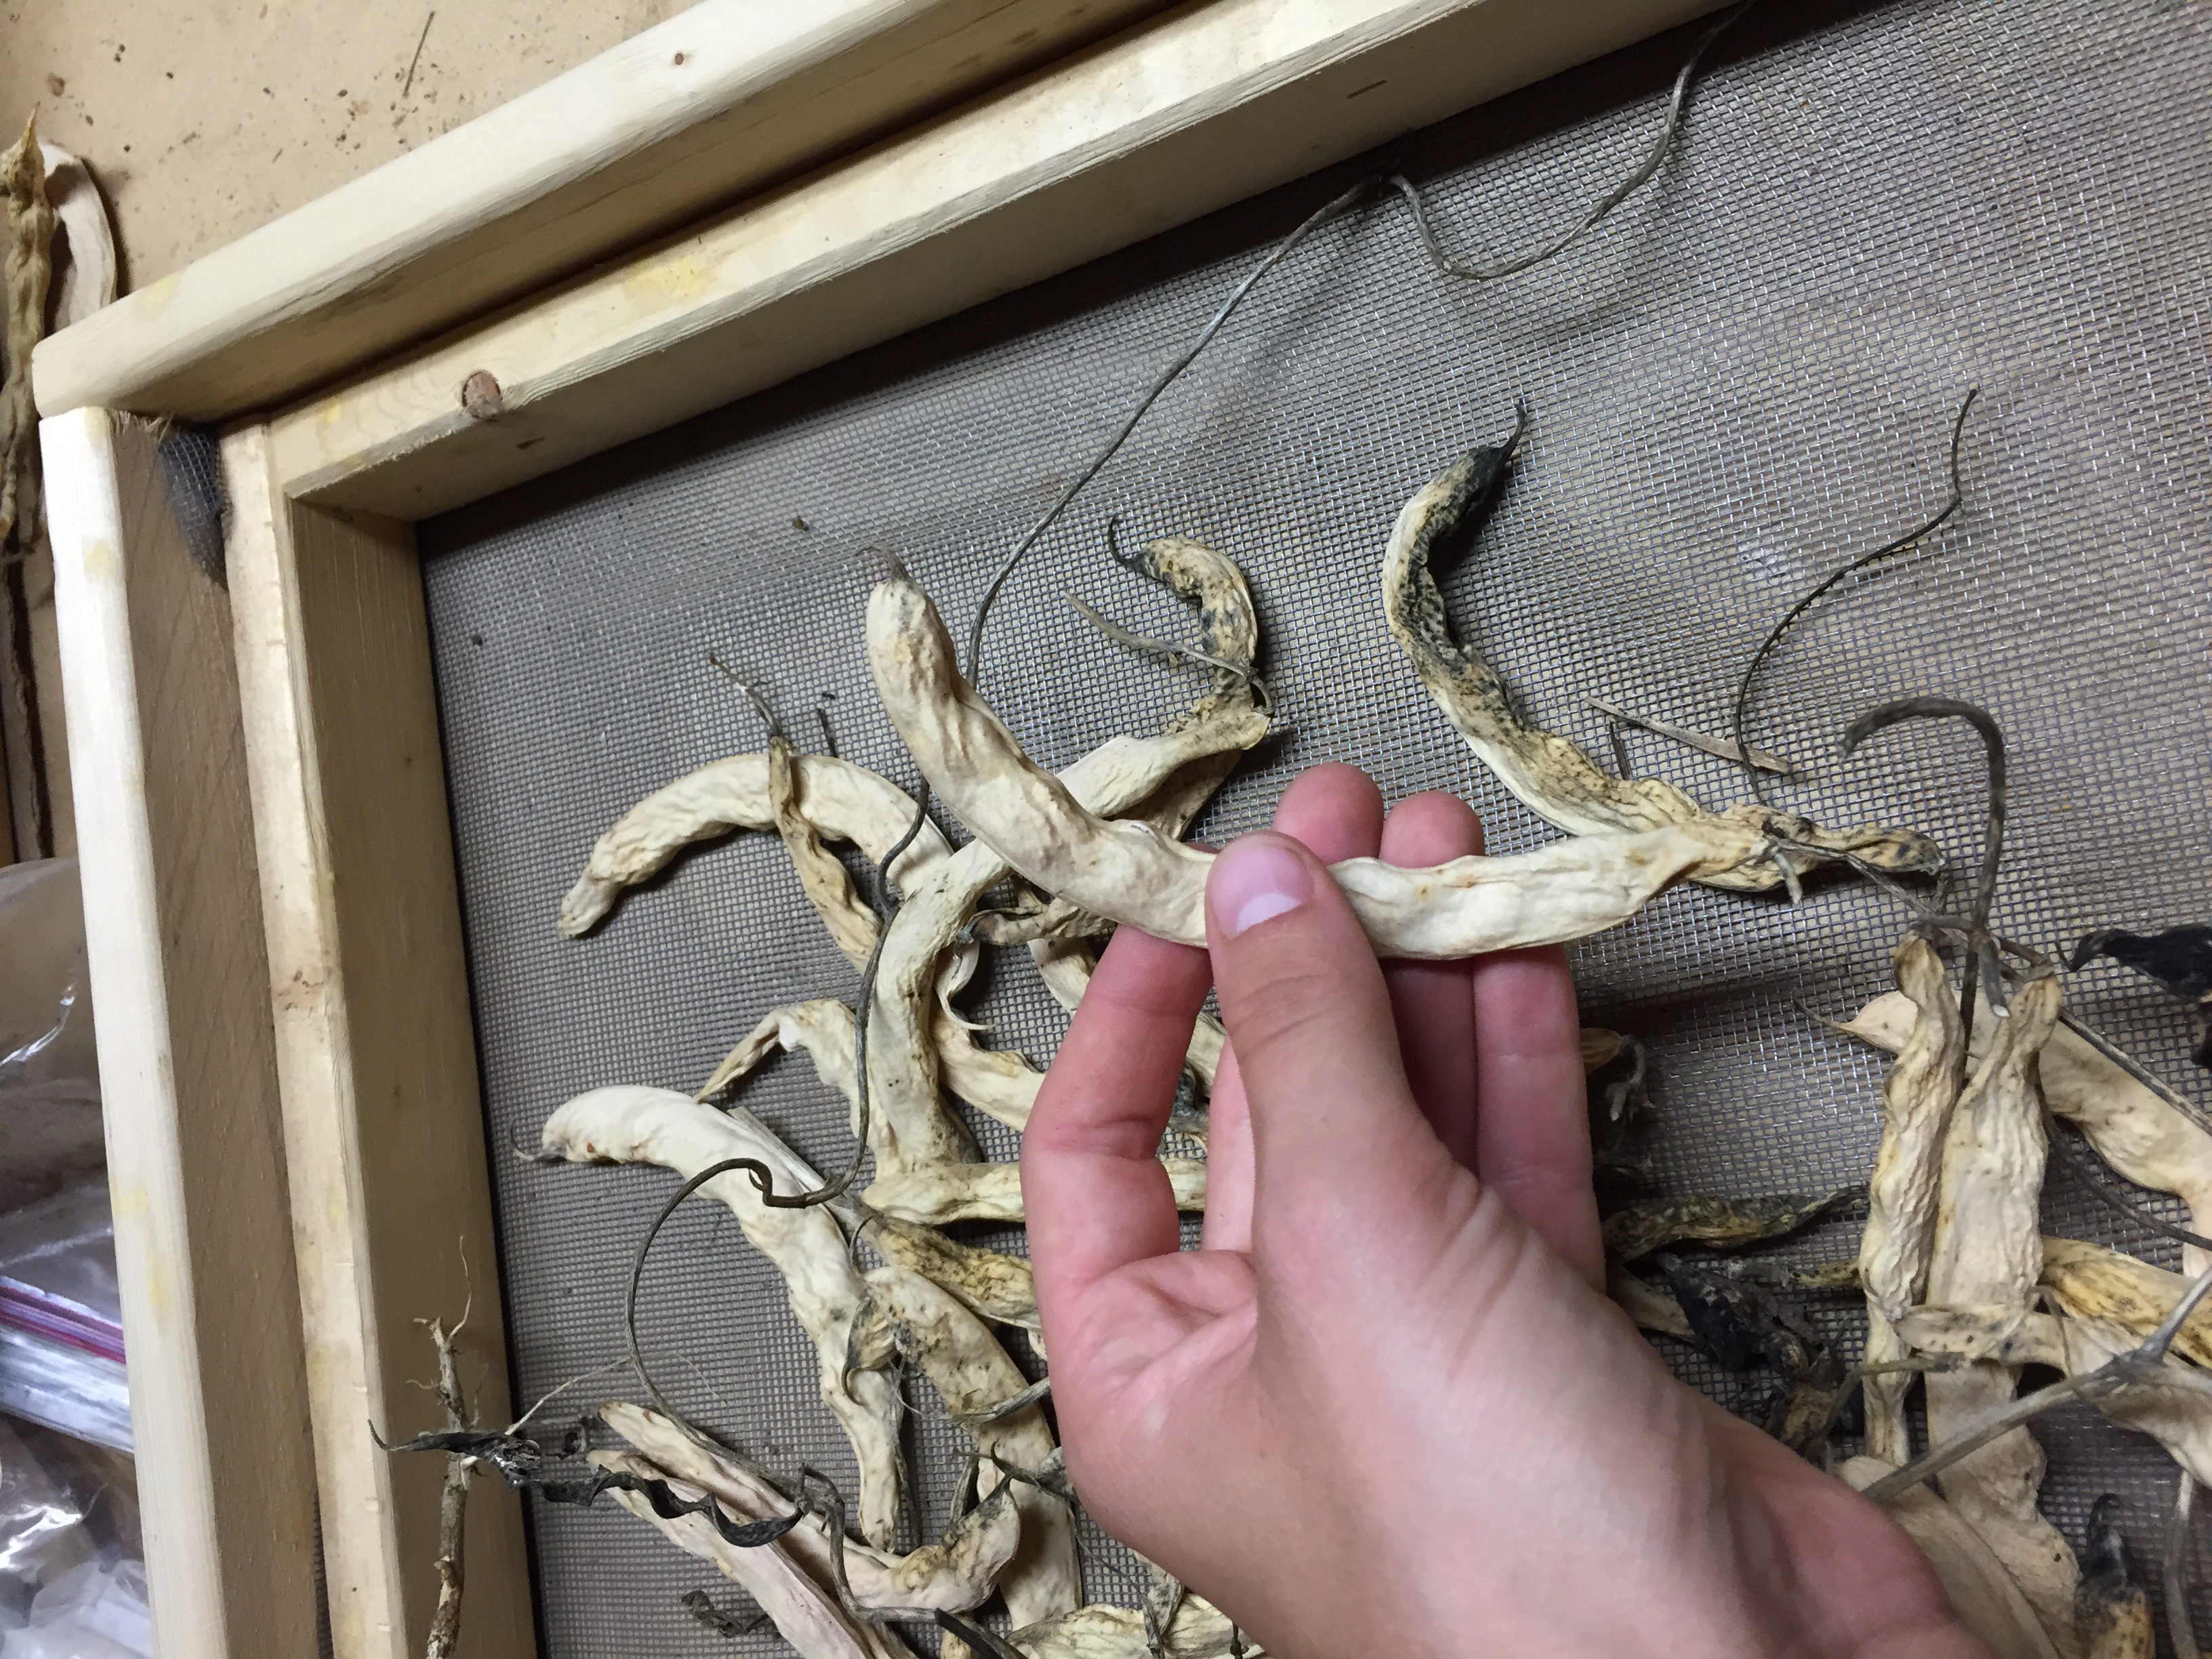
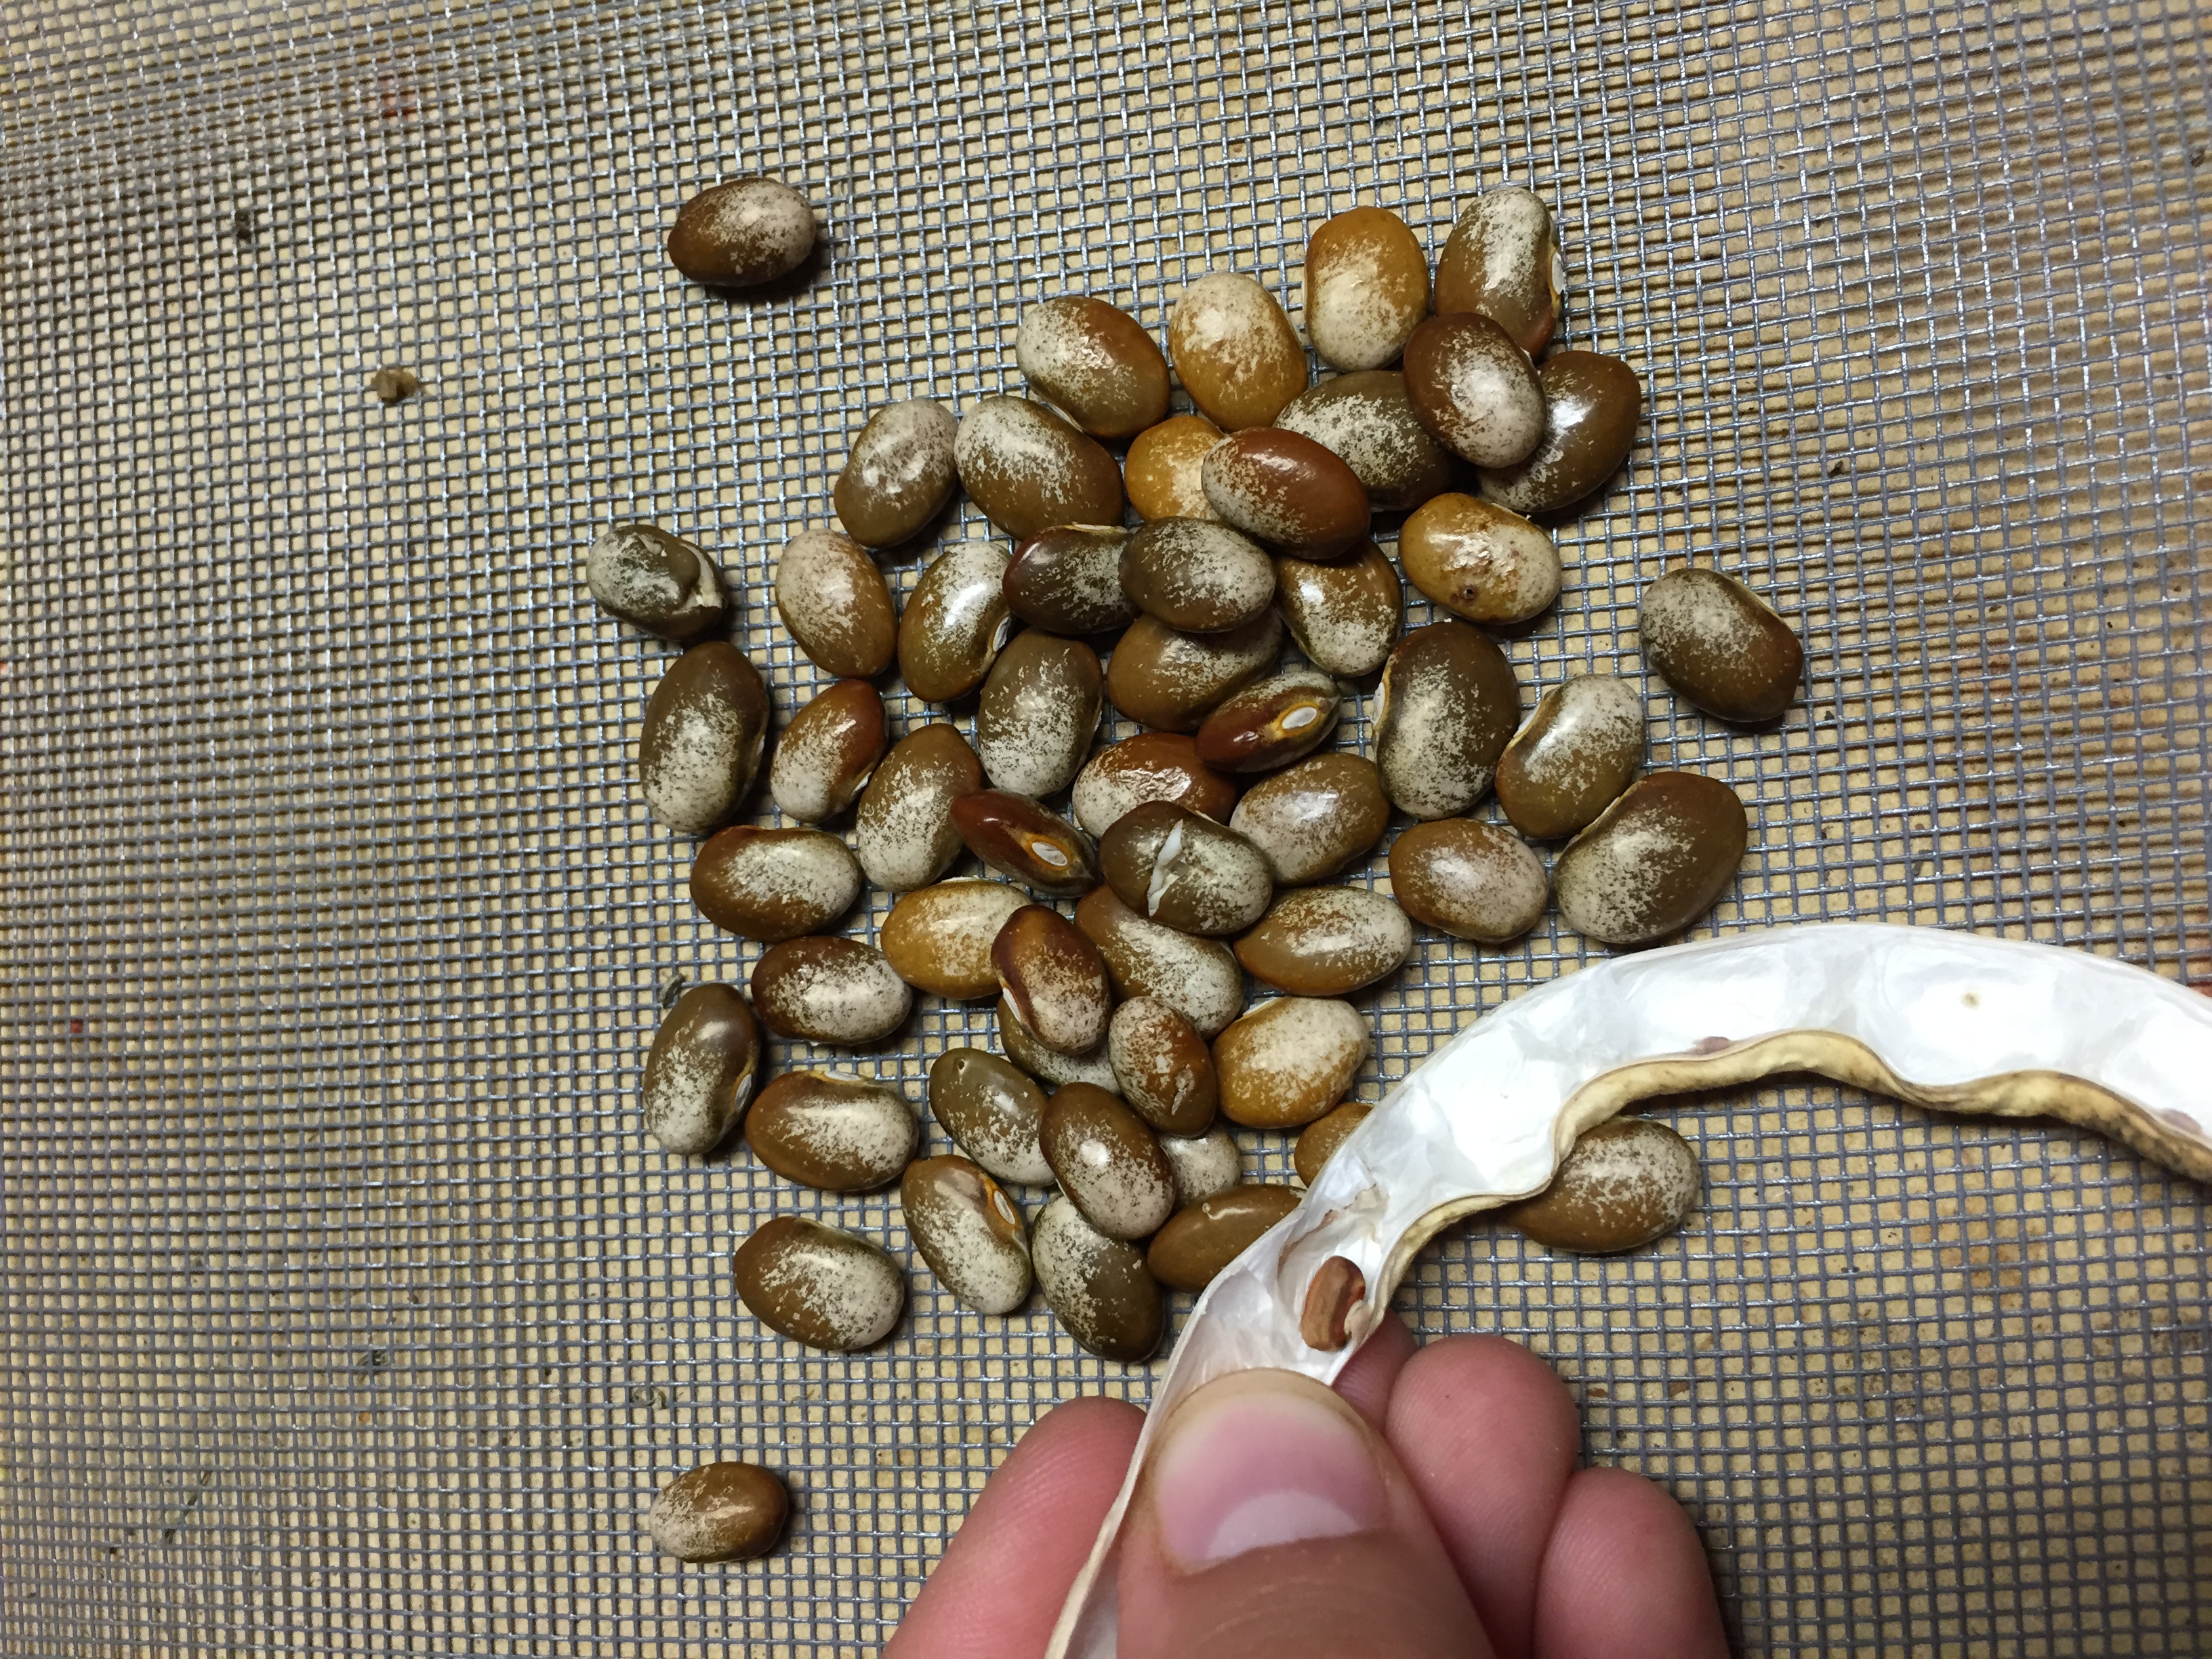
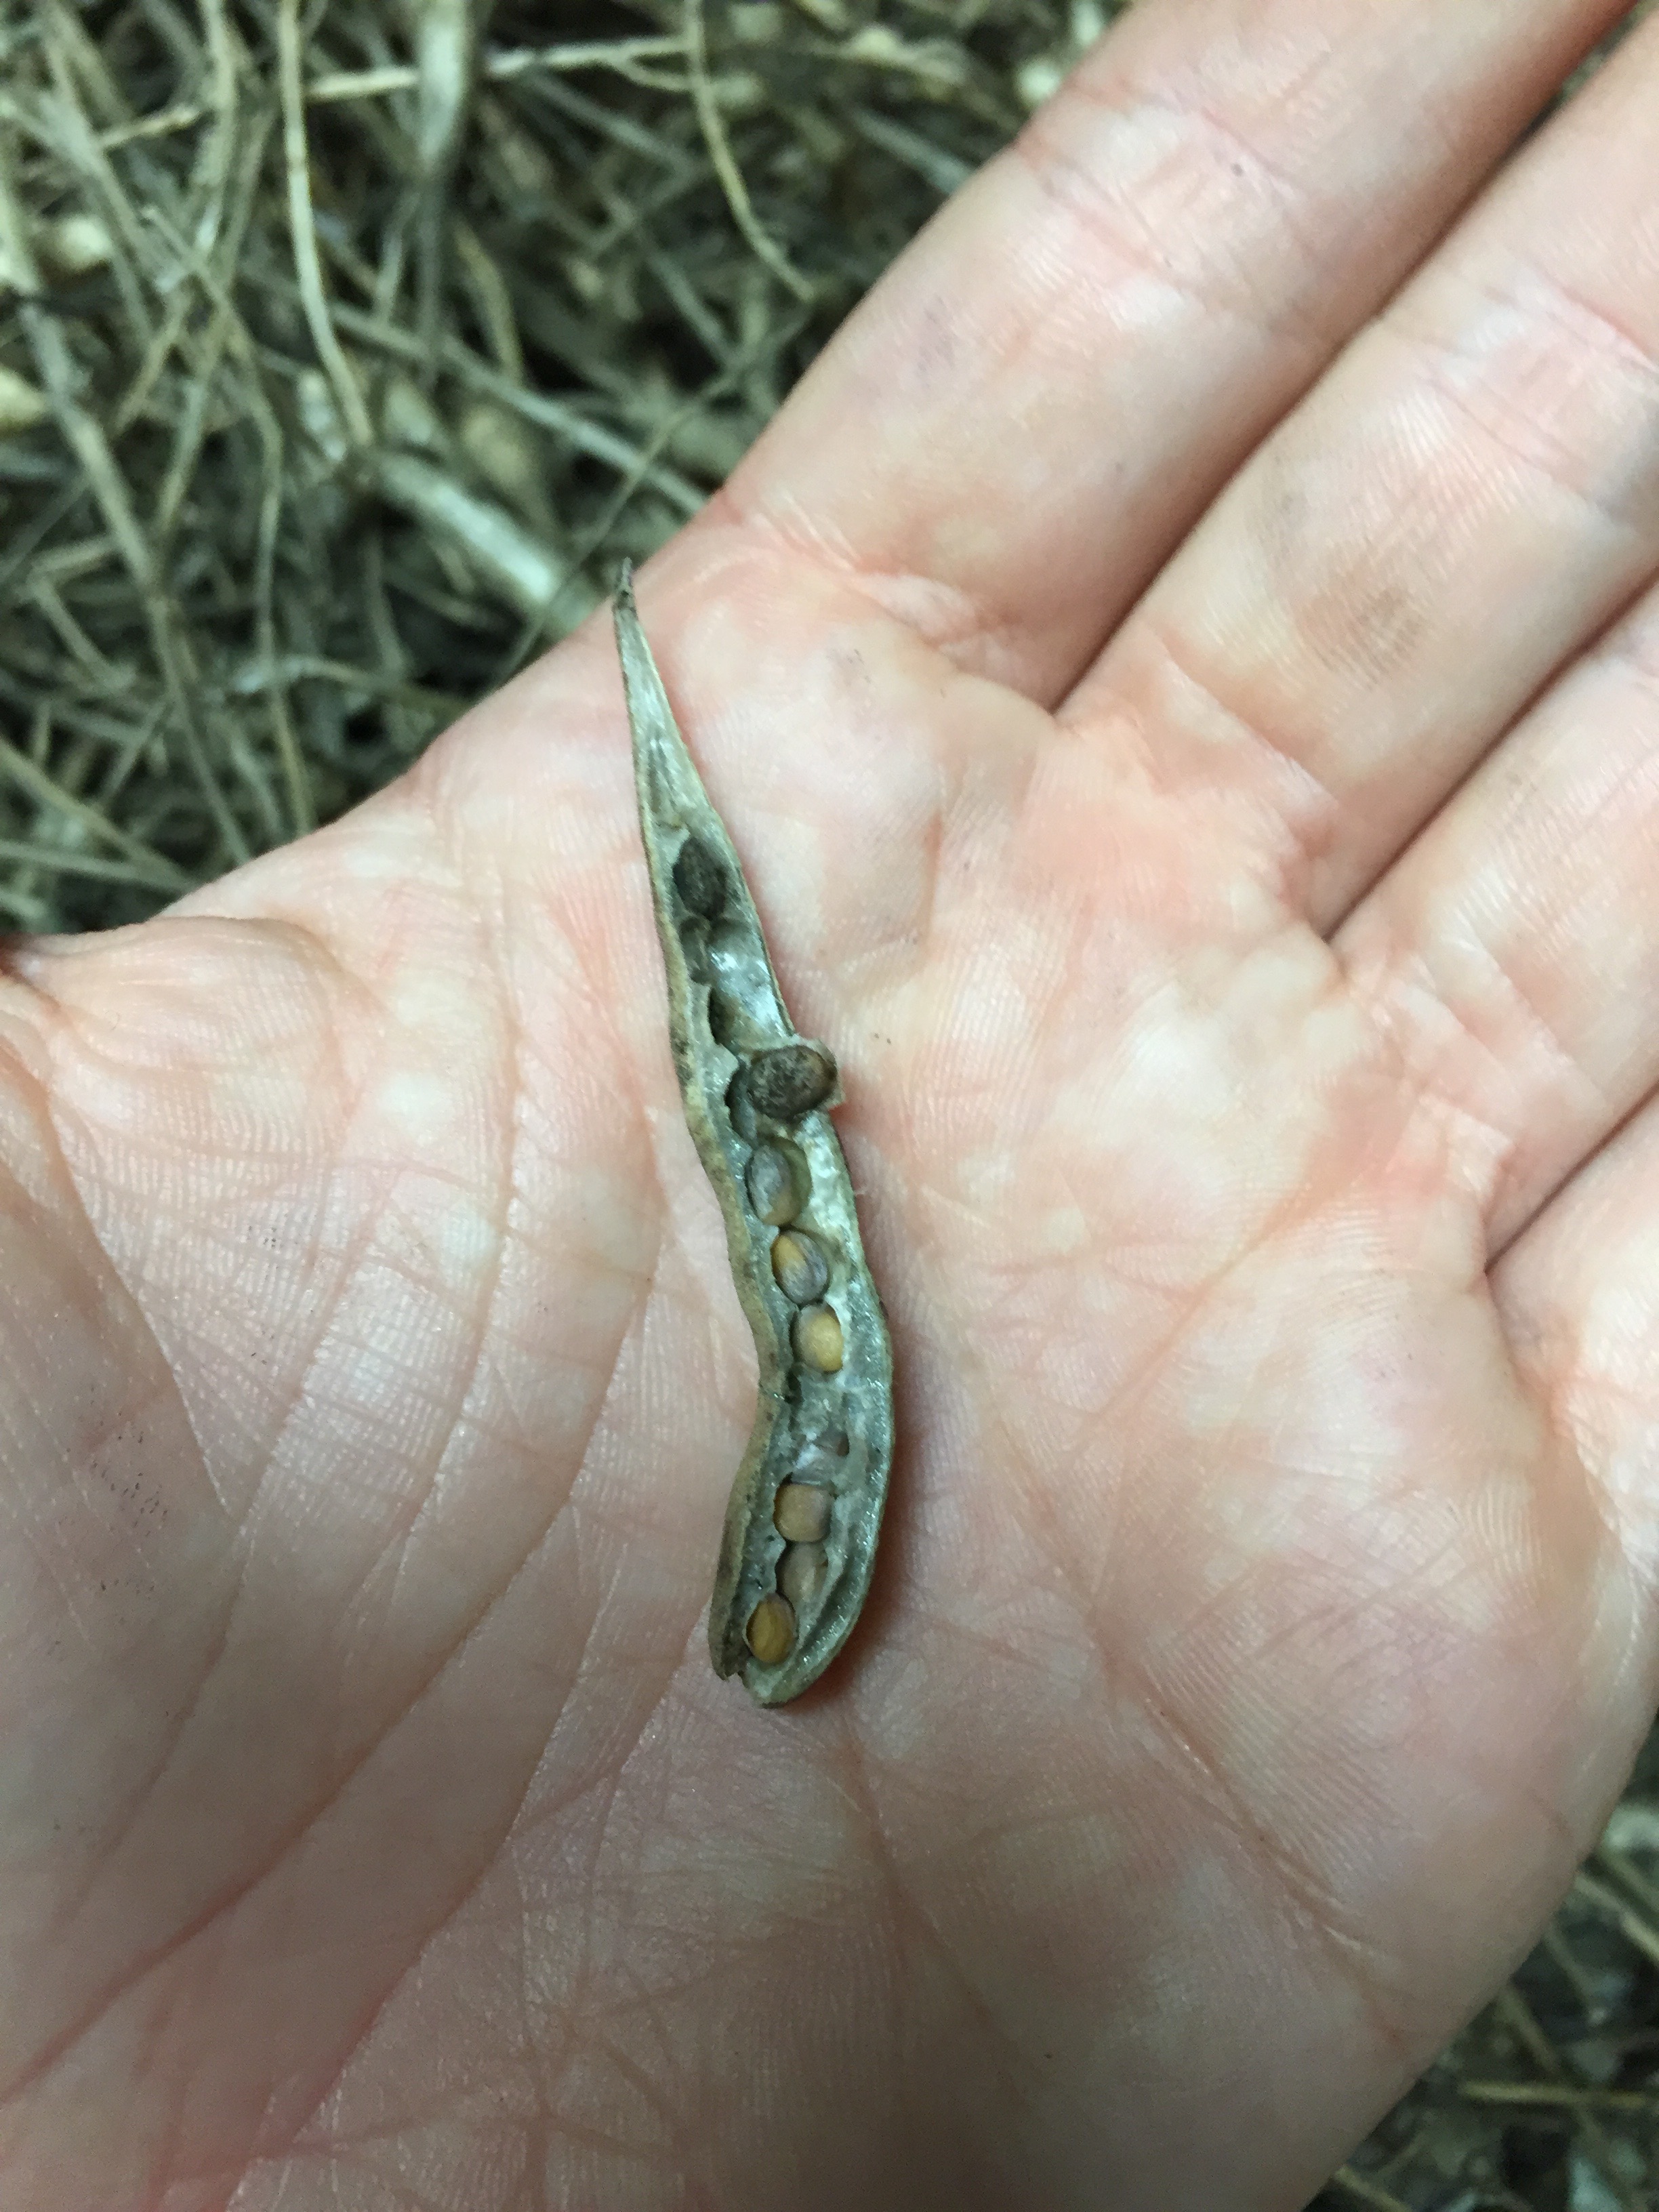
2. Take each pod and crack it open to remove the dried beans or peas.
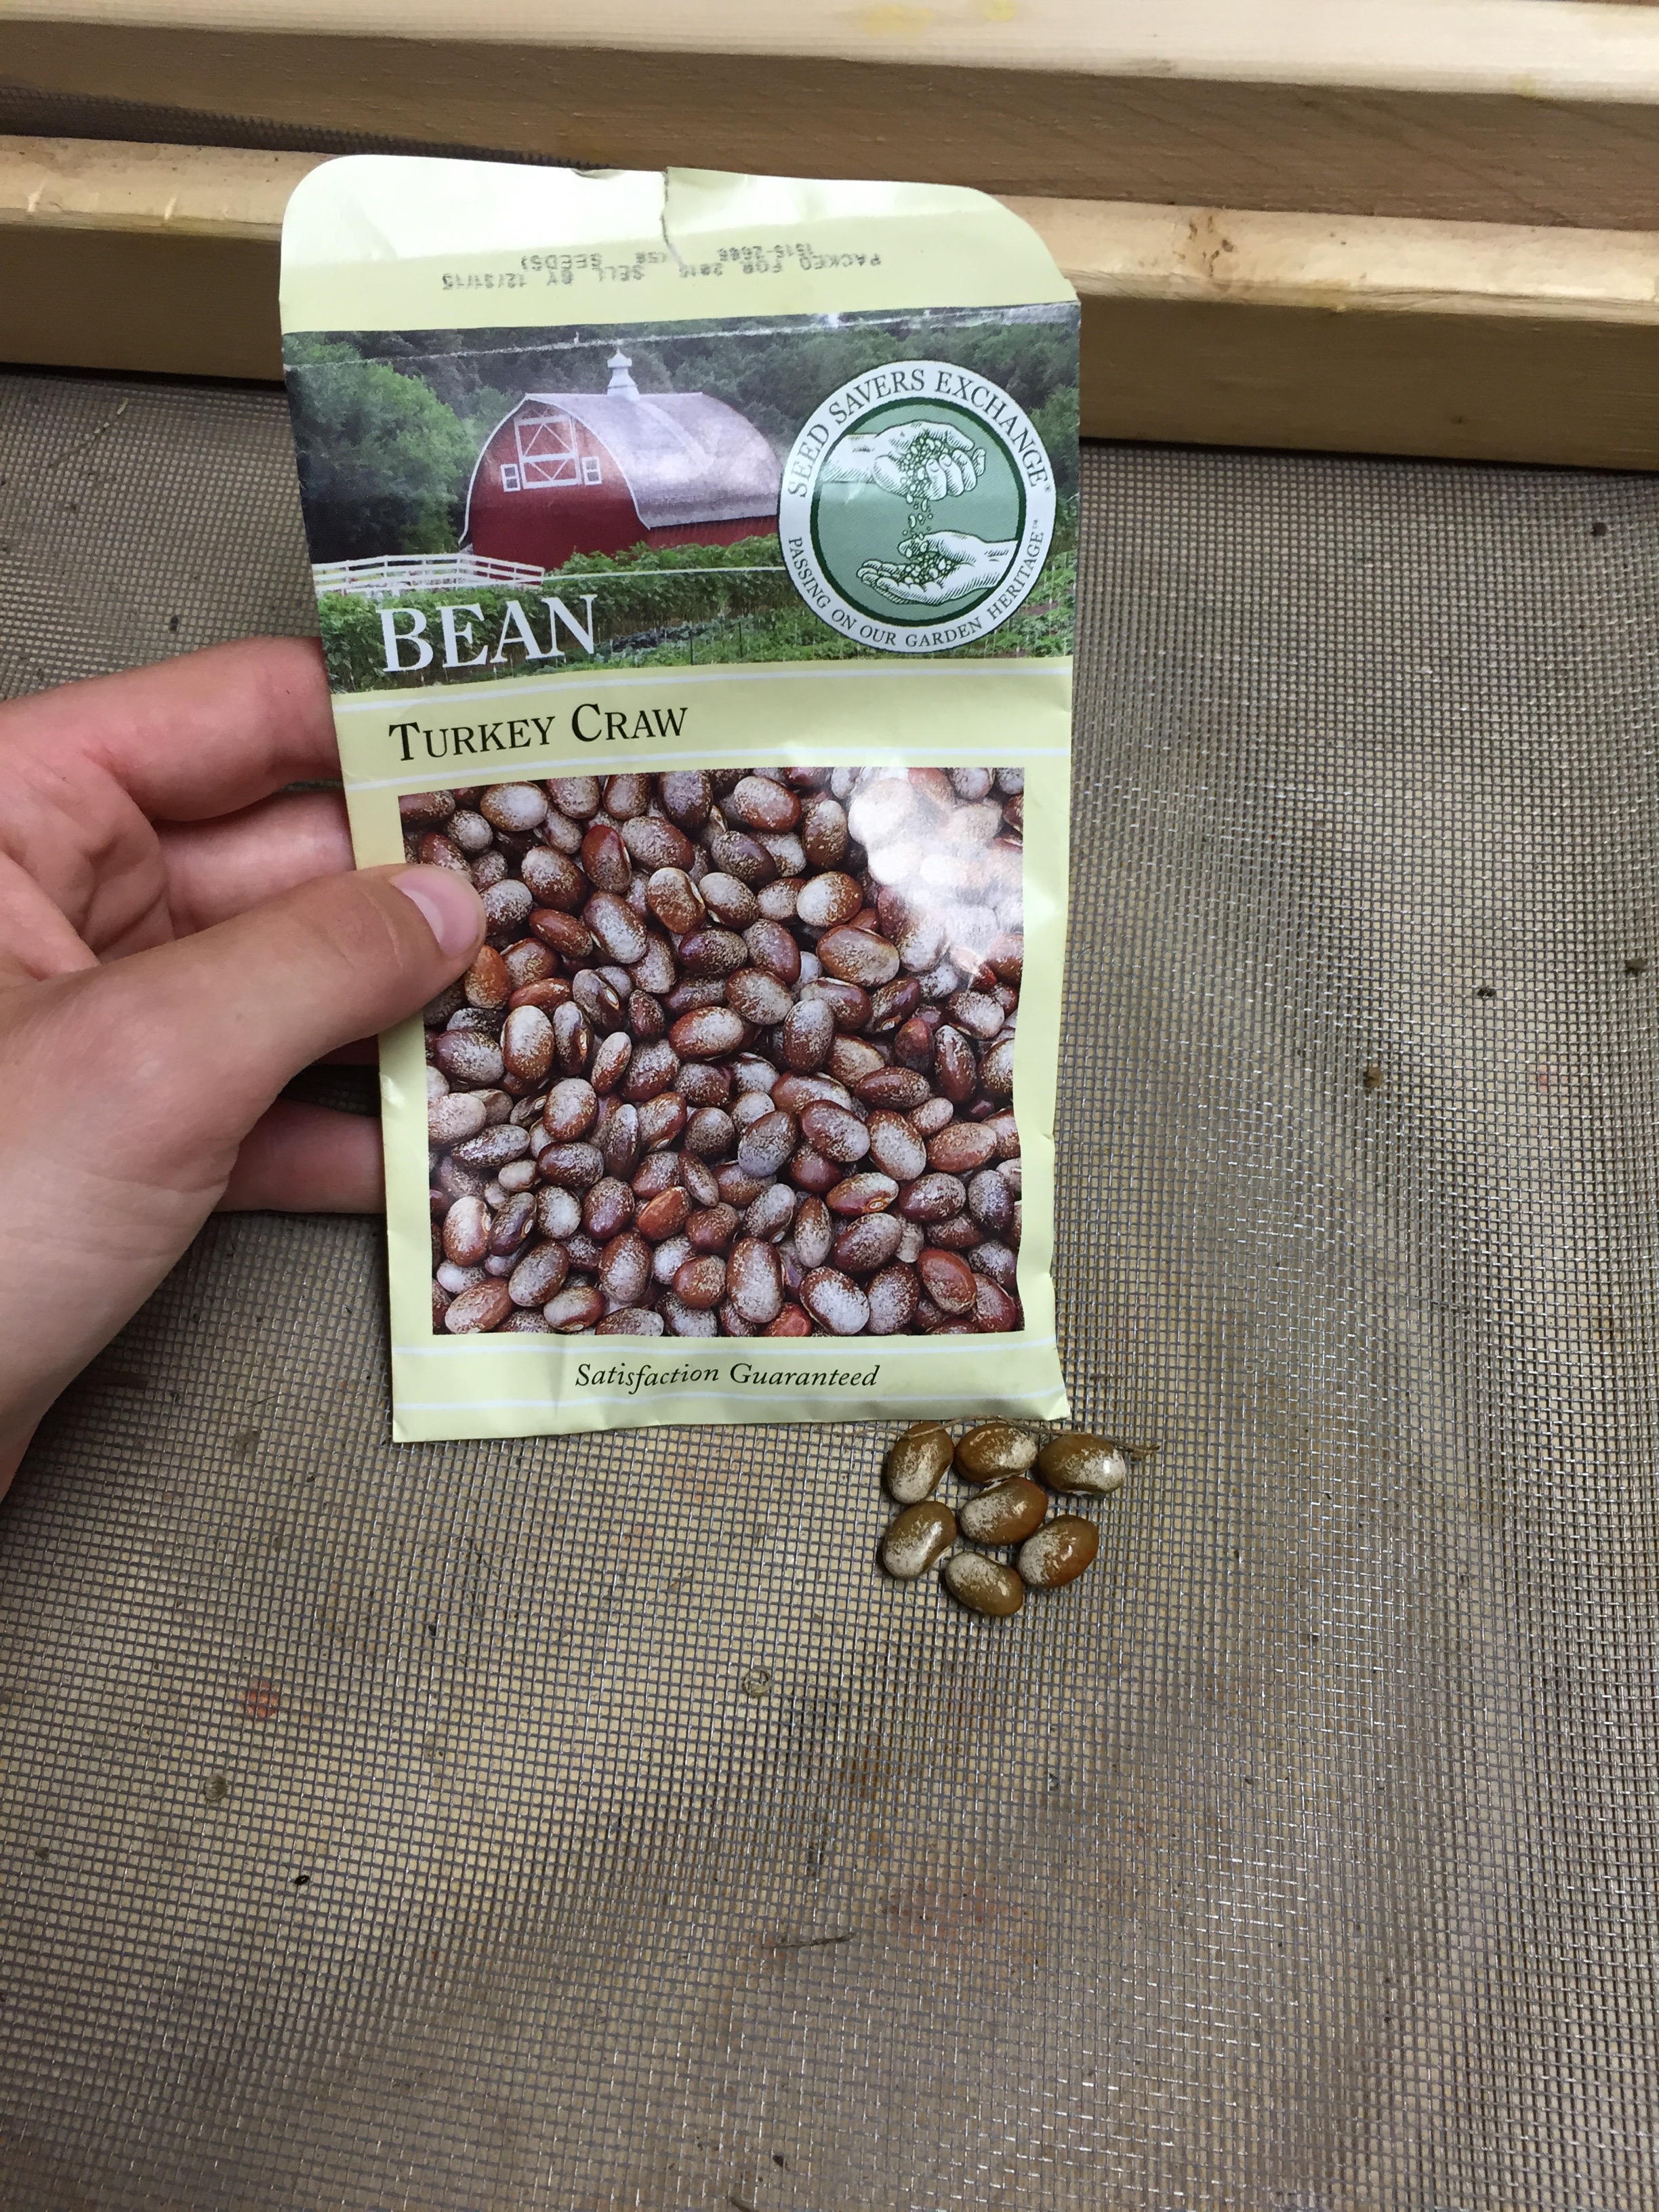
3. If you planted your seeds from a pack, you can compare the beans you are processing to those for the original package to make sure your variety didn’t cross. Most bean and pea varieties will not cross readily but you should always check especially if you intend on trading your seeds. * Seed Saver Exchange is an excellent source for heirloom crop varieties
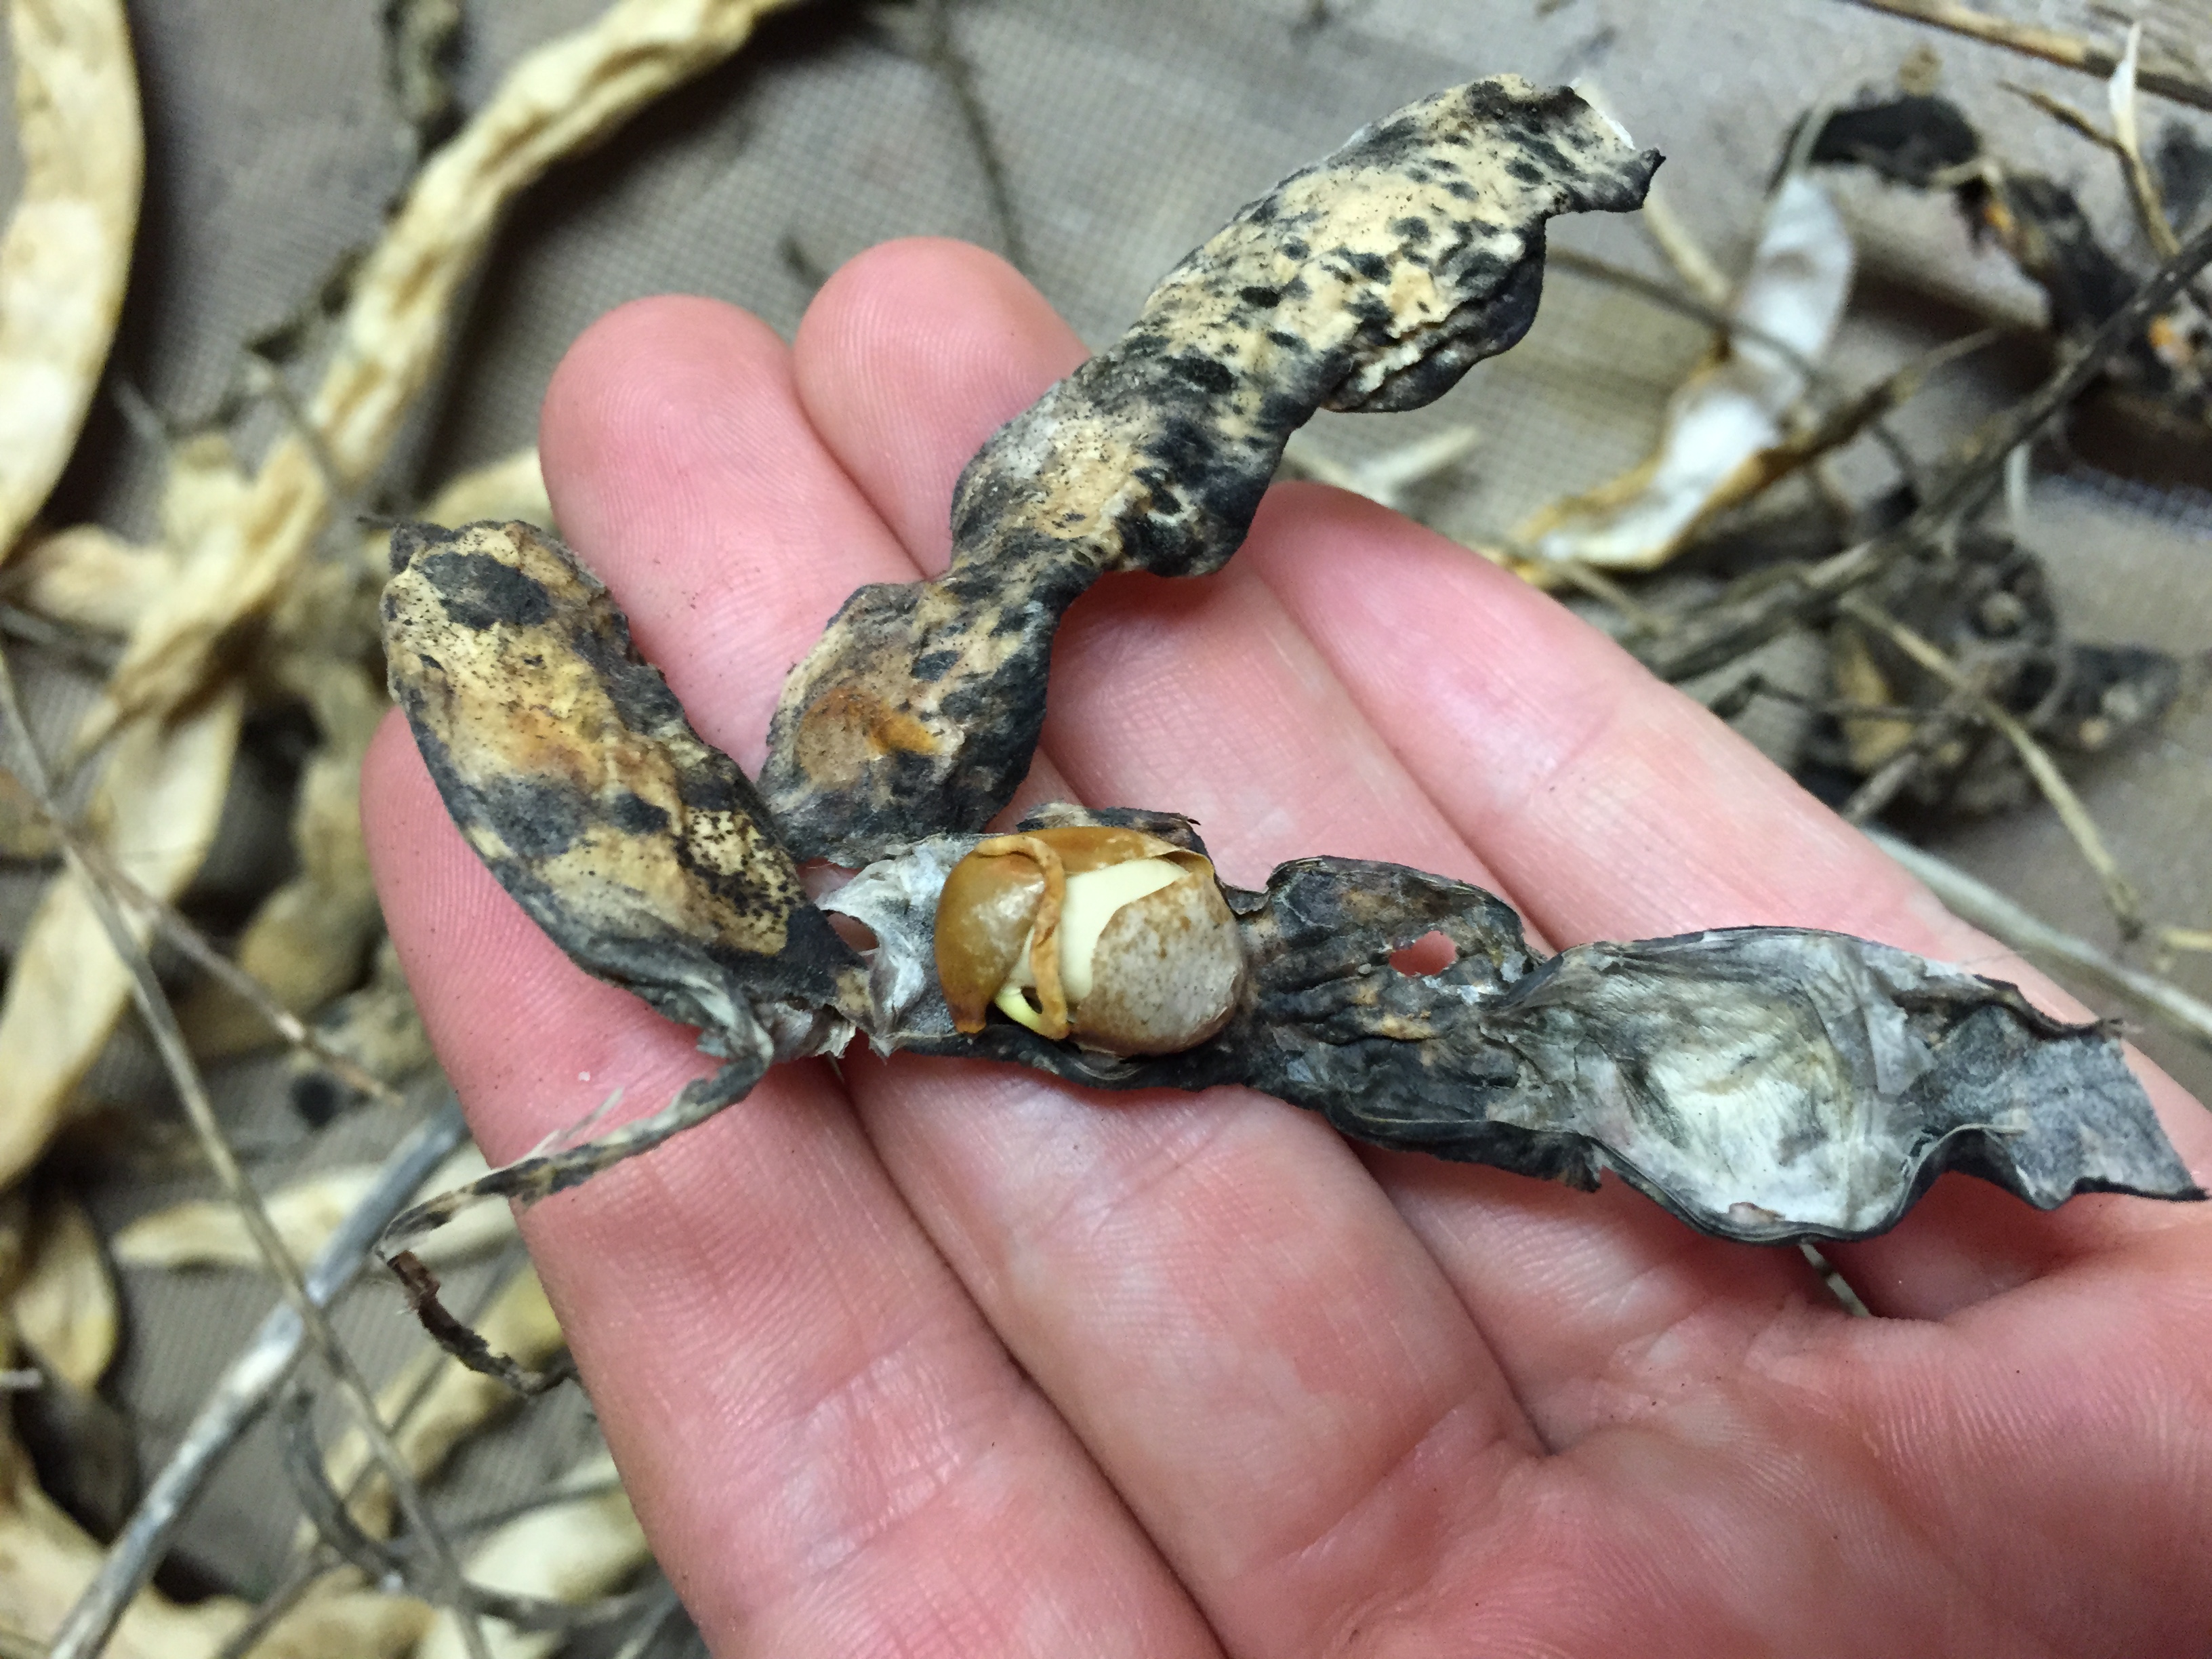

4. Do not save seeds that have been compromised by being eaten by insects, mildewed, or have begun to germinate within the pod.

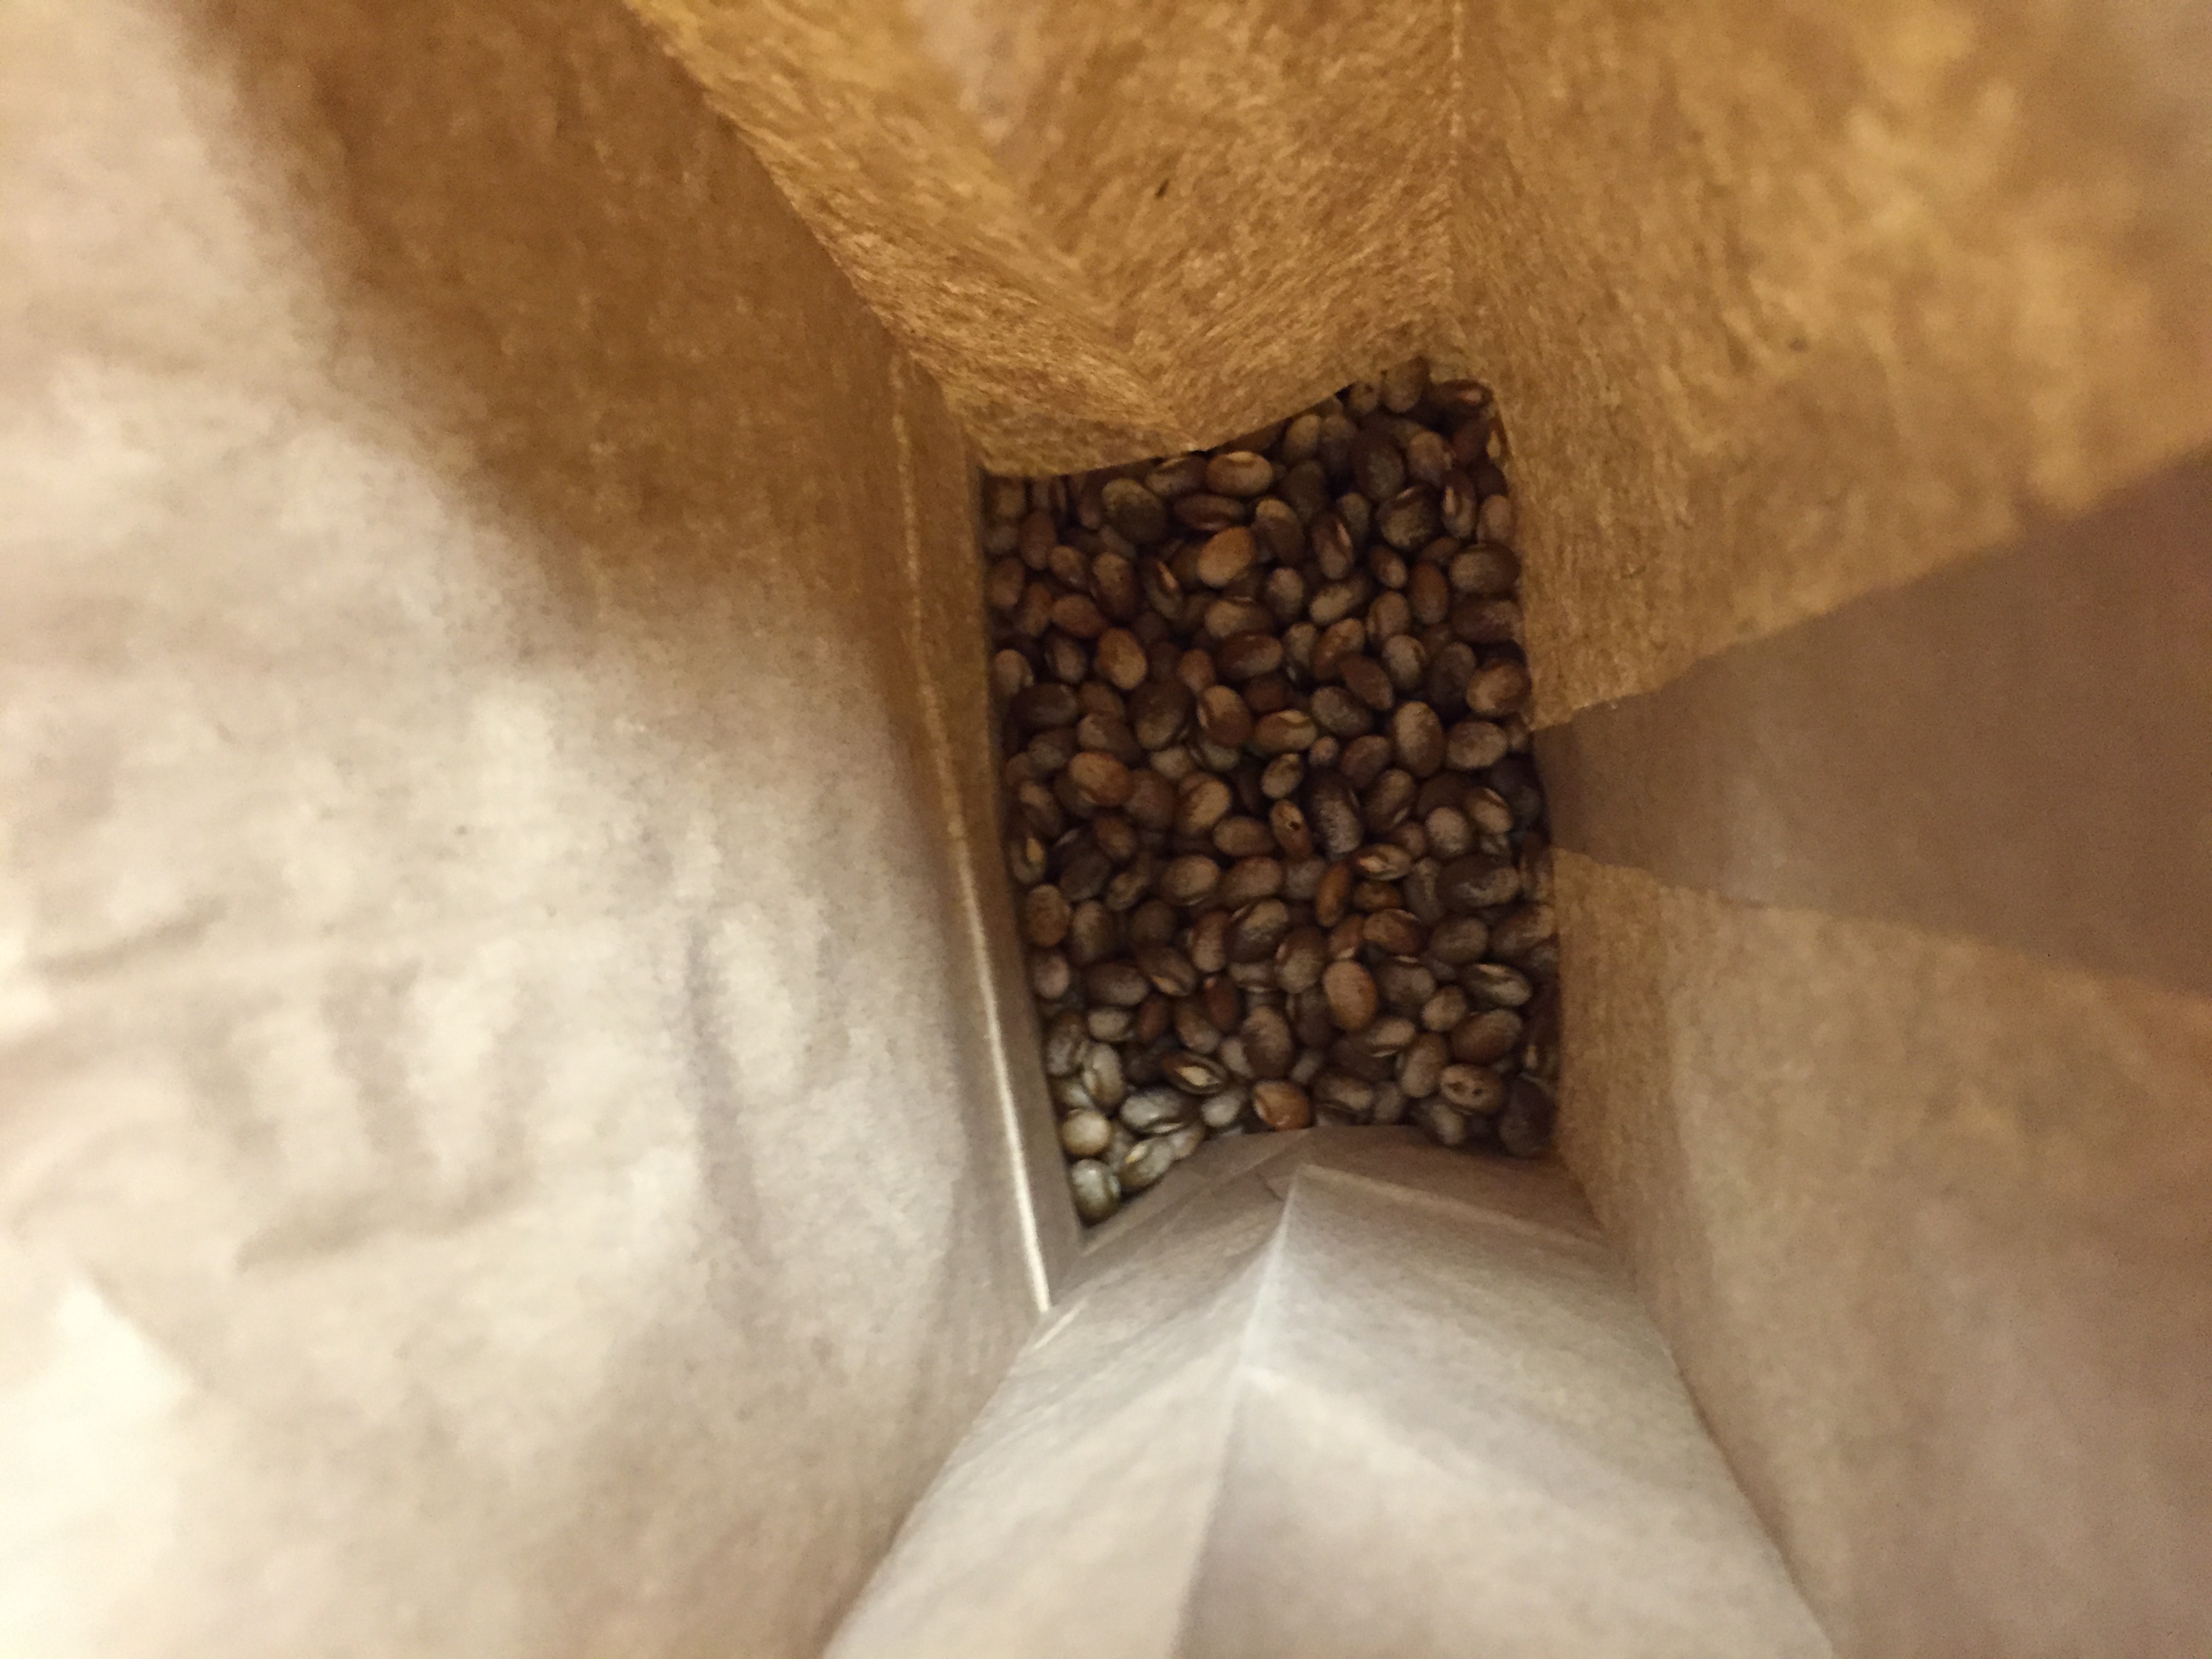
5. Put your seeds into a labeled paper bag and then a ziplock bag for storage
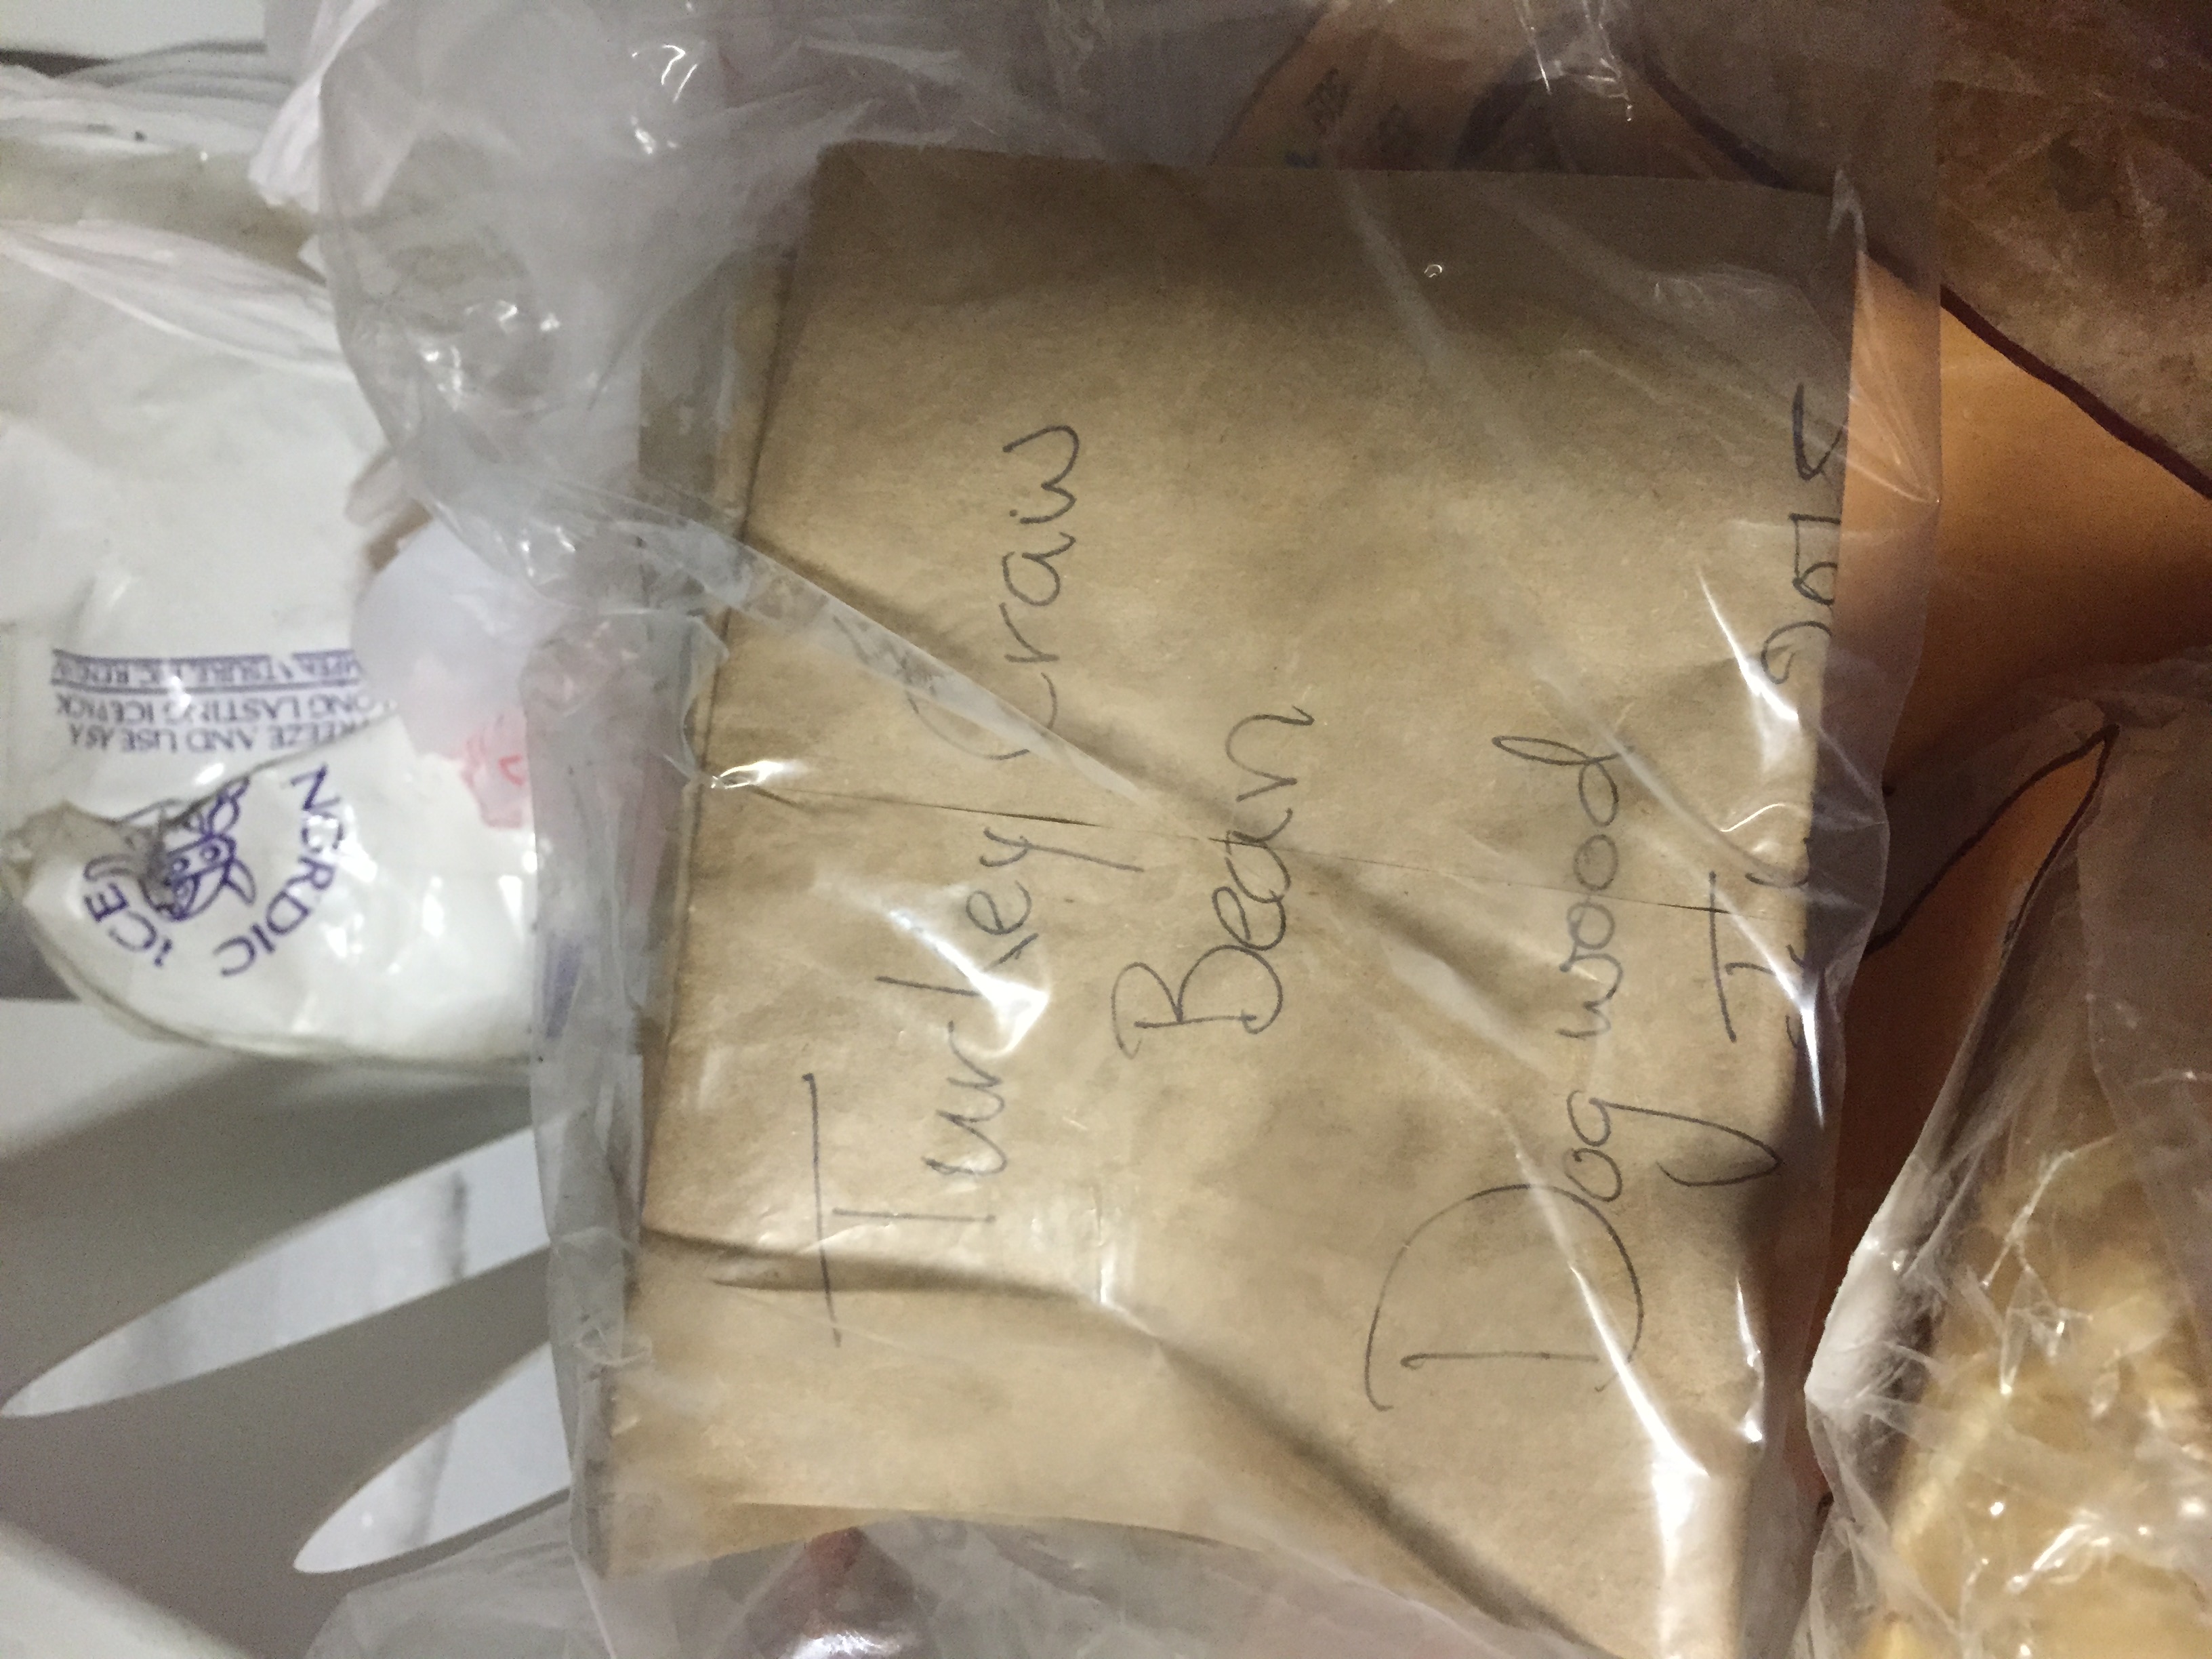
6. Put the bag of seeds into a freezer for about a week, this will kill any weevils or small insects that may be in the beans or peas you harvested.
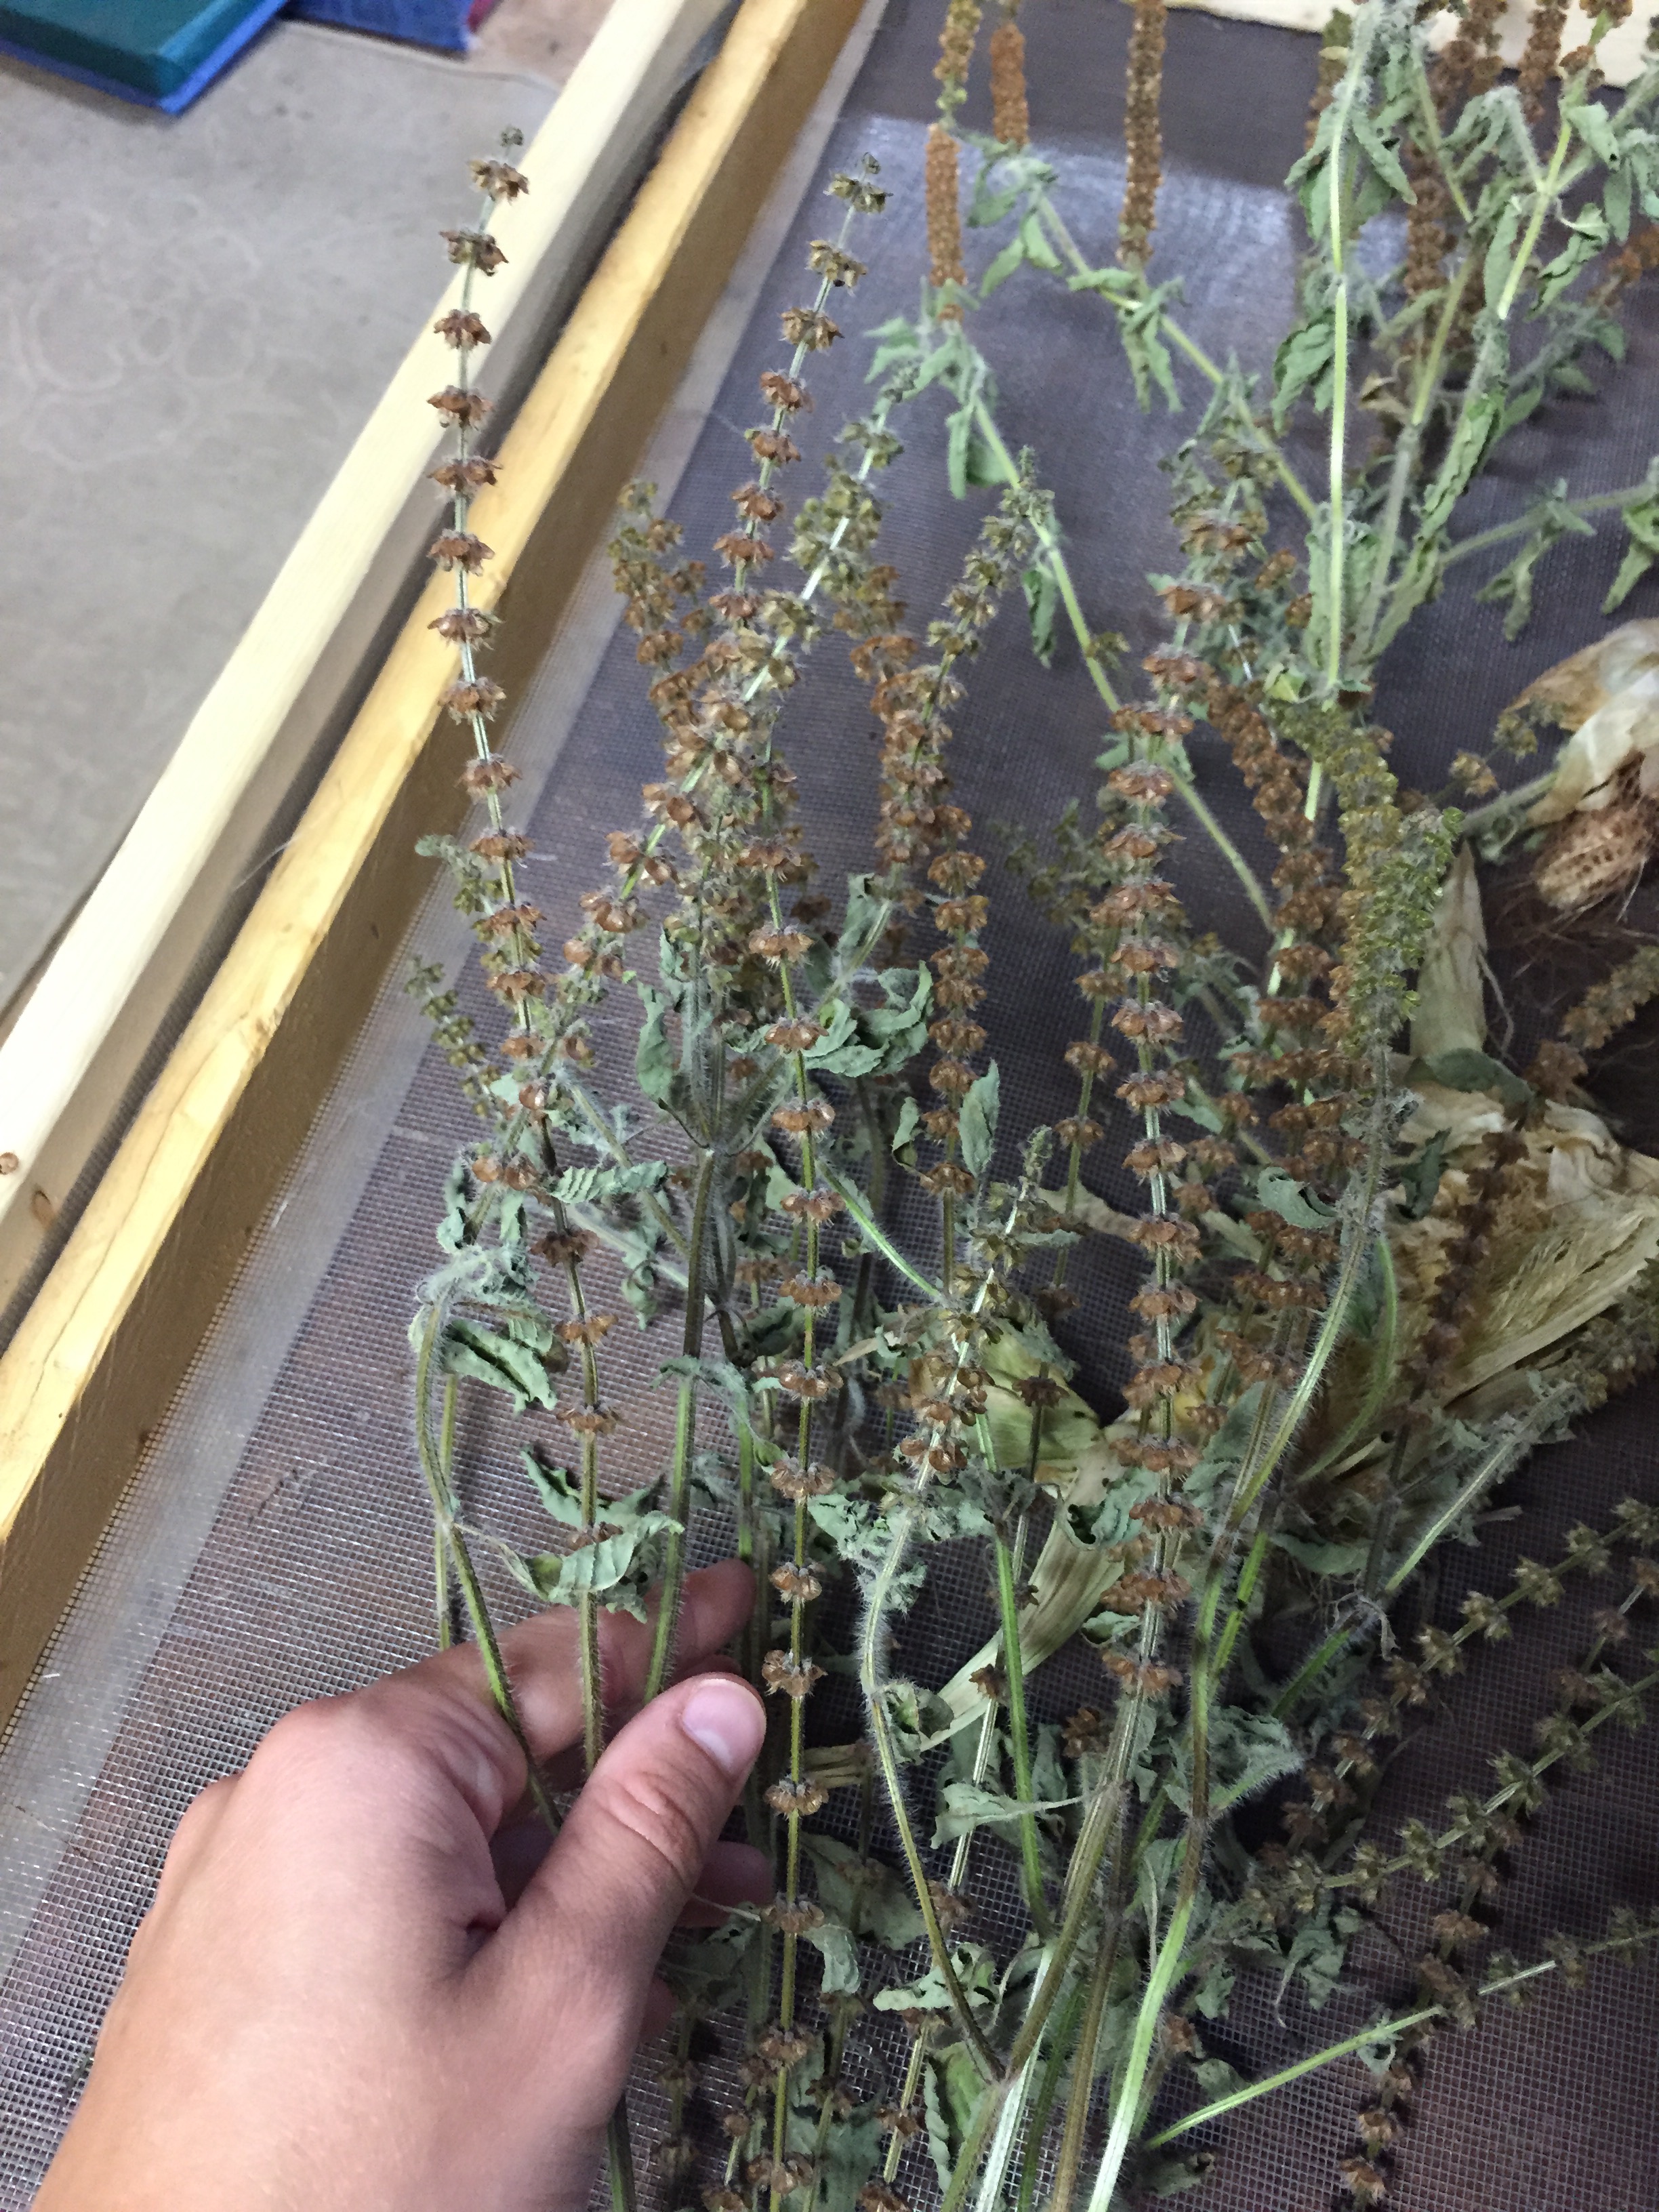
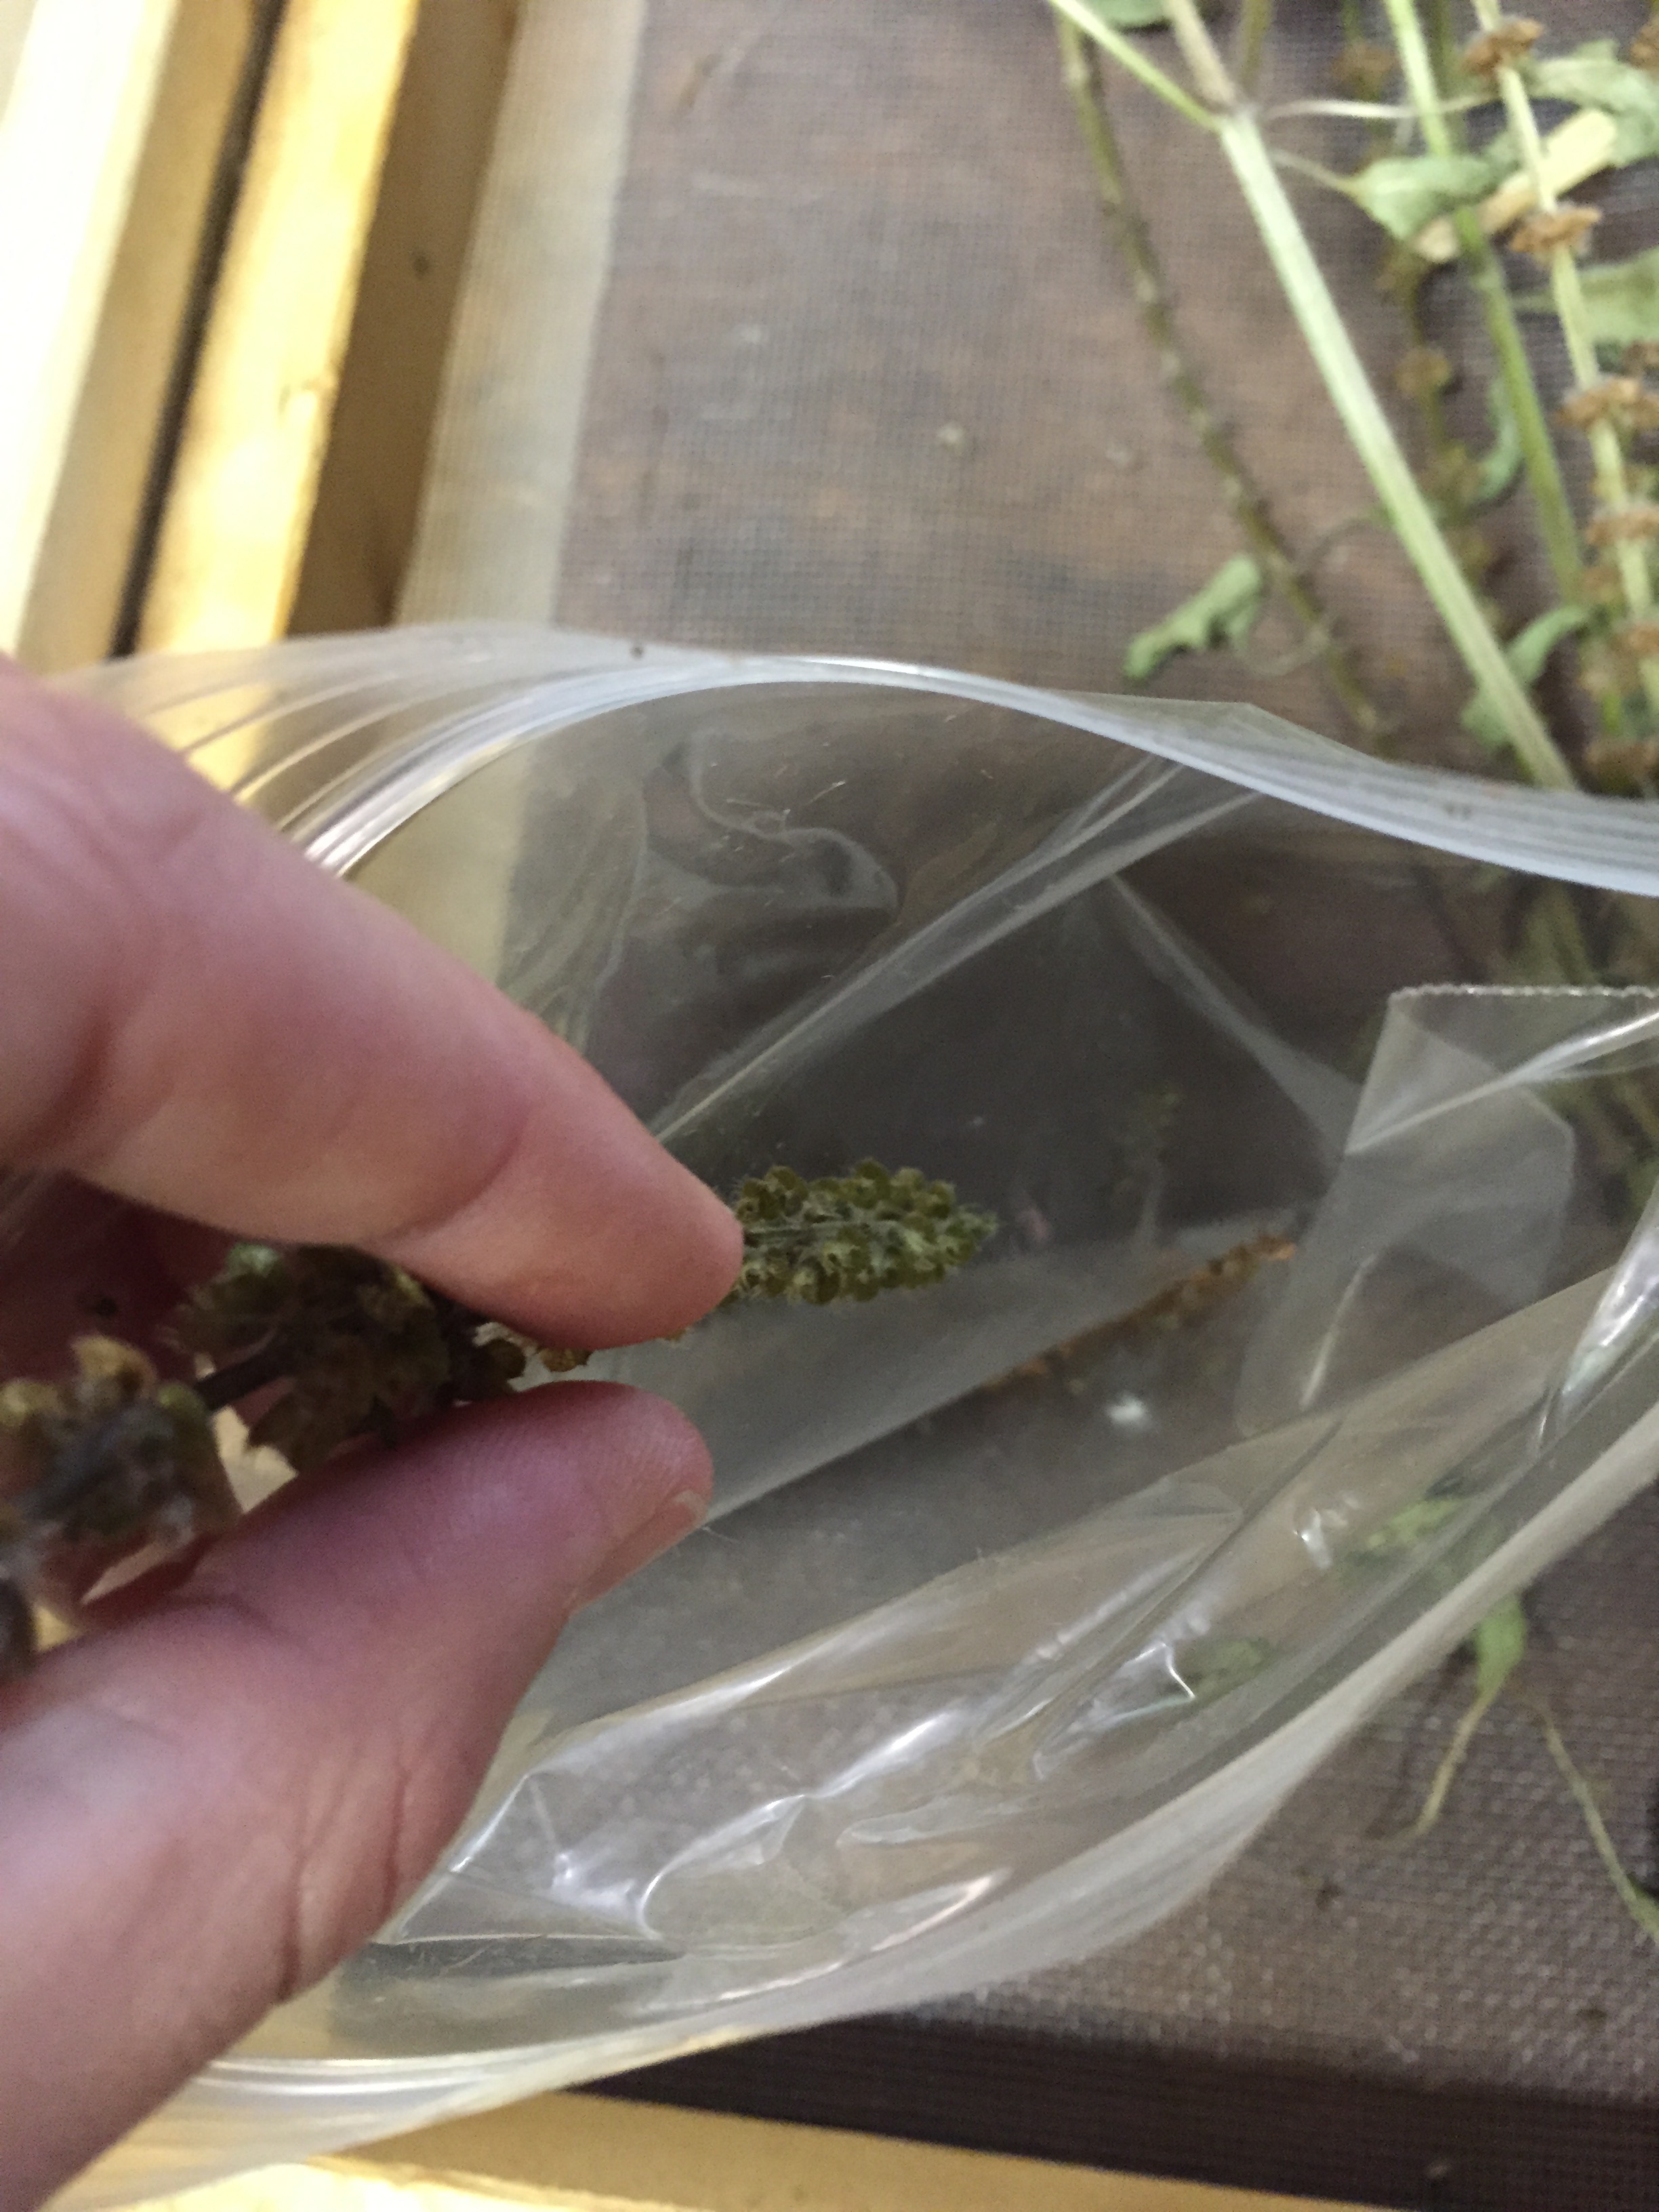
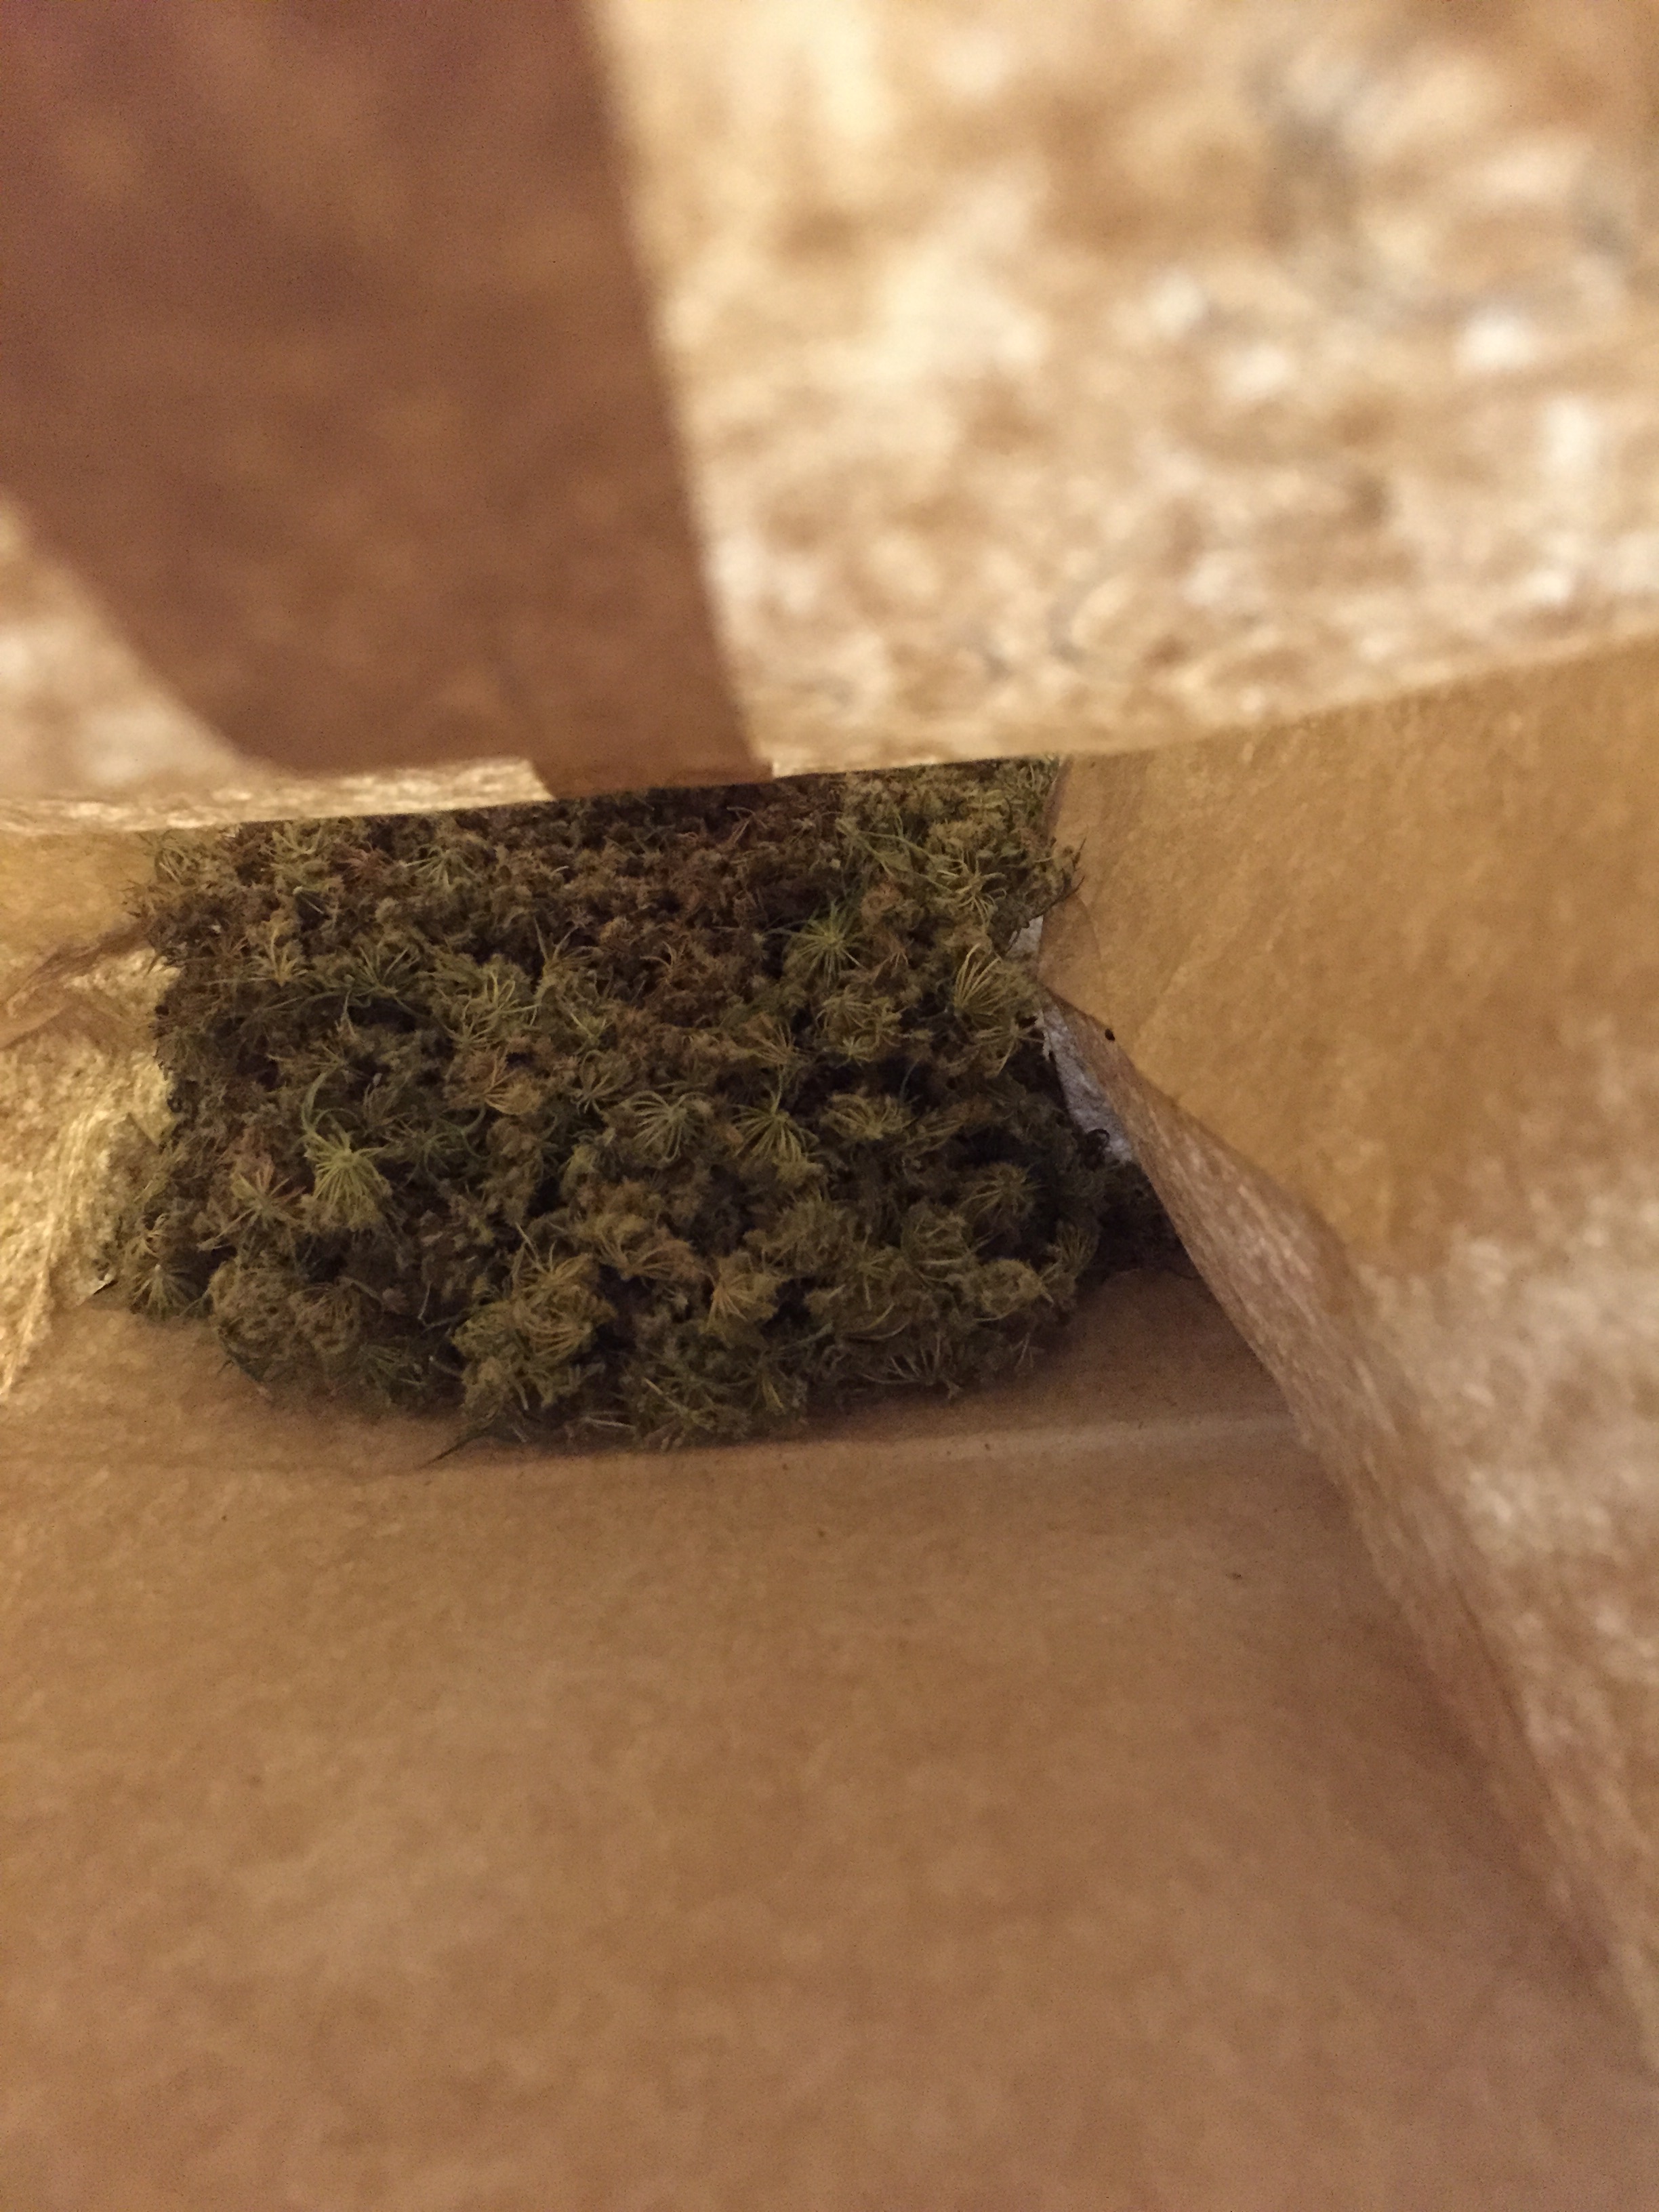
Mustard Seeds (same seed saving process as for collards and kale seeds)
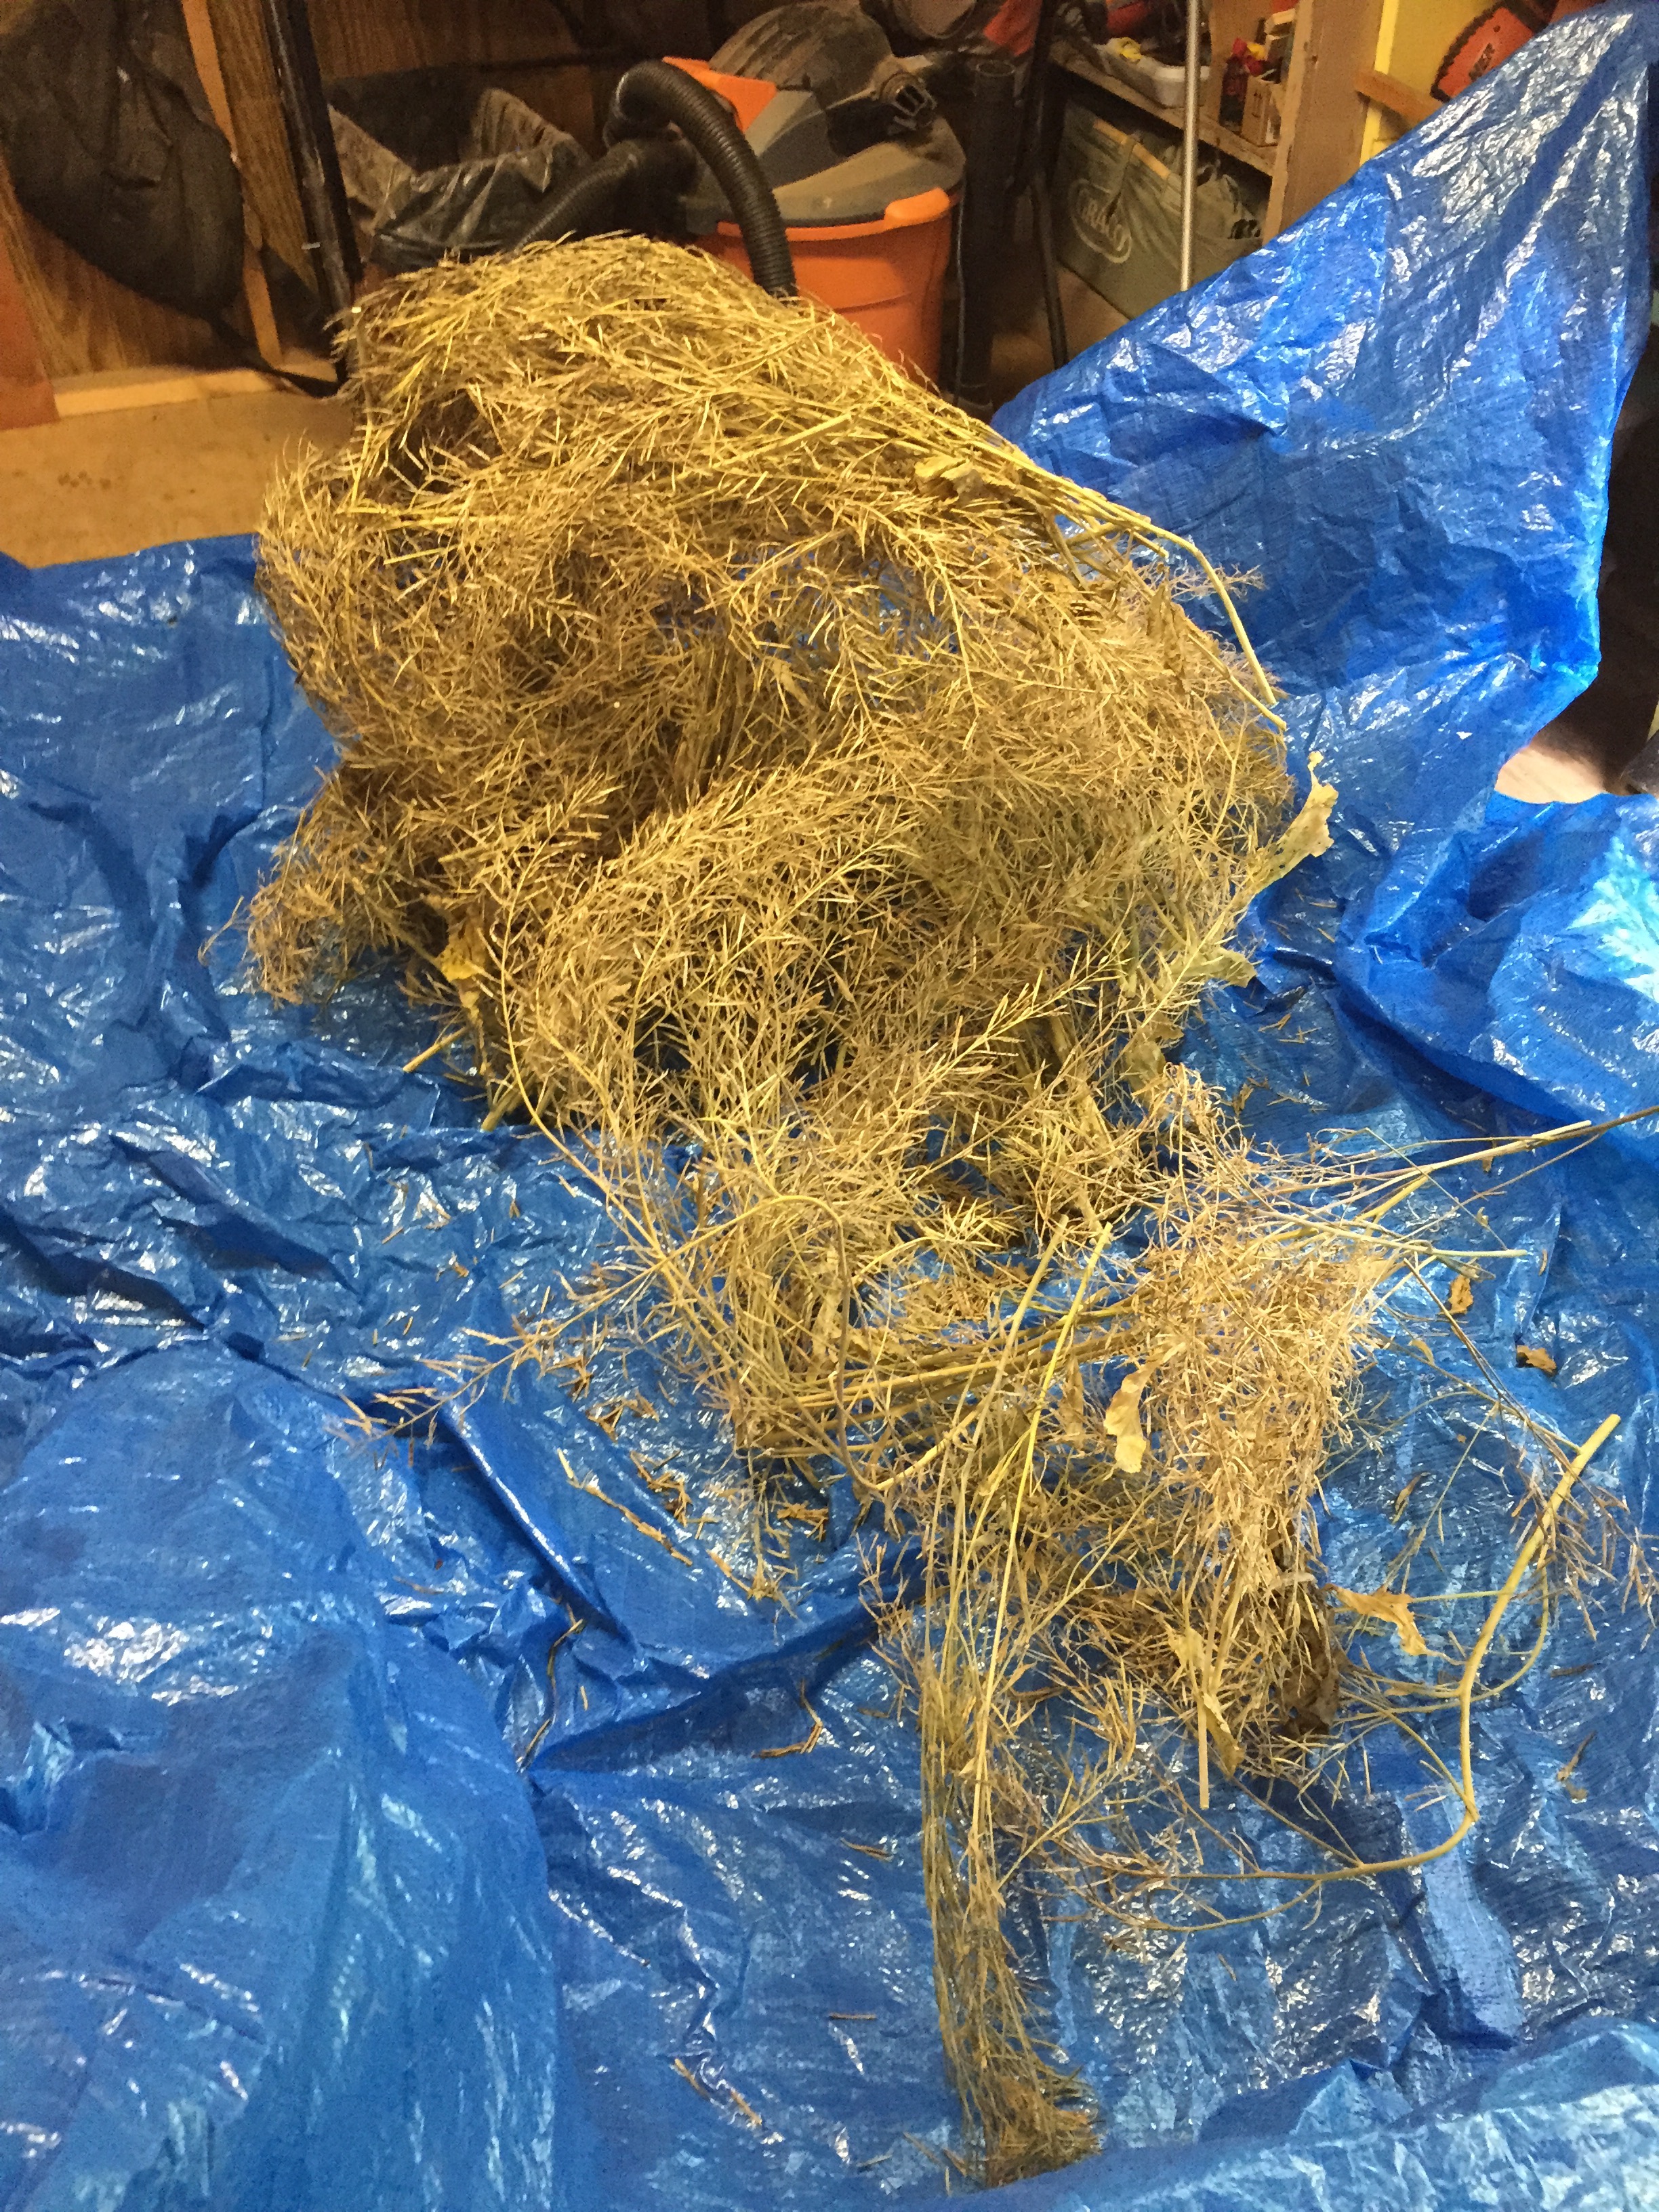
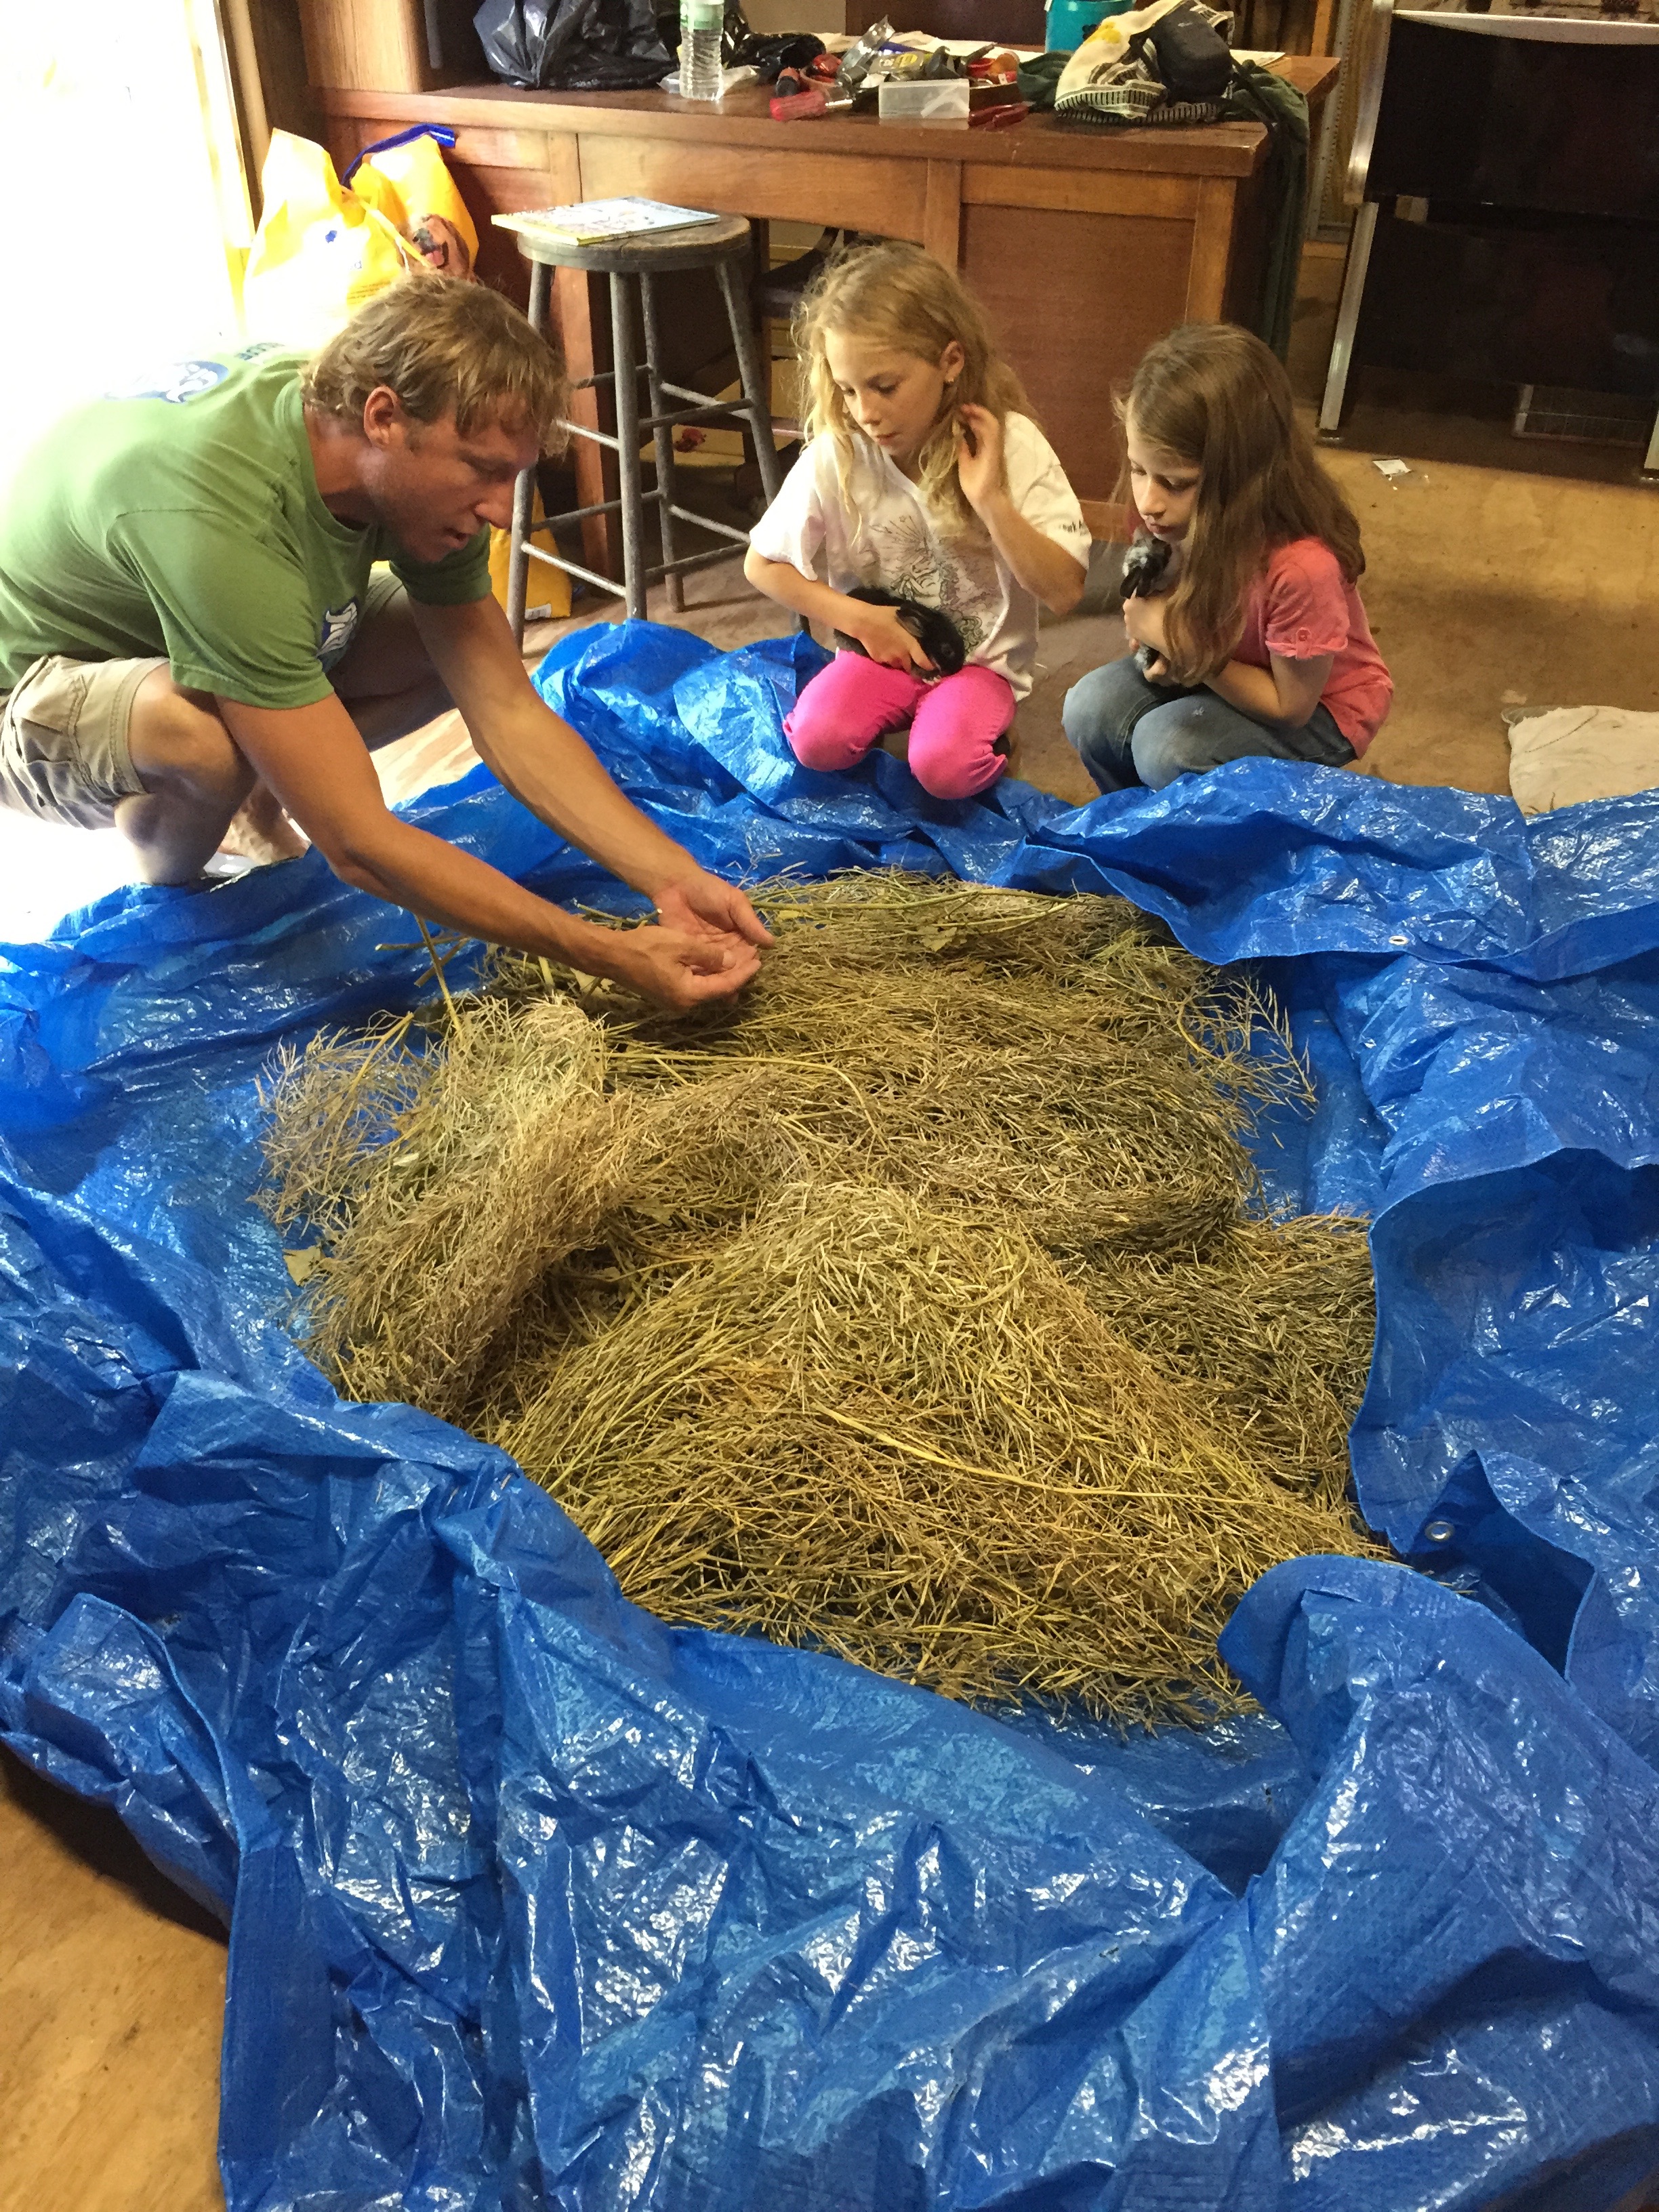
1. Collect the dried seed heads and place them on a large tarp.

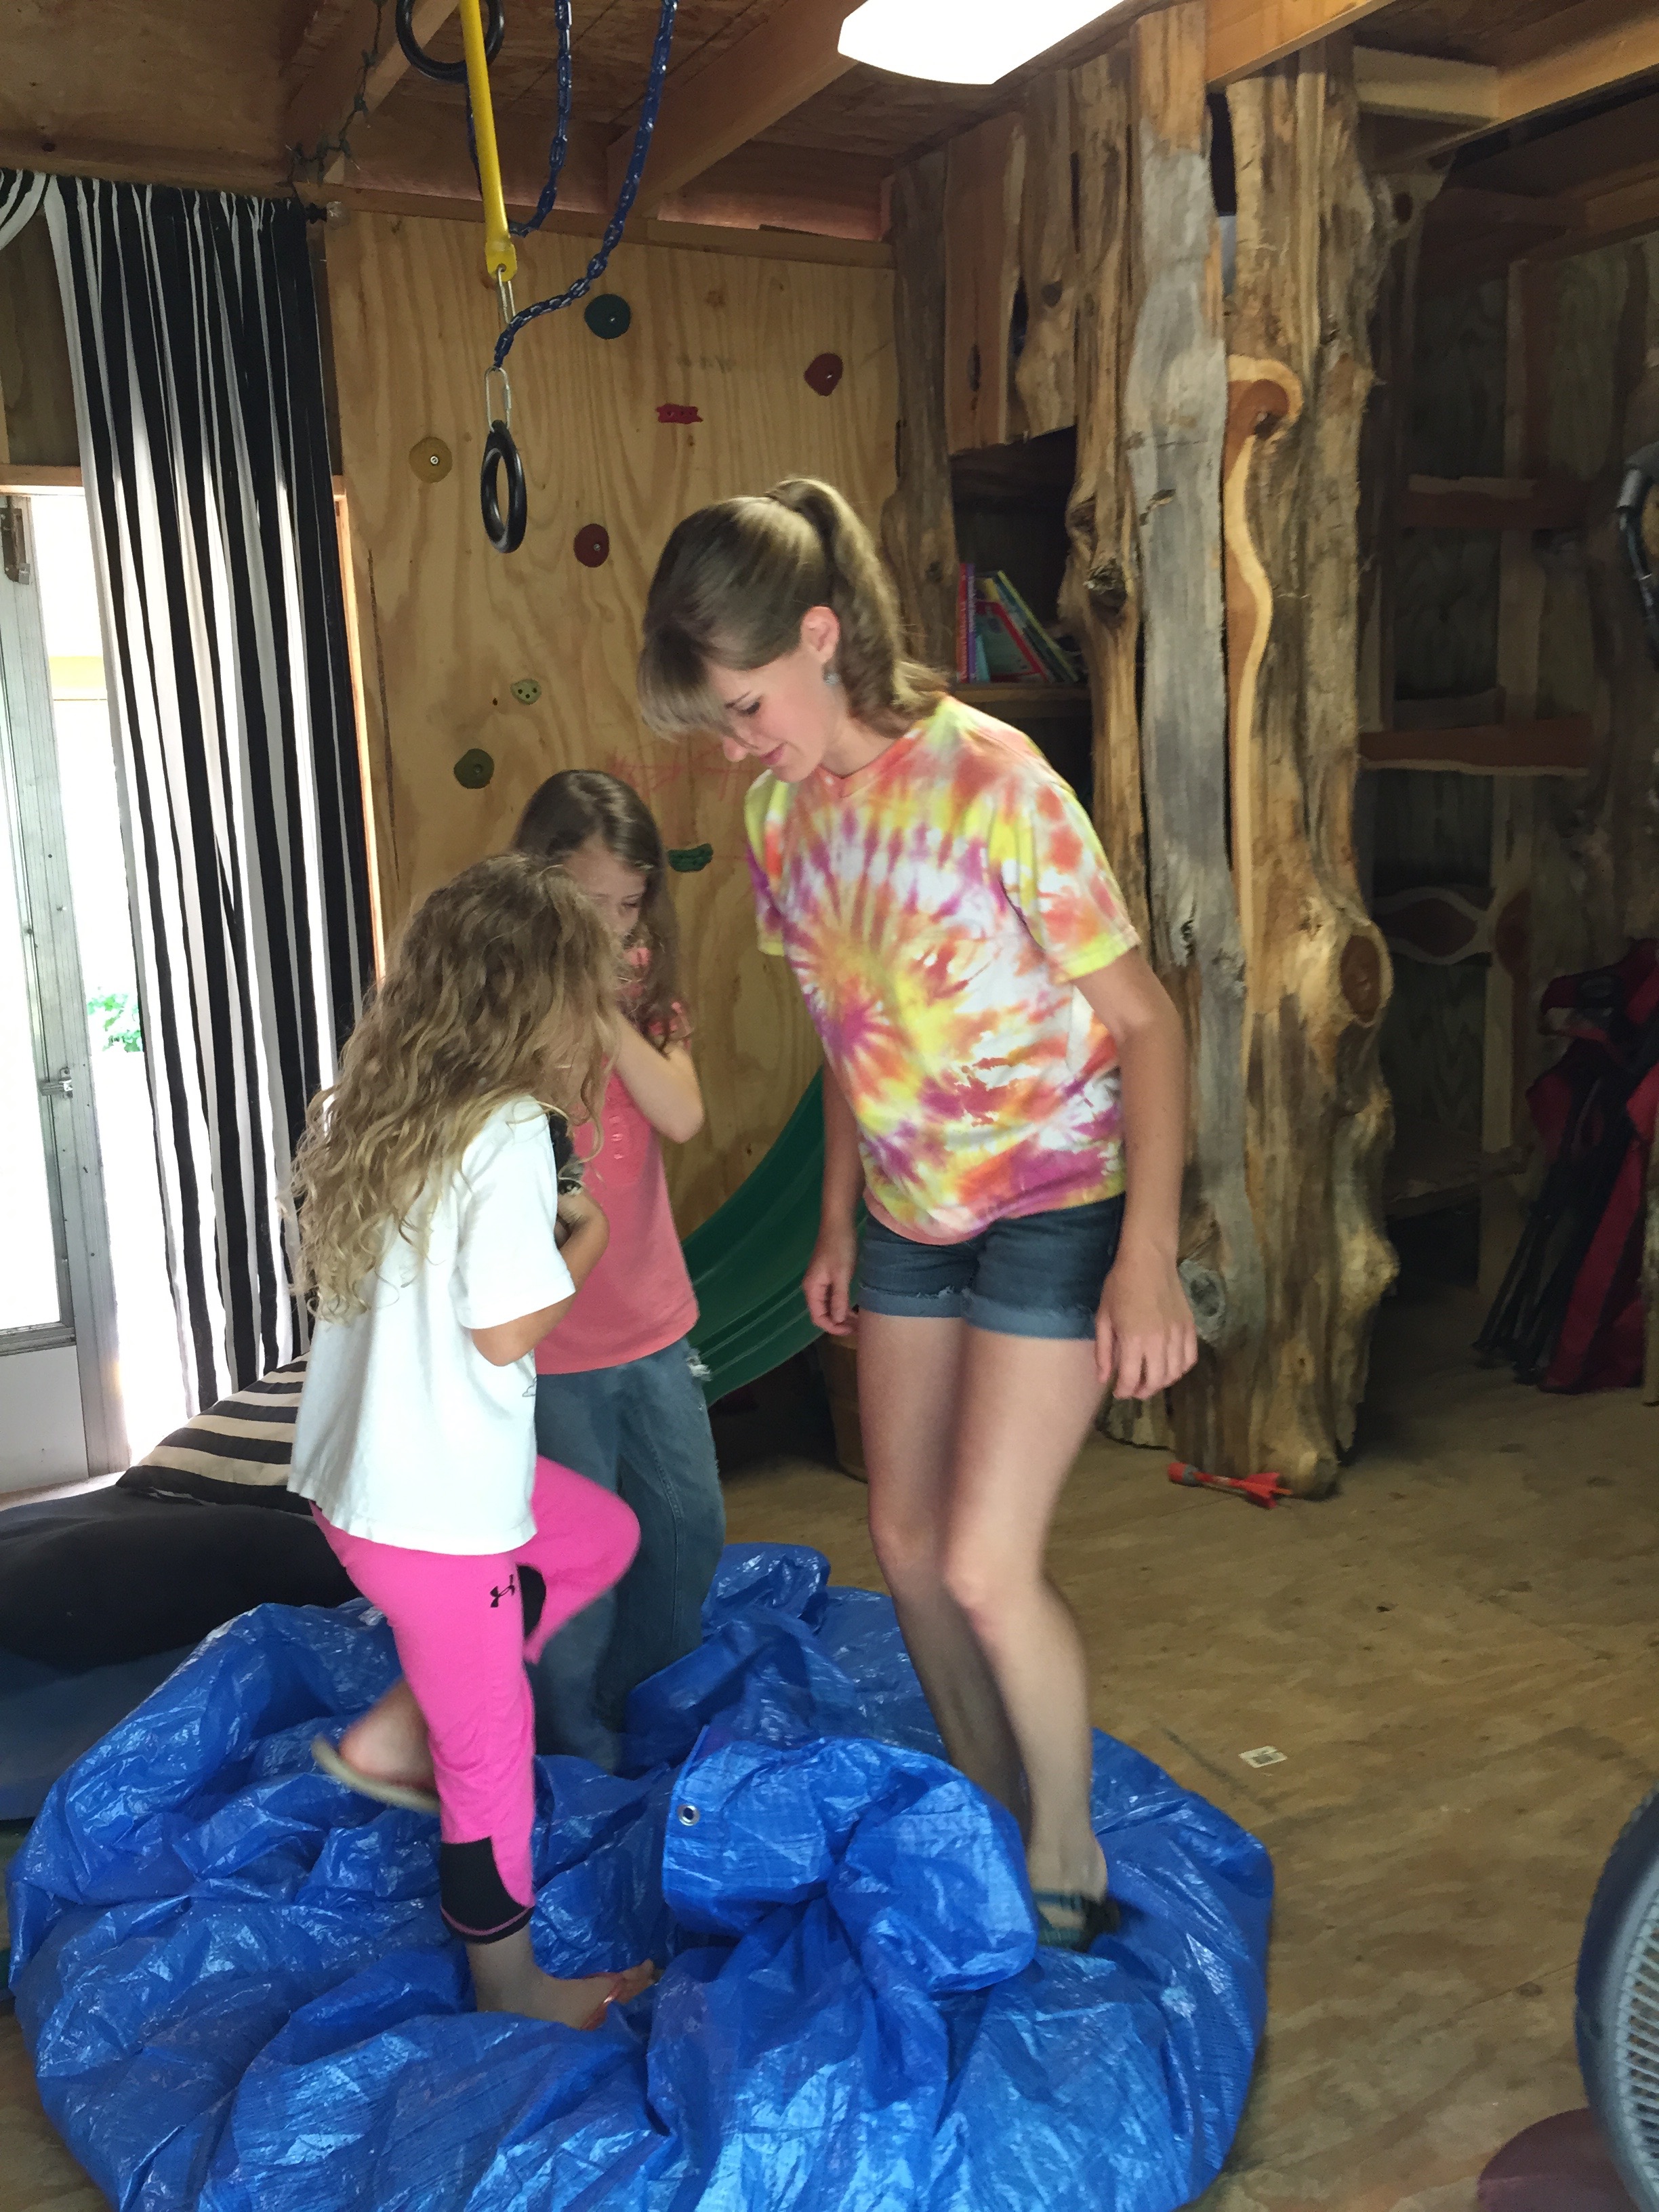
2. Wrap the tarp around the seed heads and step on the tarp to separate the seeds from the seed heads (willing helpers may be useful).

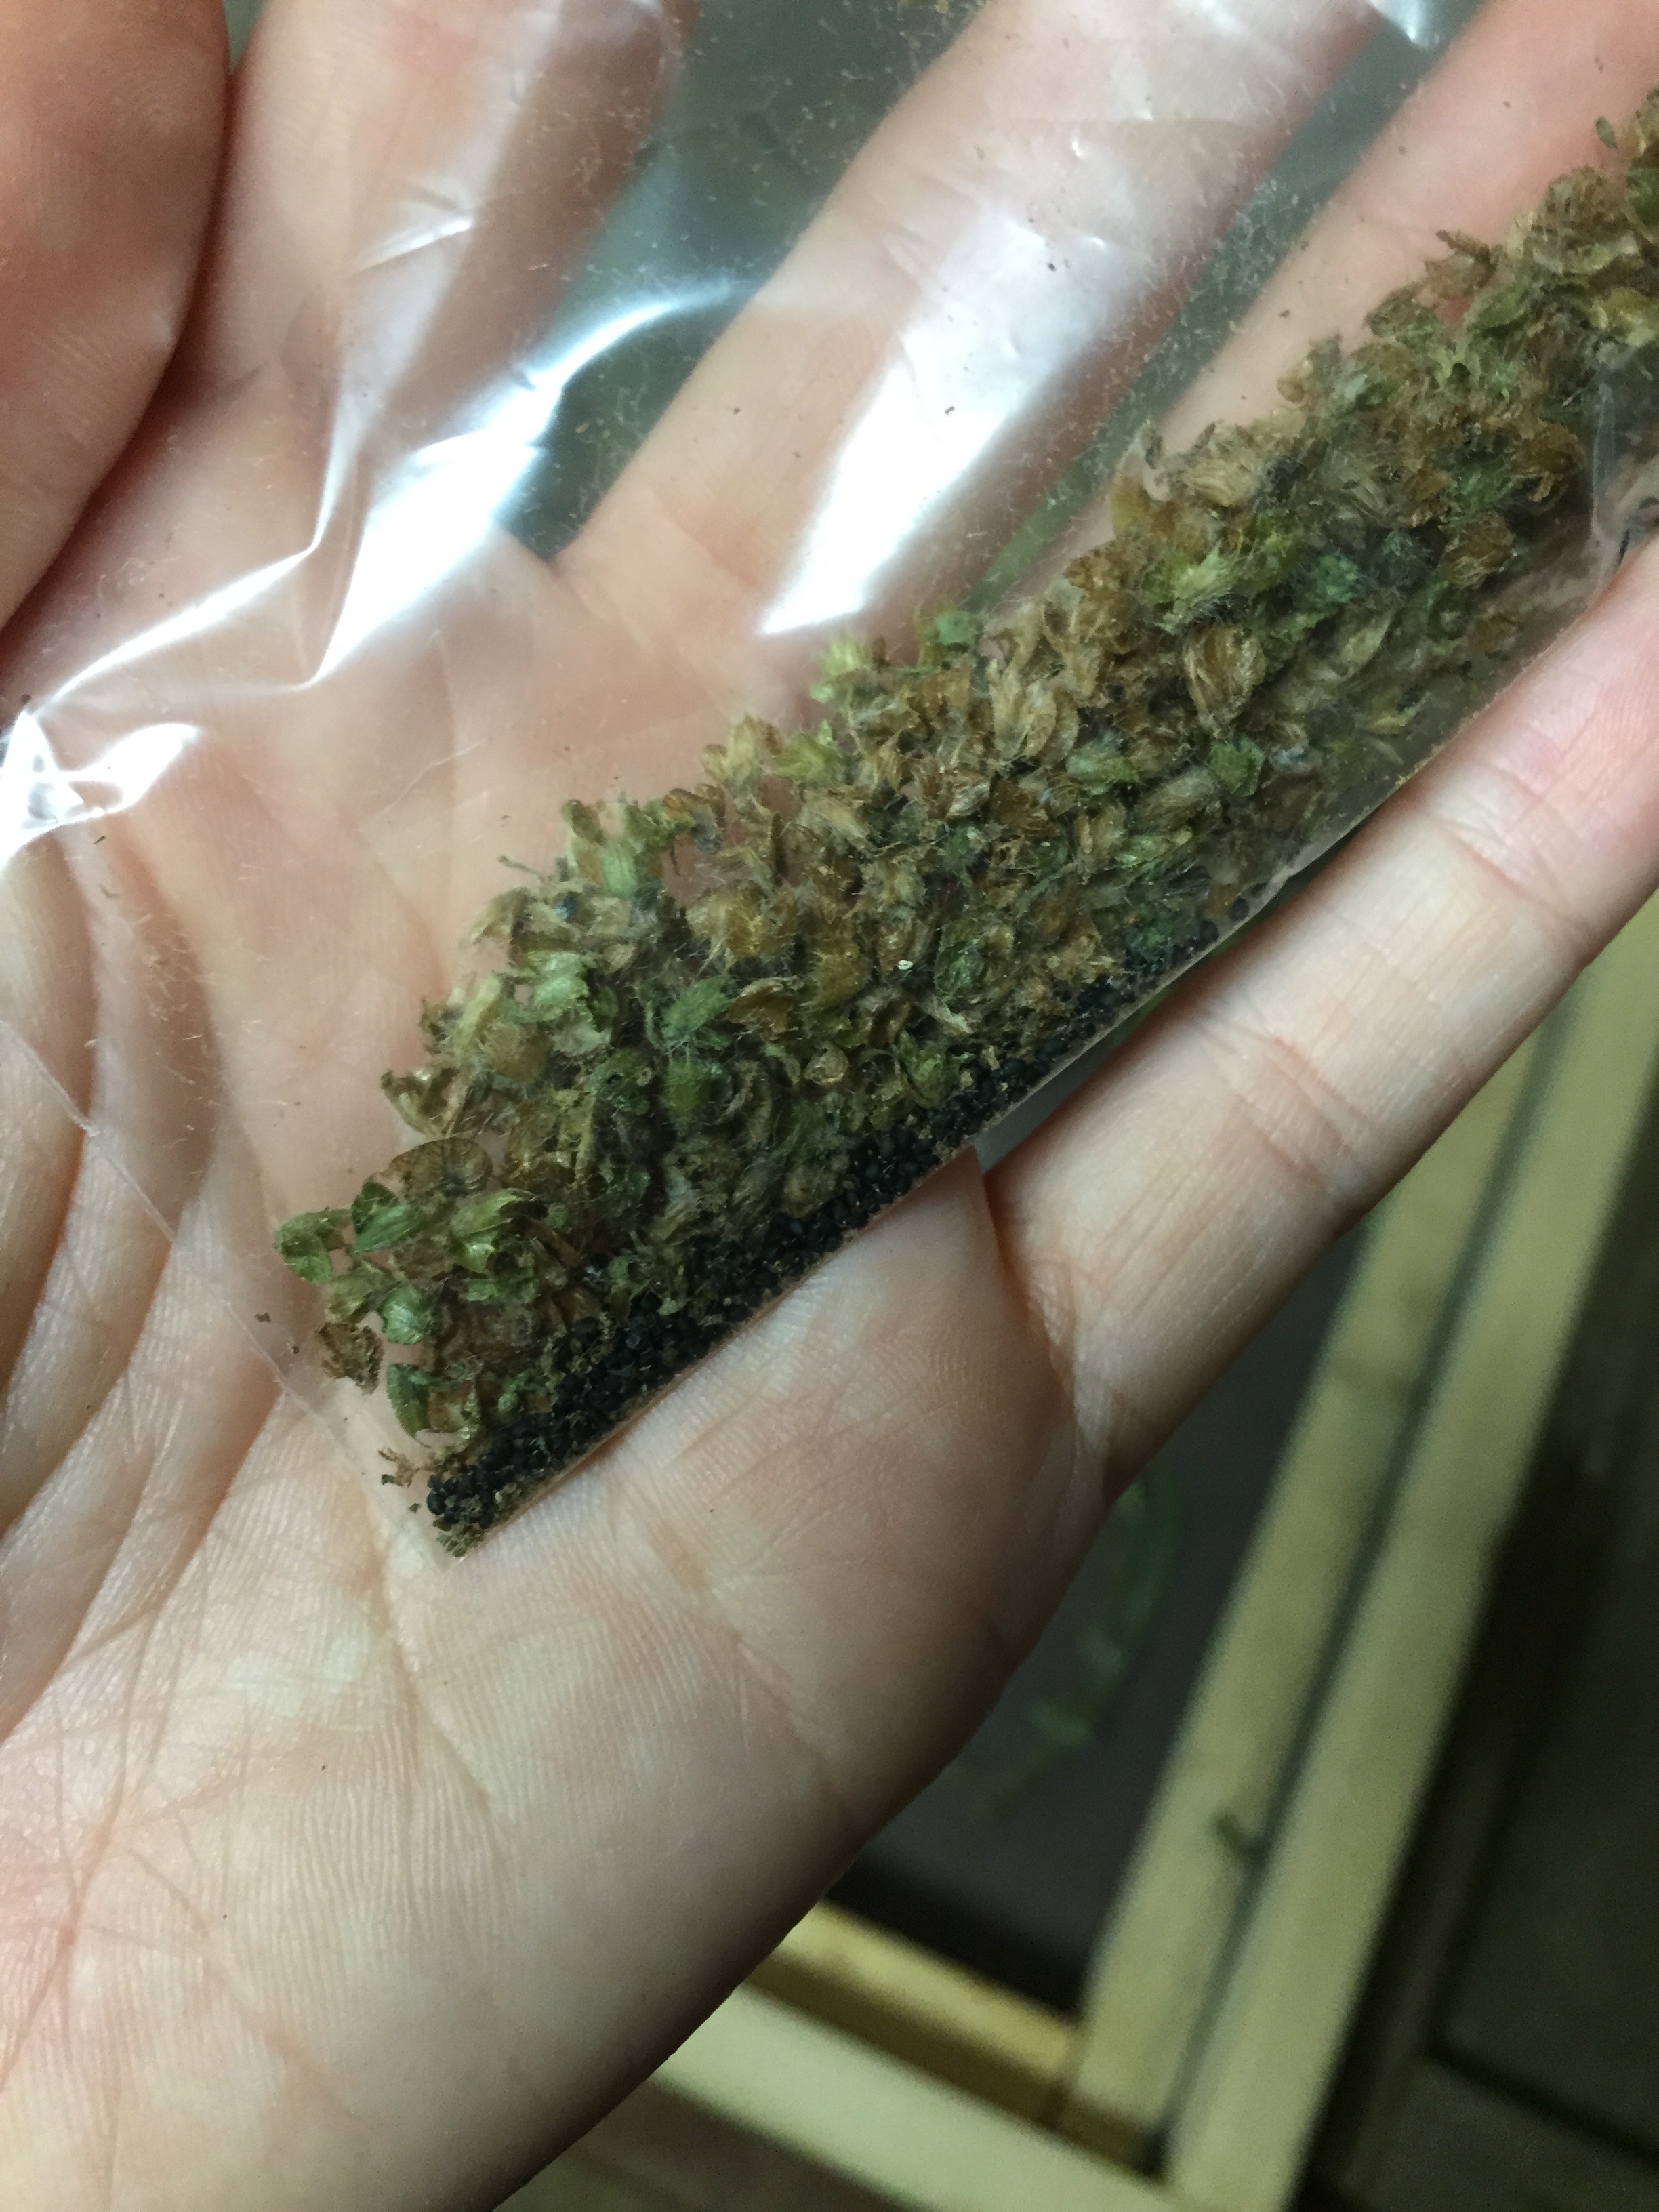
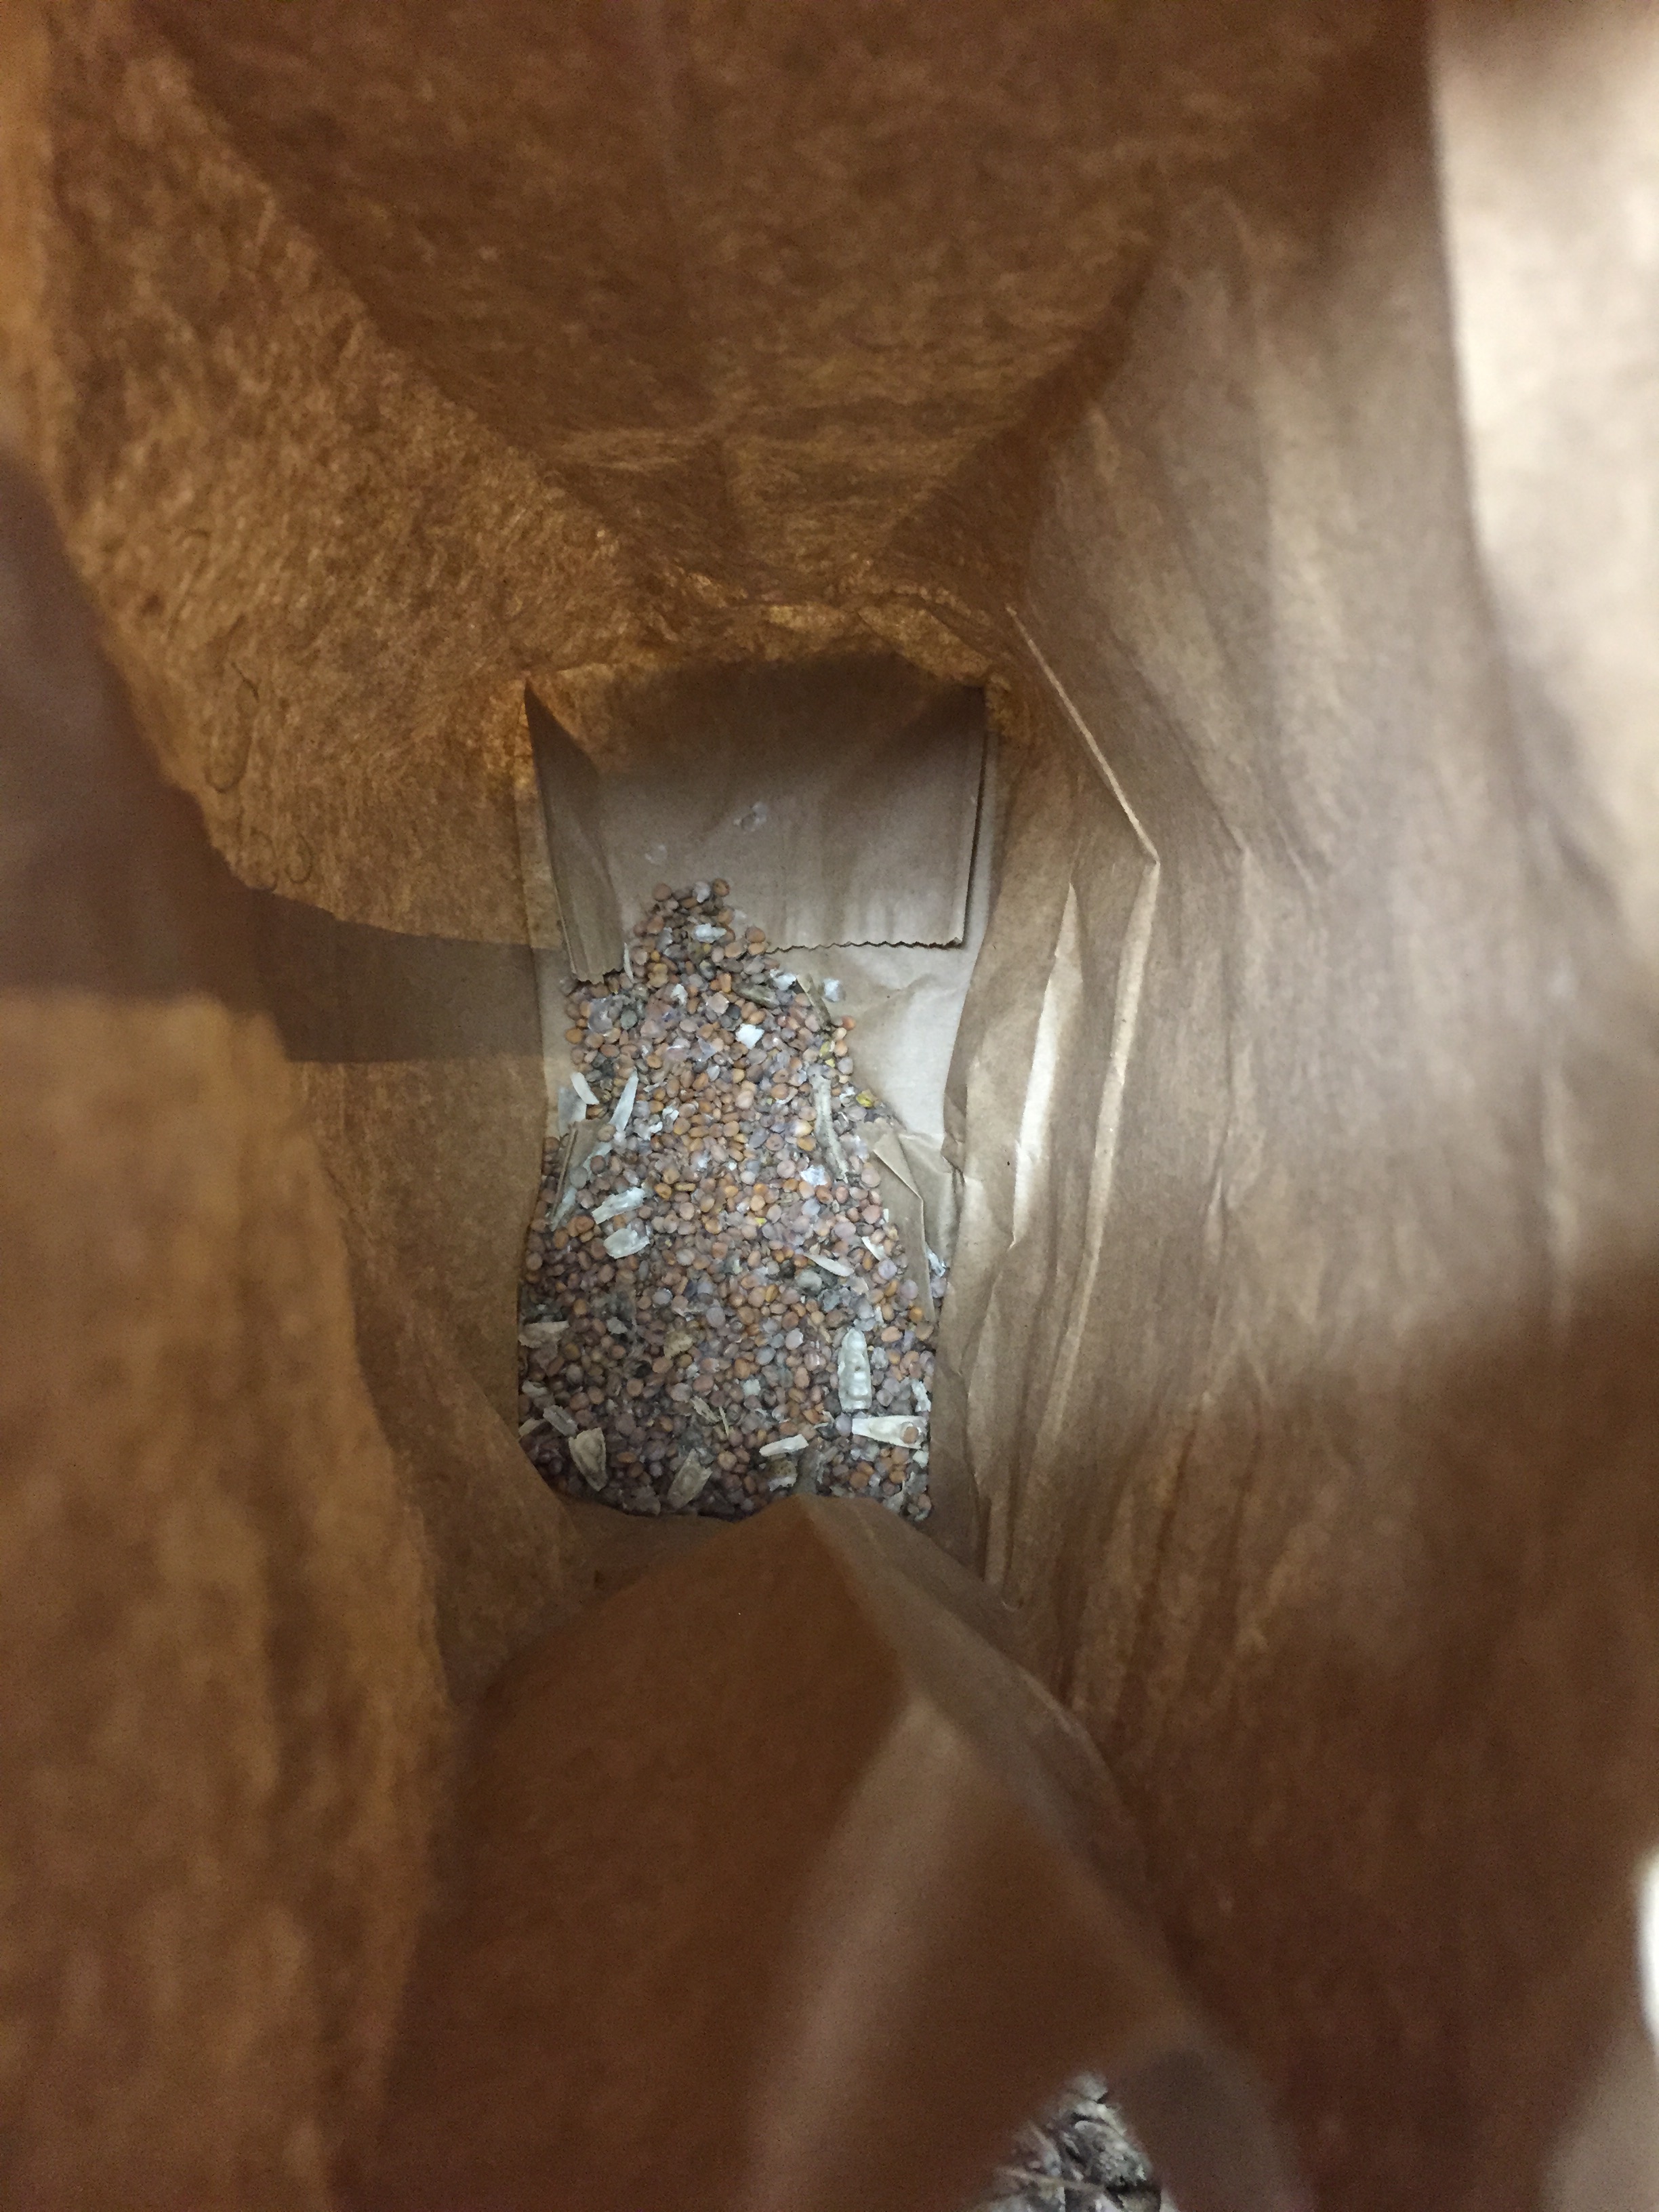
3. Take the tarp full of seeds outside where it is windy. In a process called winnowing, the wind will help you separate the empty seed pods from the seeds you are saving.
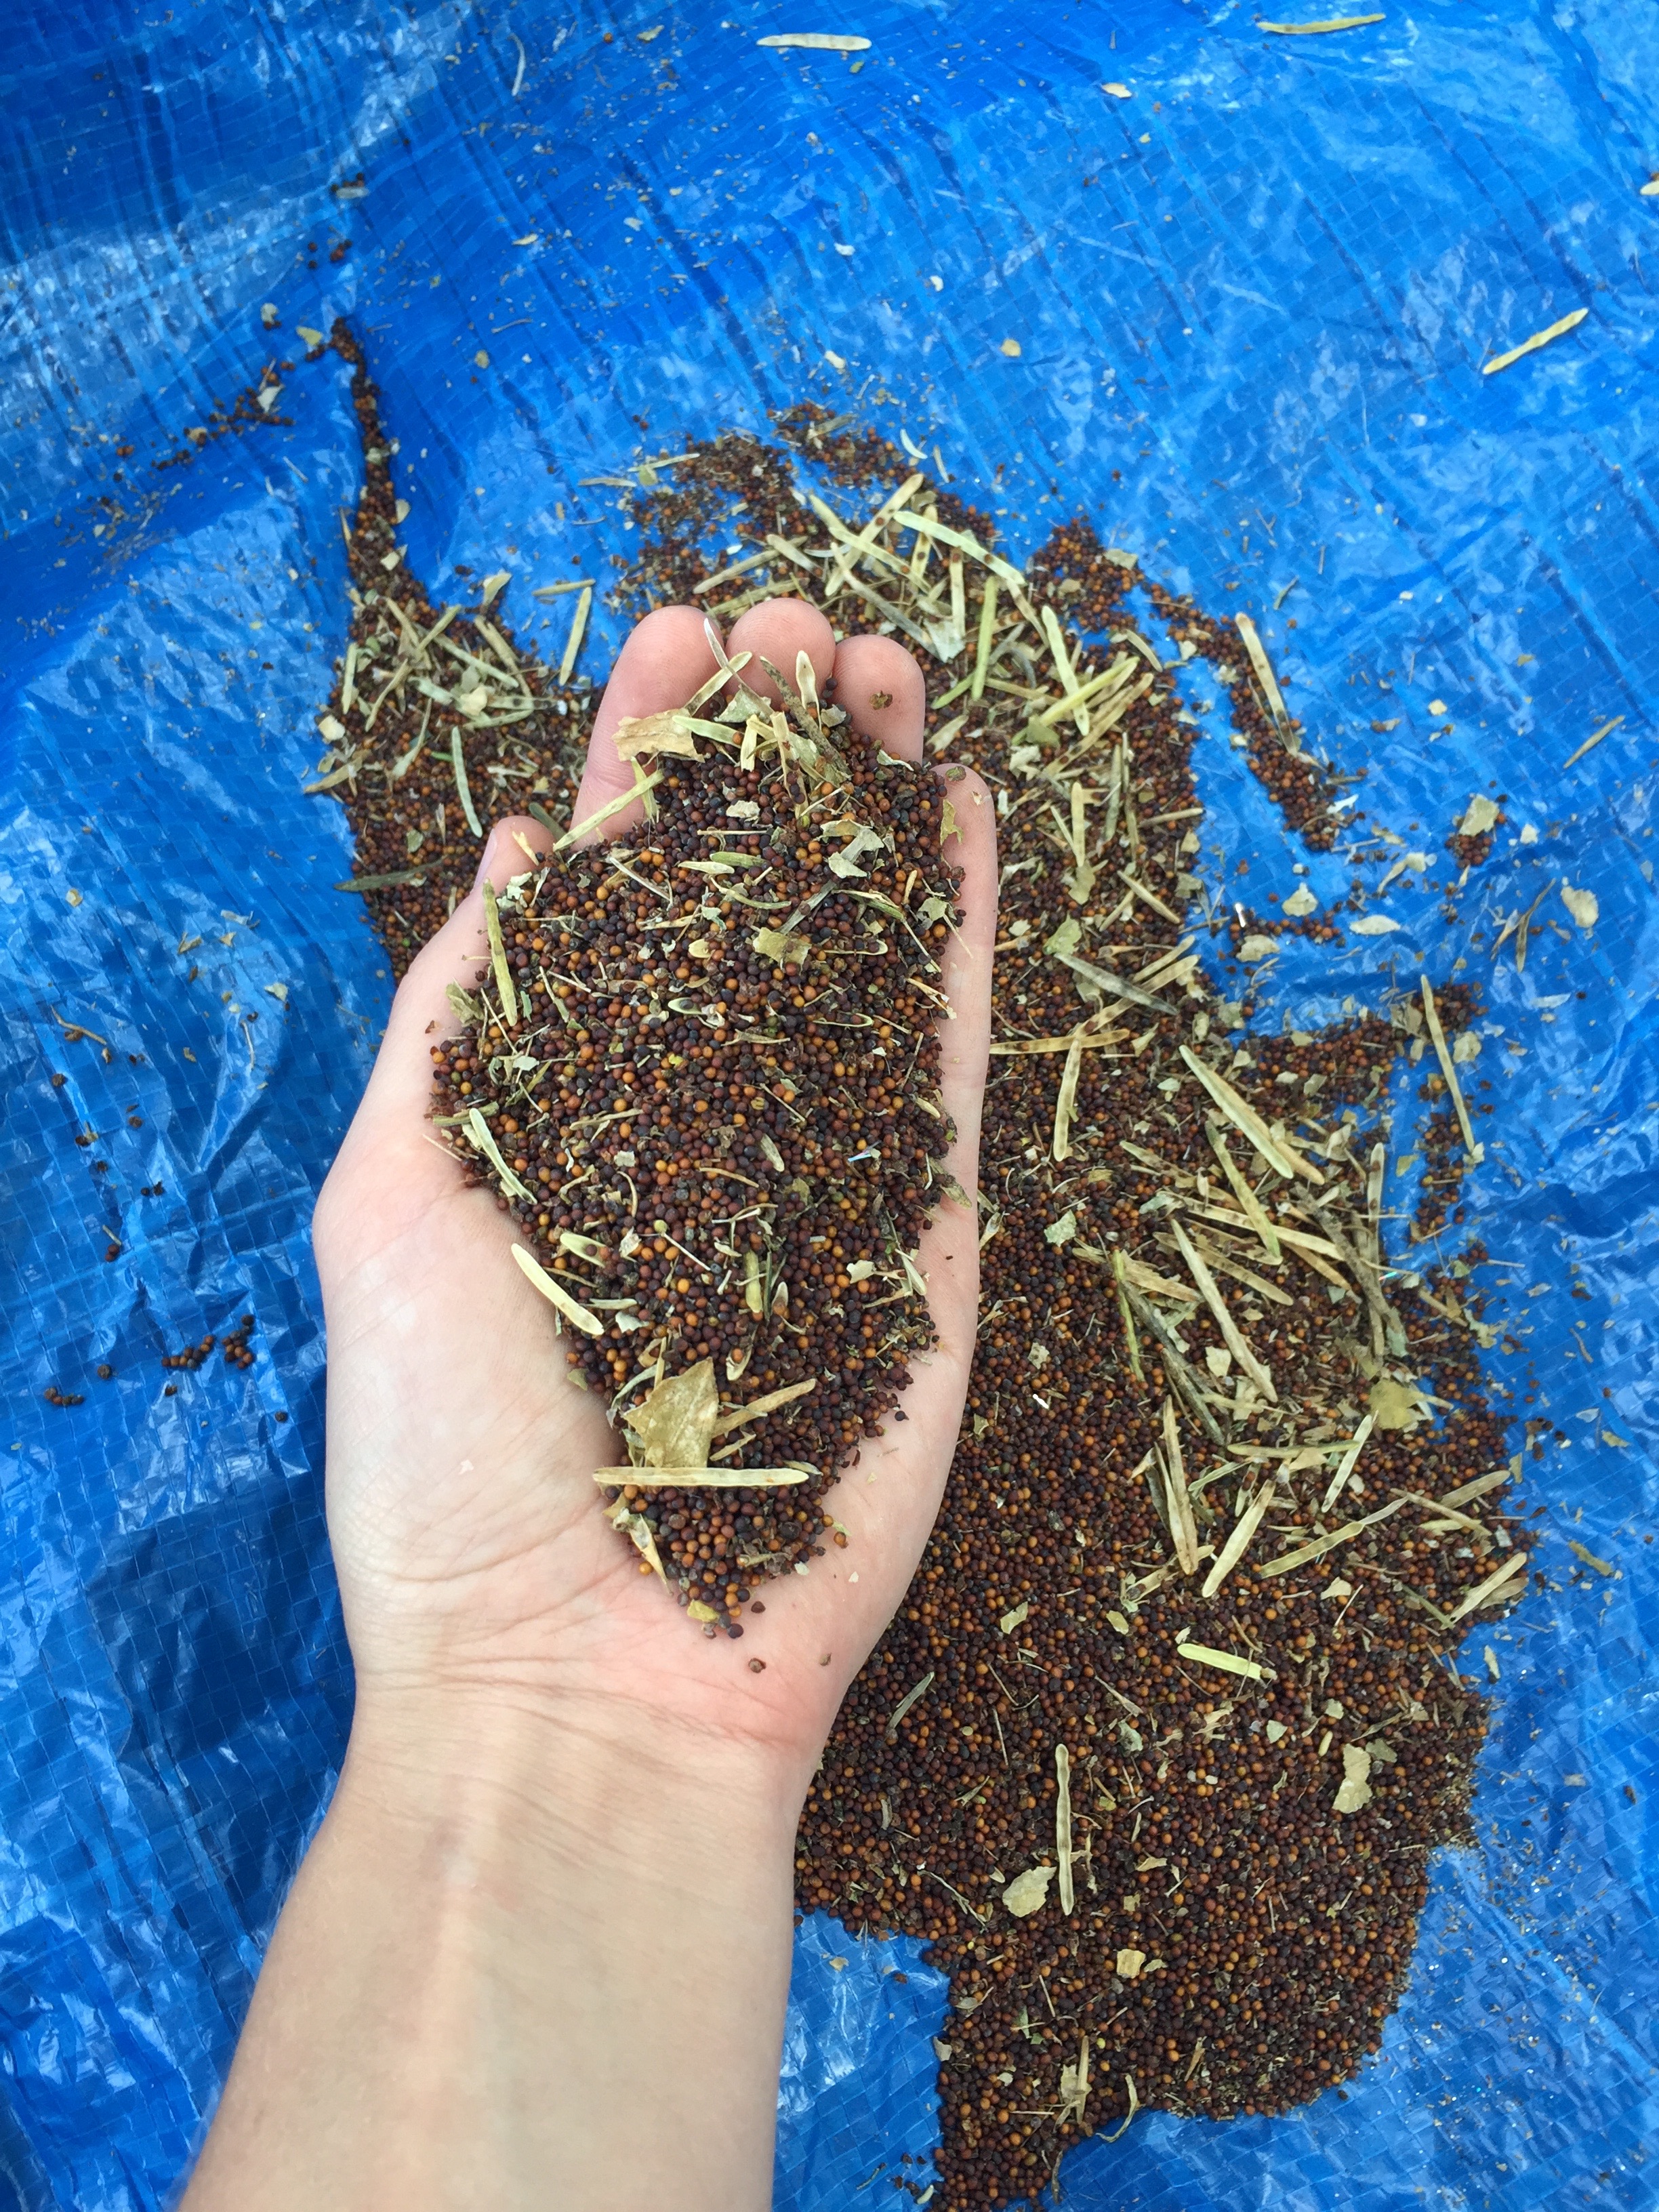
4. Once you have separated the seeds from the pods, bag them and store them in a dry place.
Peppers
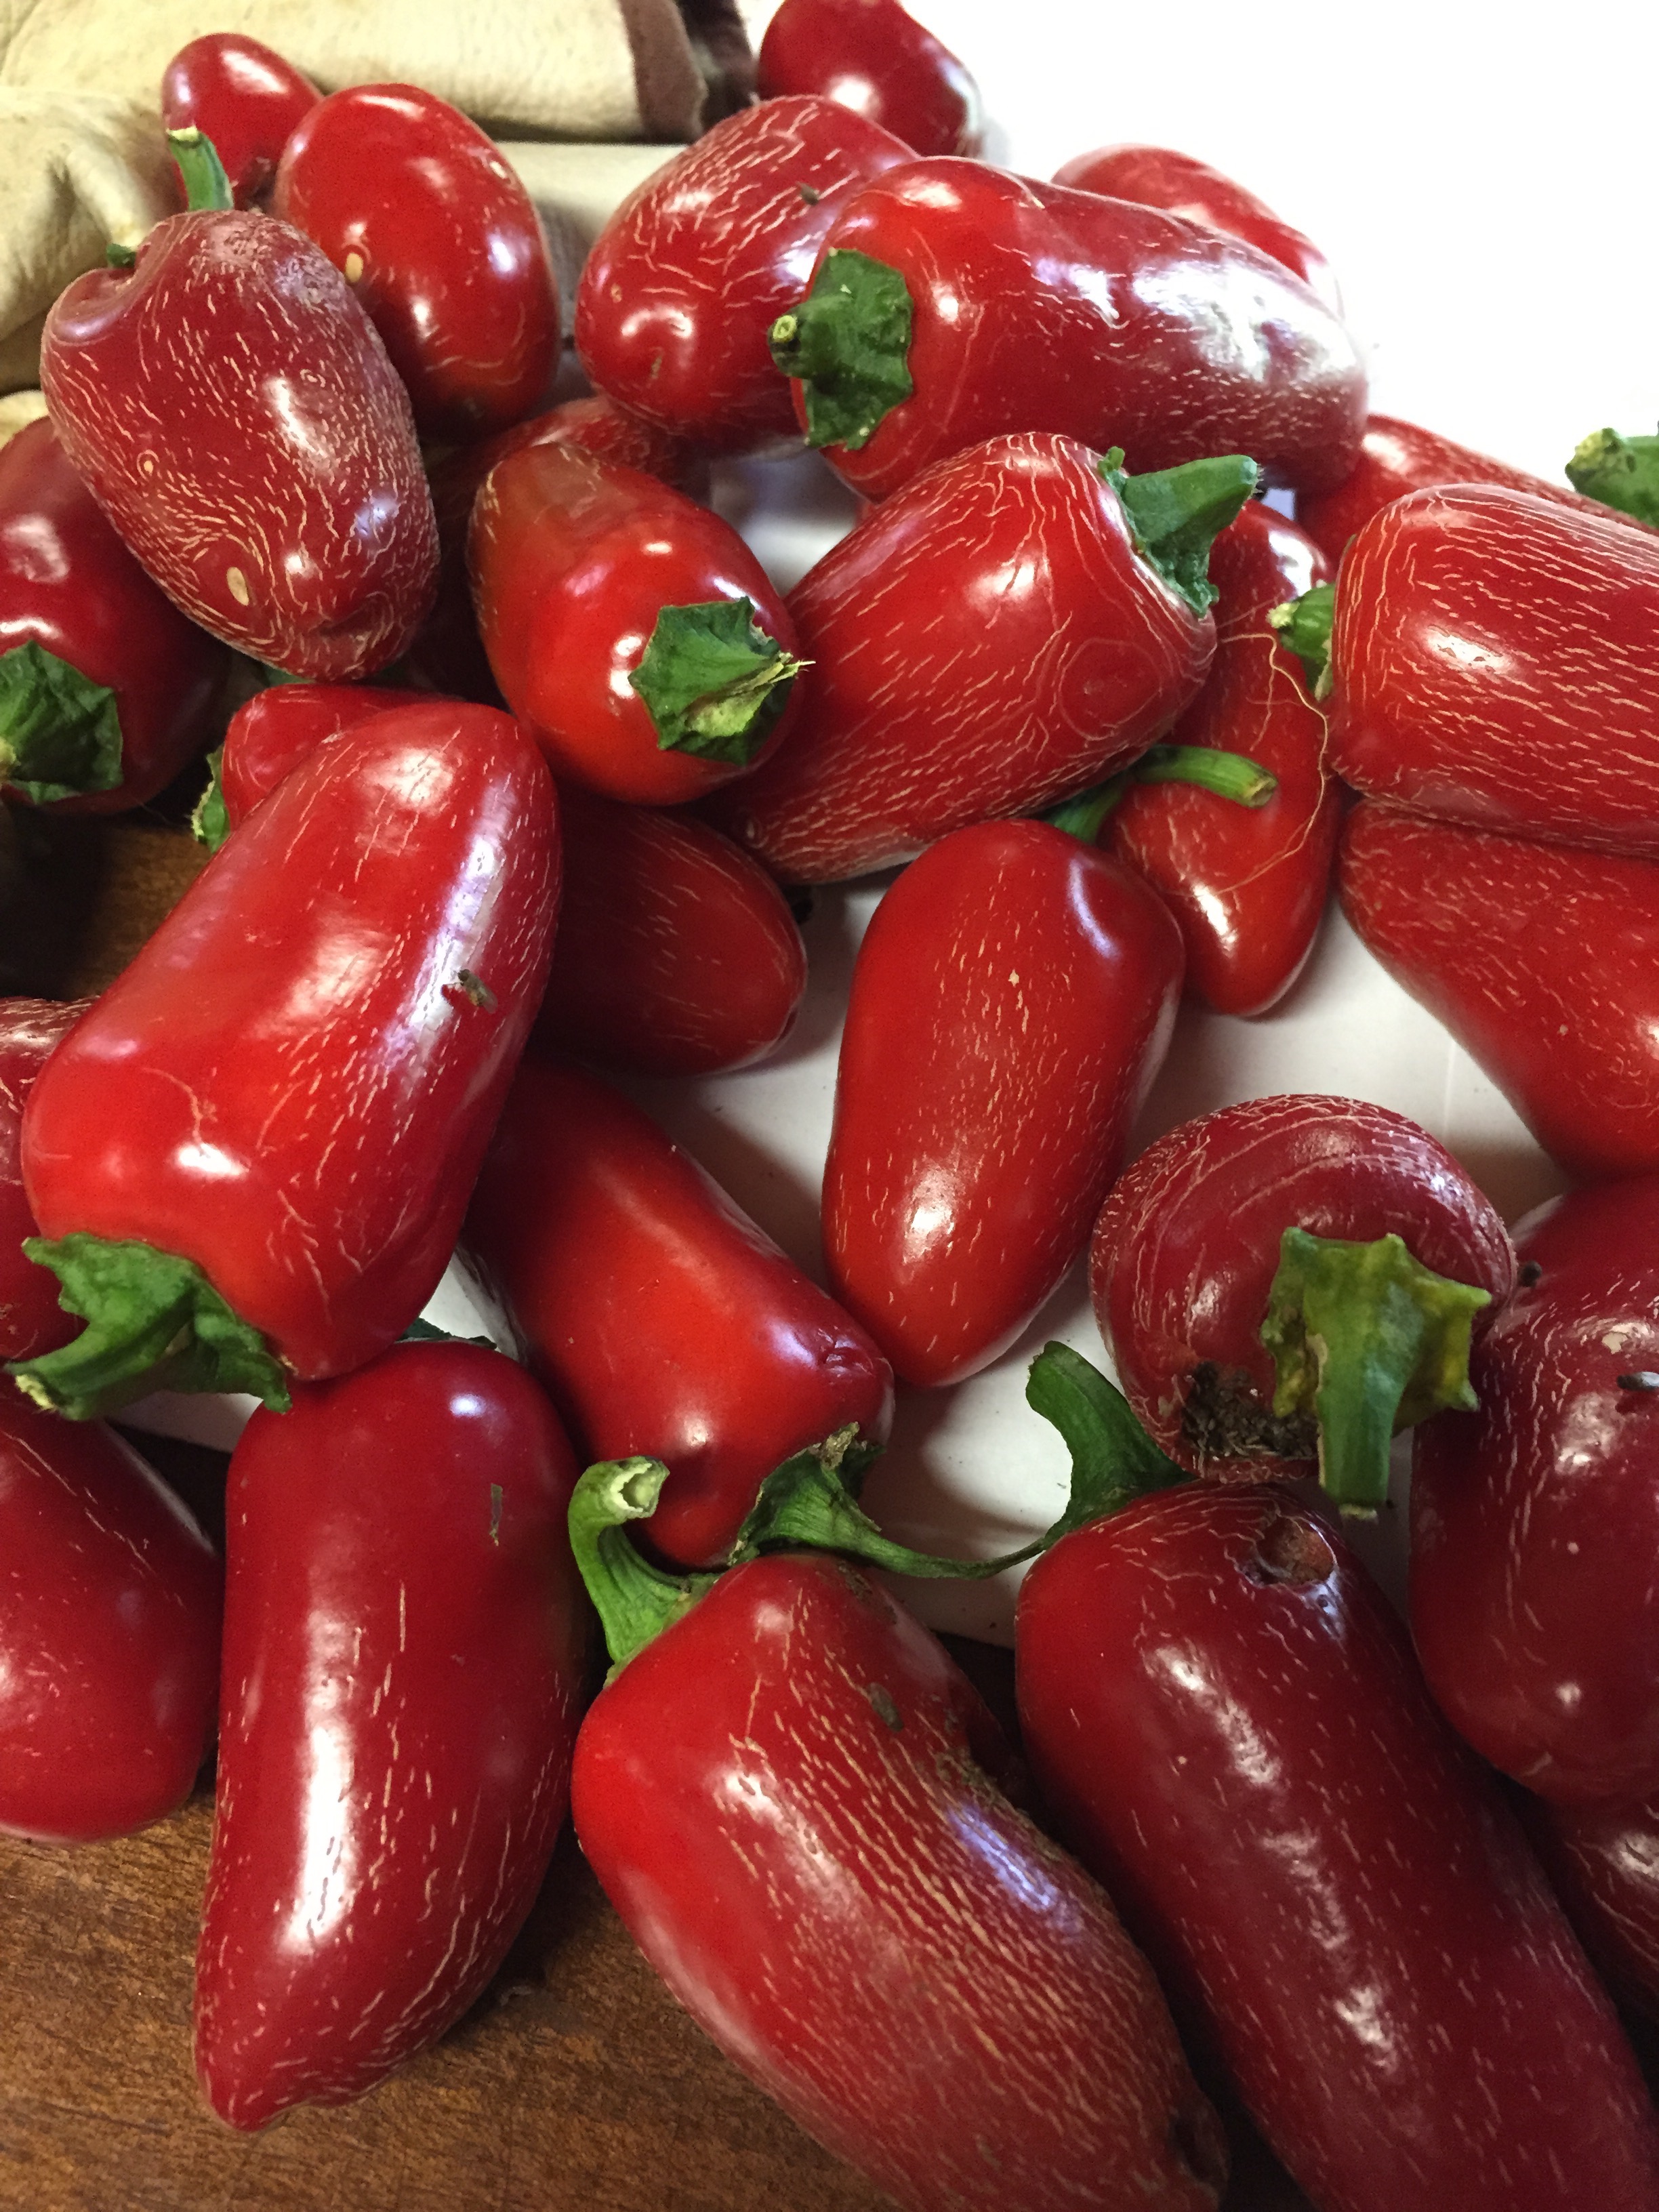
1. Collect peppers after they go over ripe.
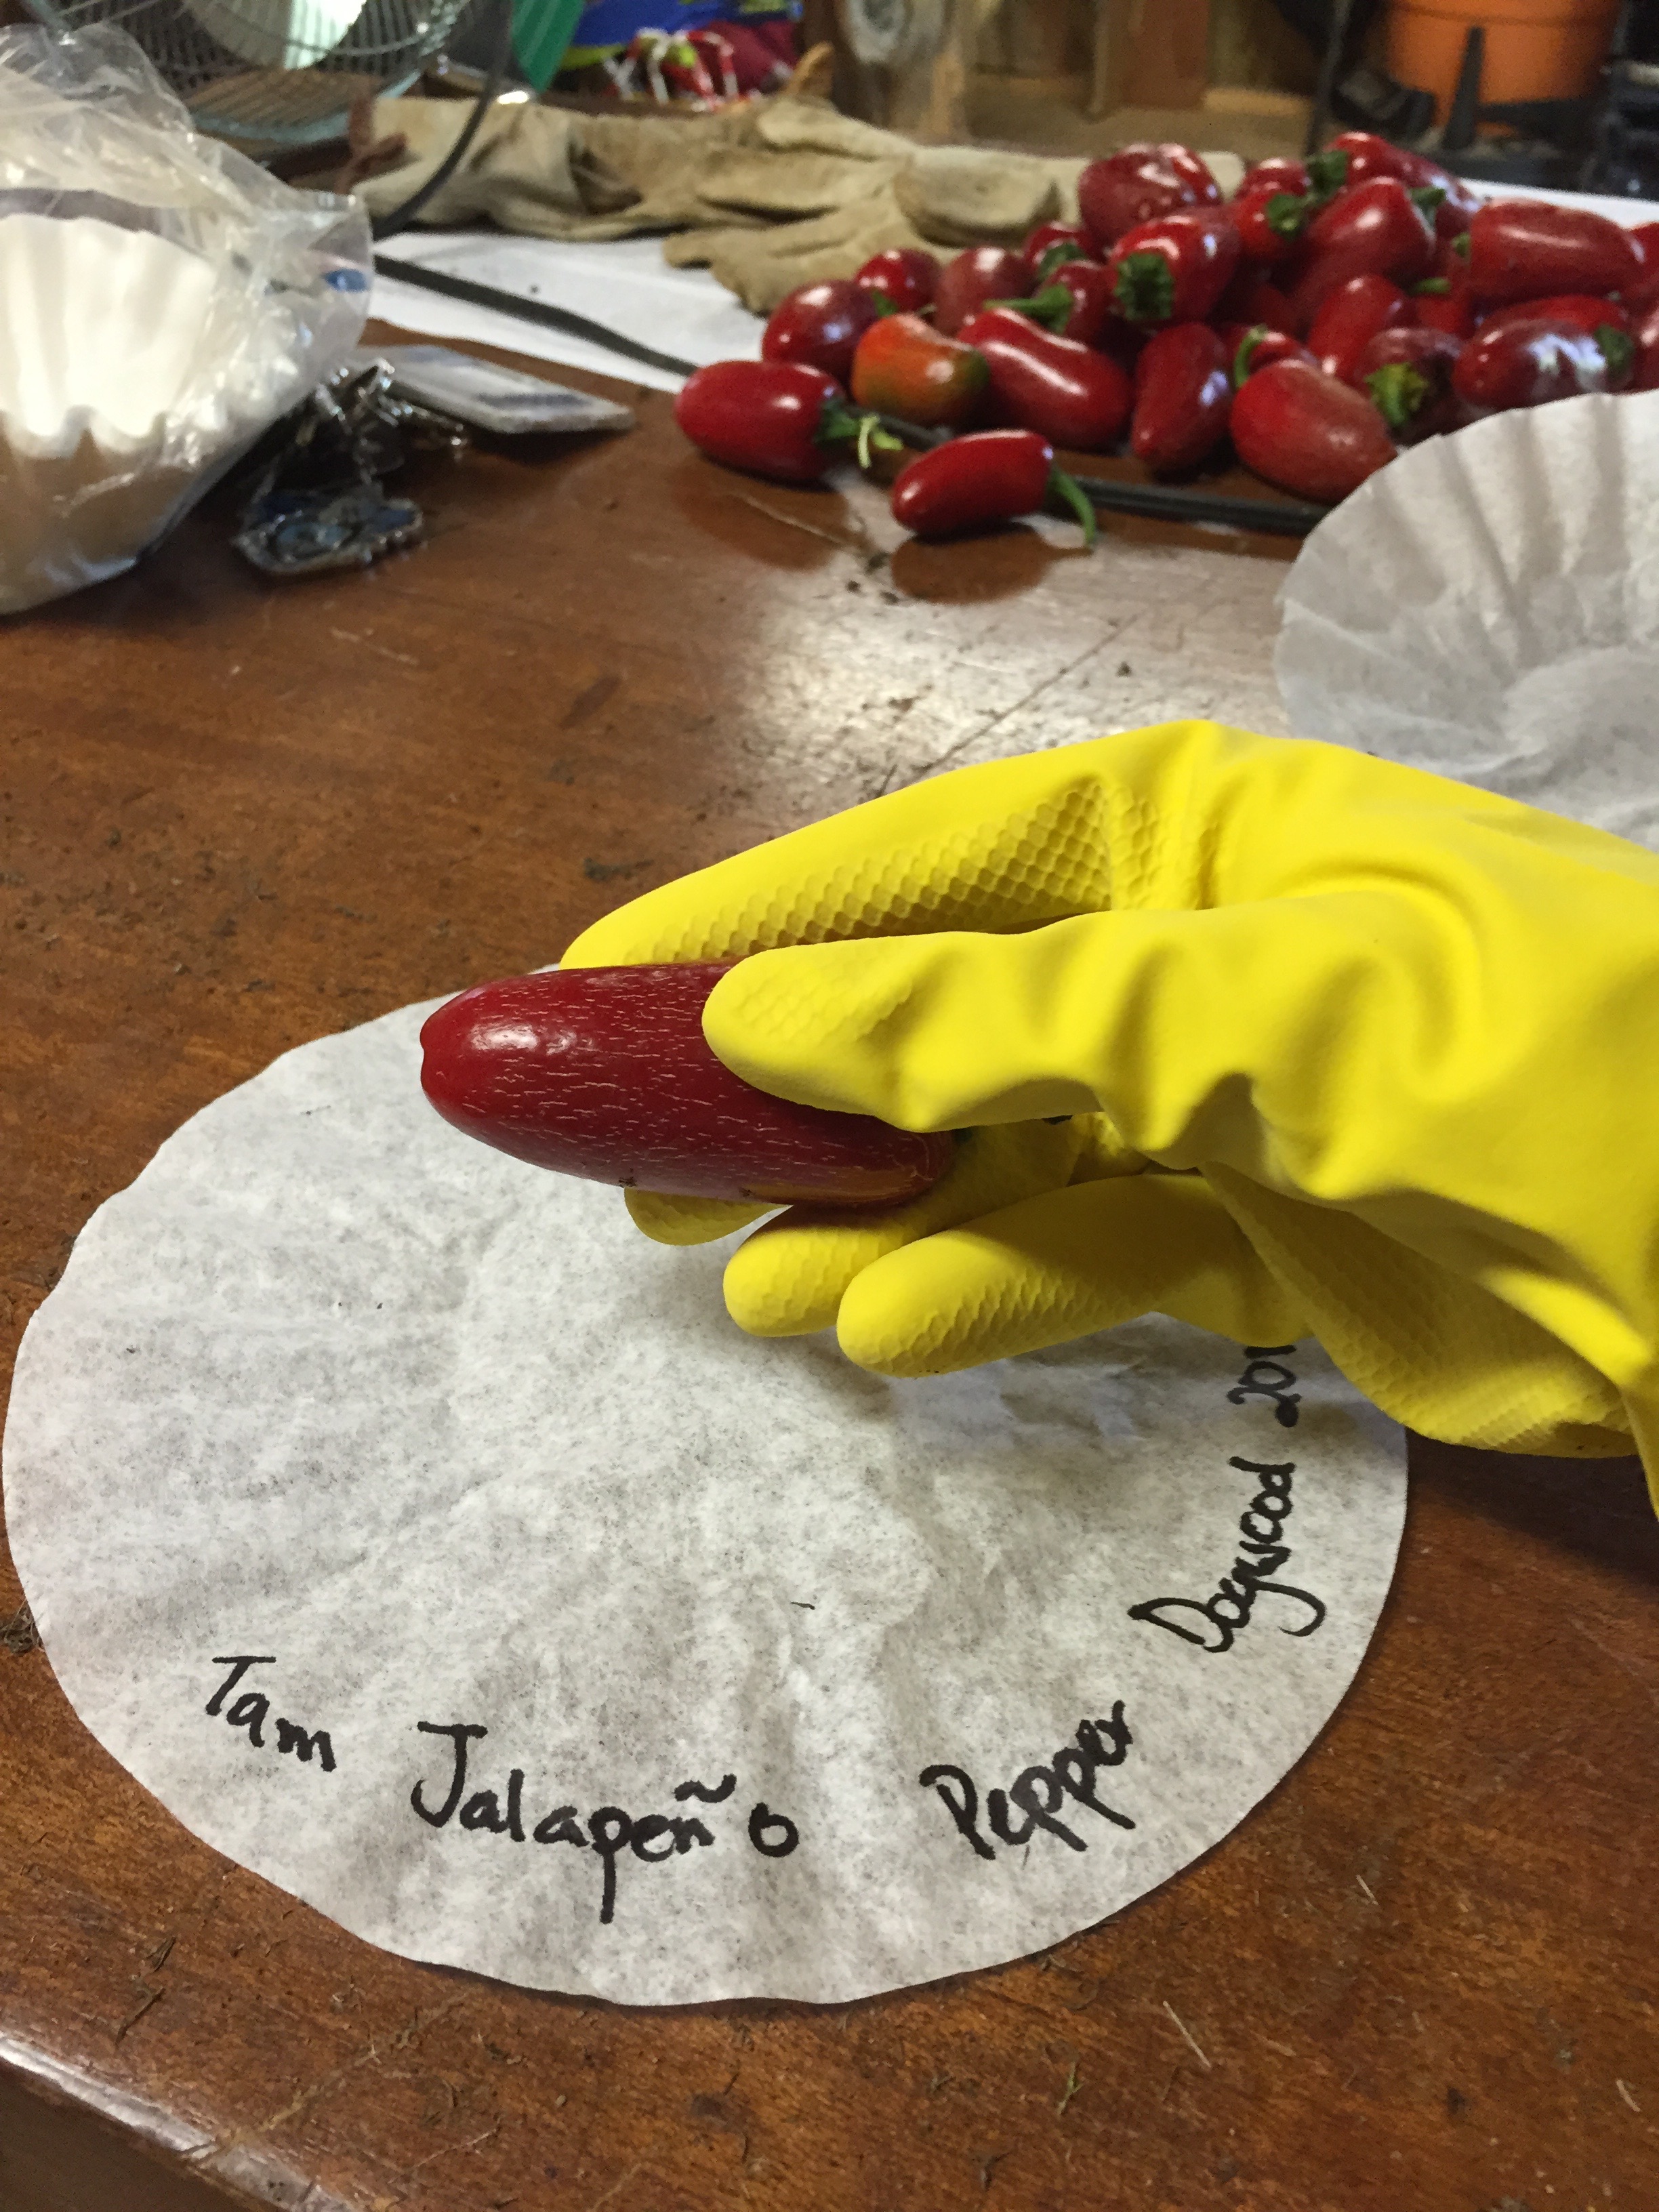
2. If you are processing a hot variety of peppers, be sure to wear rubber gloves and eye wear to keep the spicy juice off of your skin and out of you eyes.
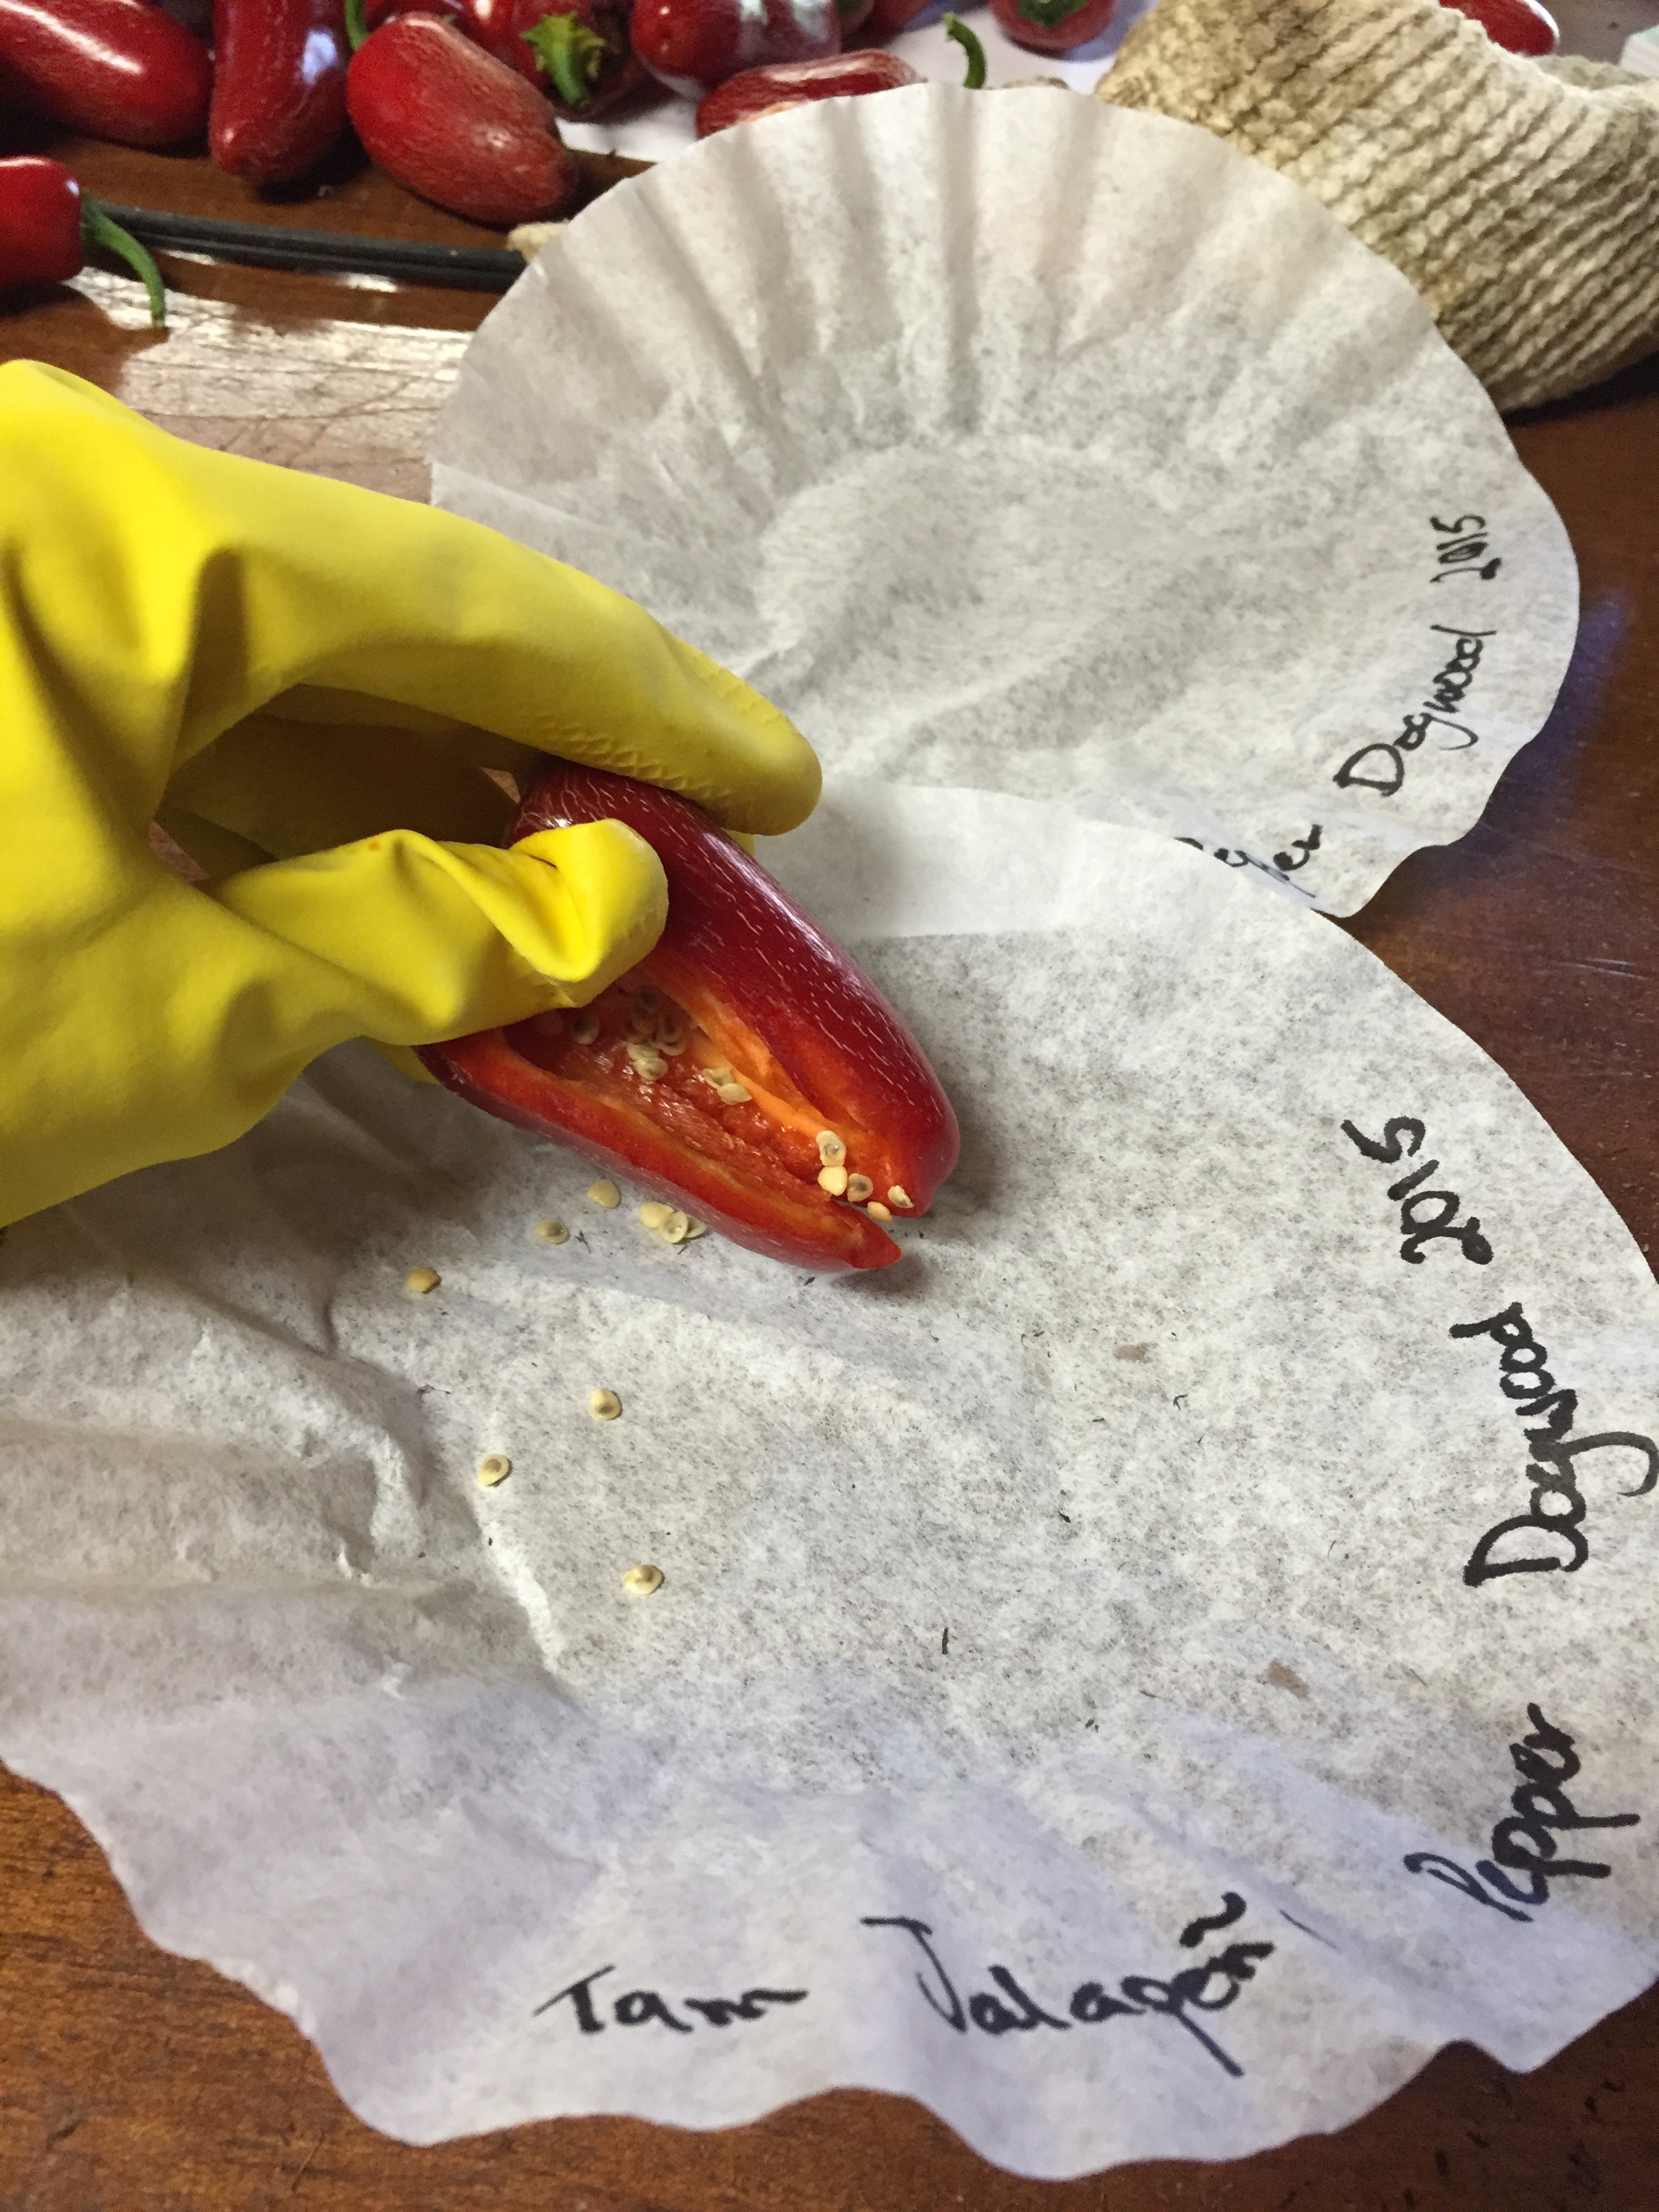
3. Split open the pepper and empty the seeds onto a labeled coffee filter.
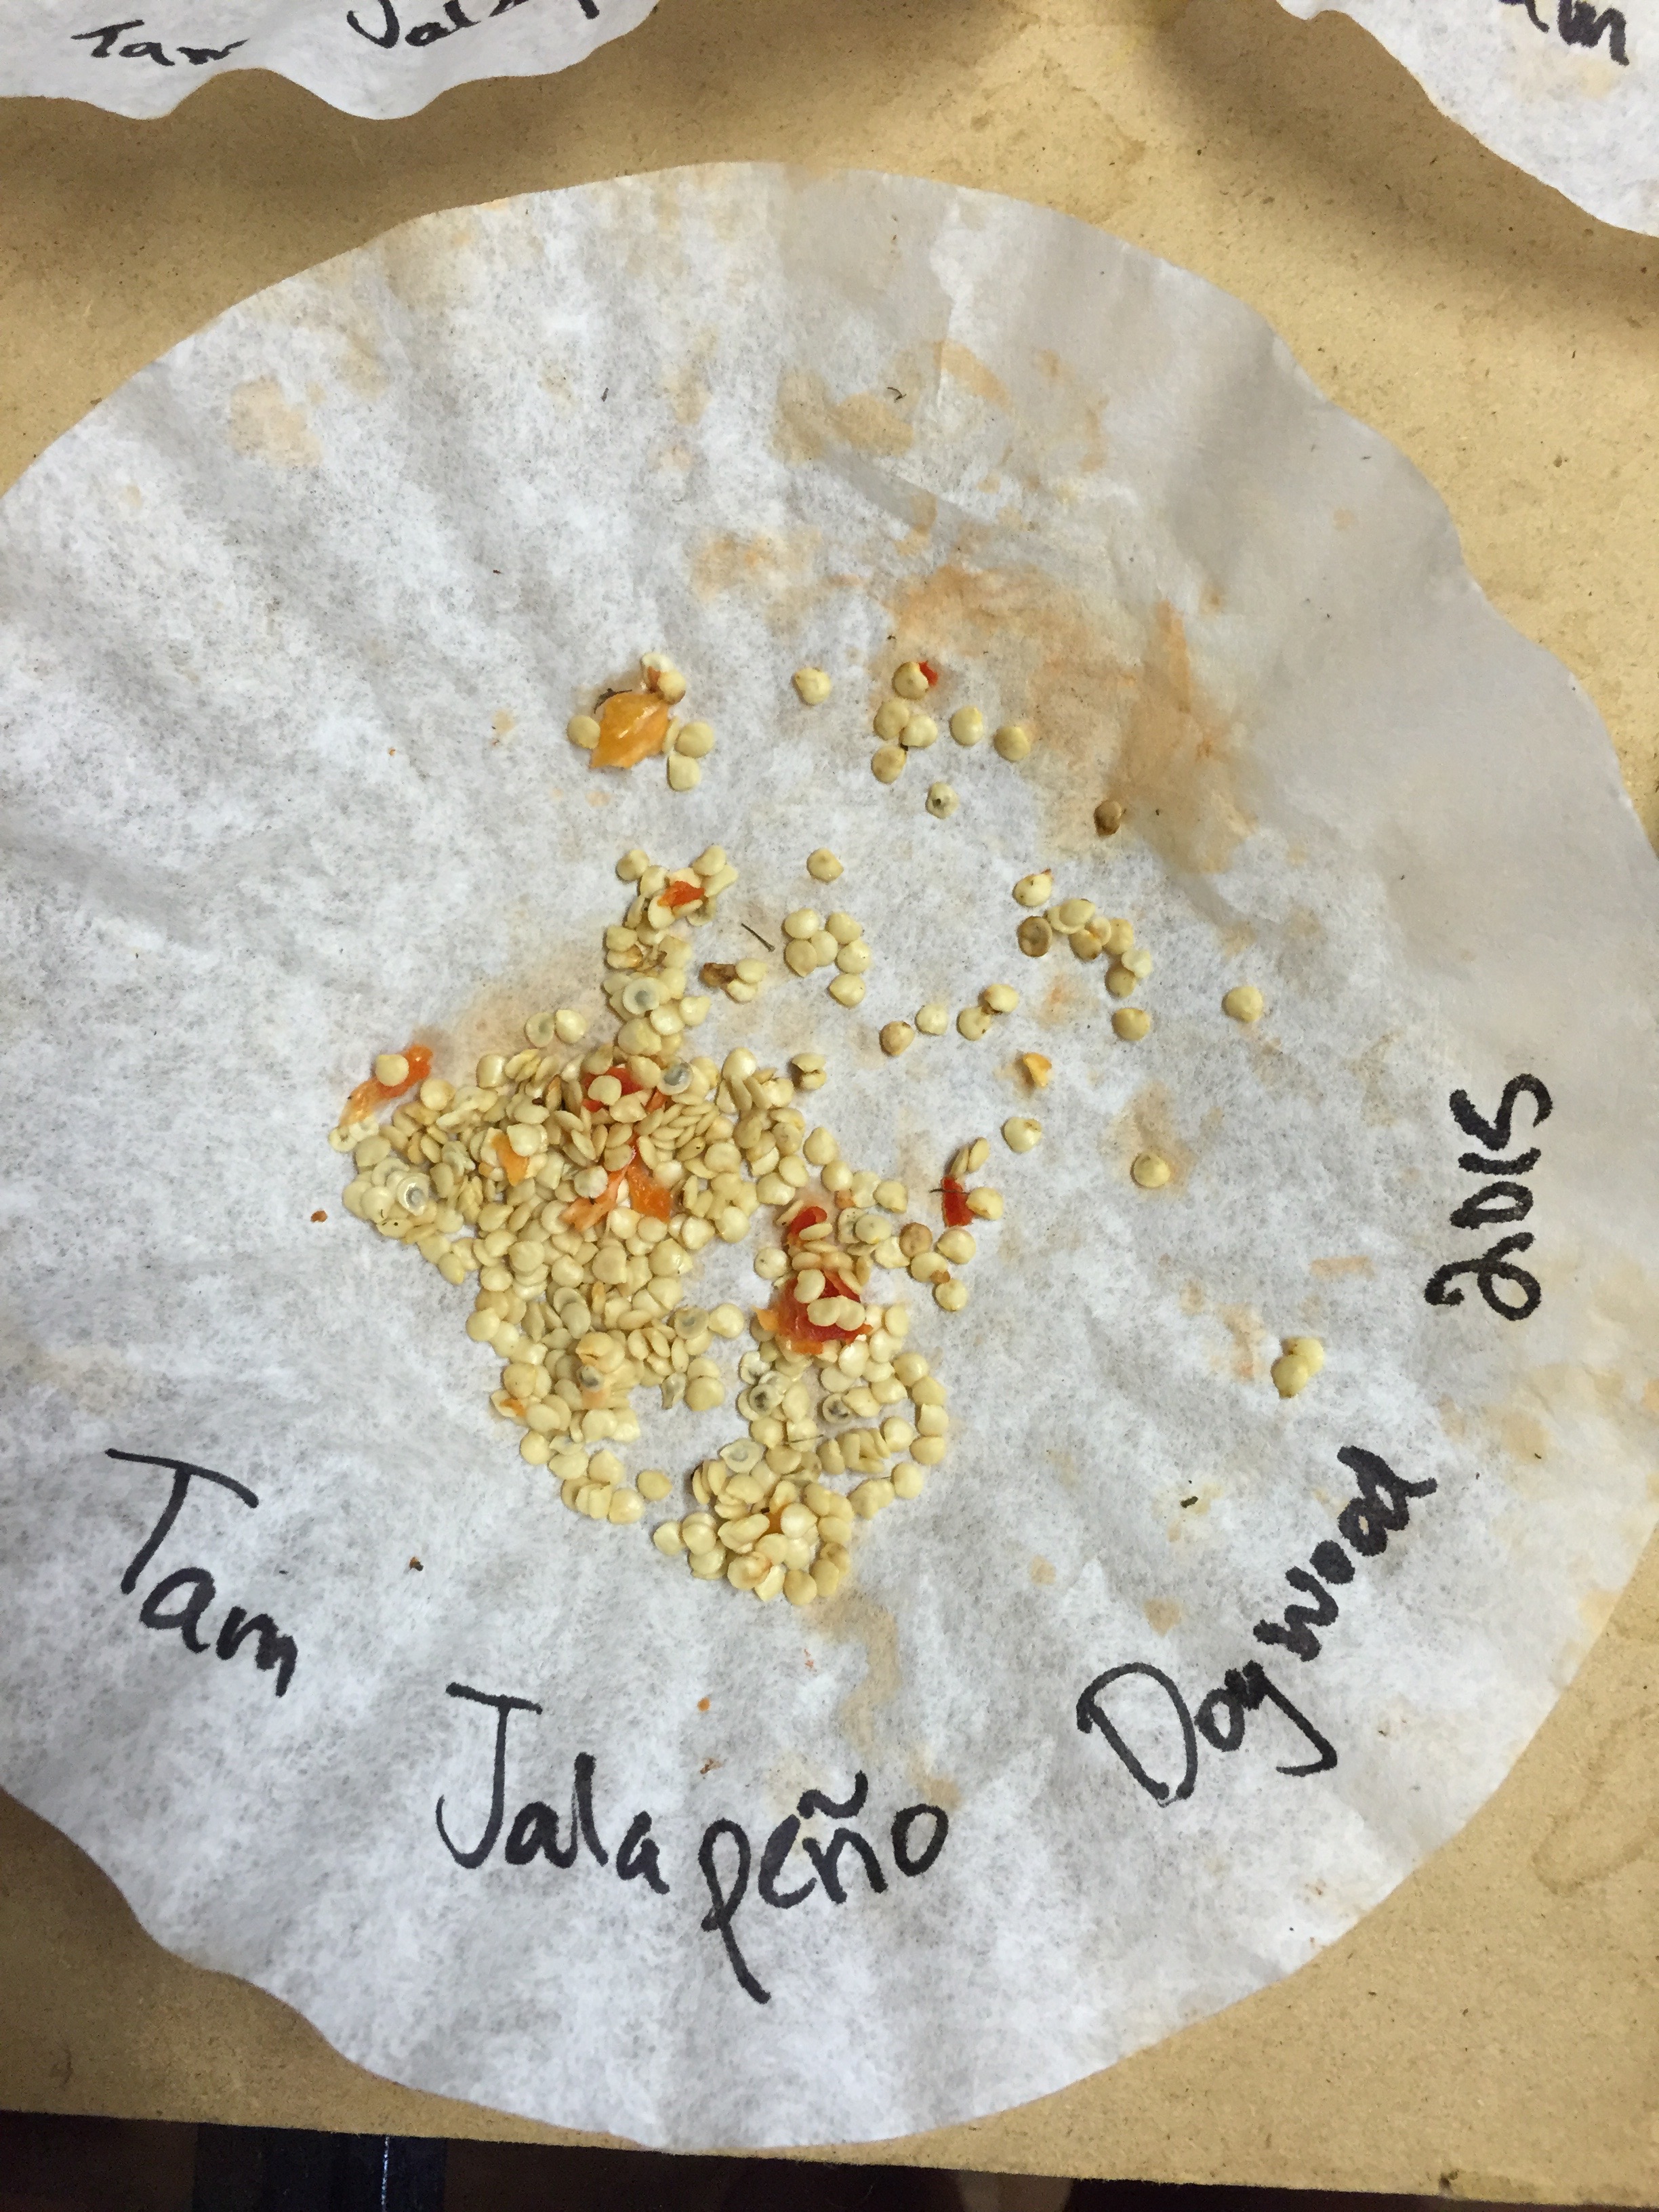
4. After you empty the seeds onto the coffee filter, let the seeds dry for a couple of days before placing them in a sealable bag for storage.
Carrots
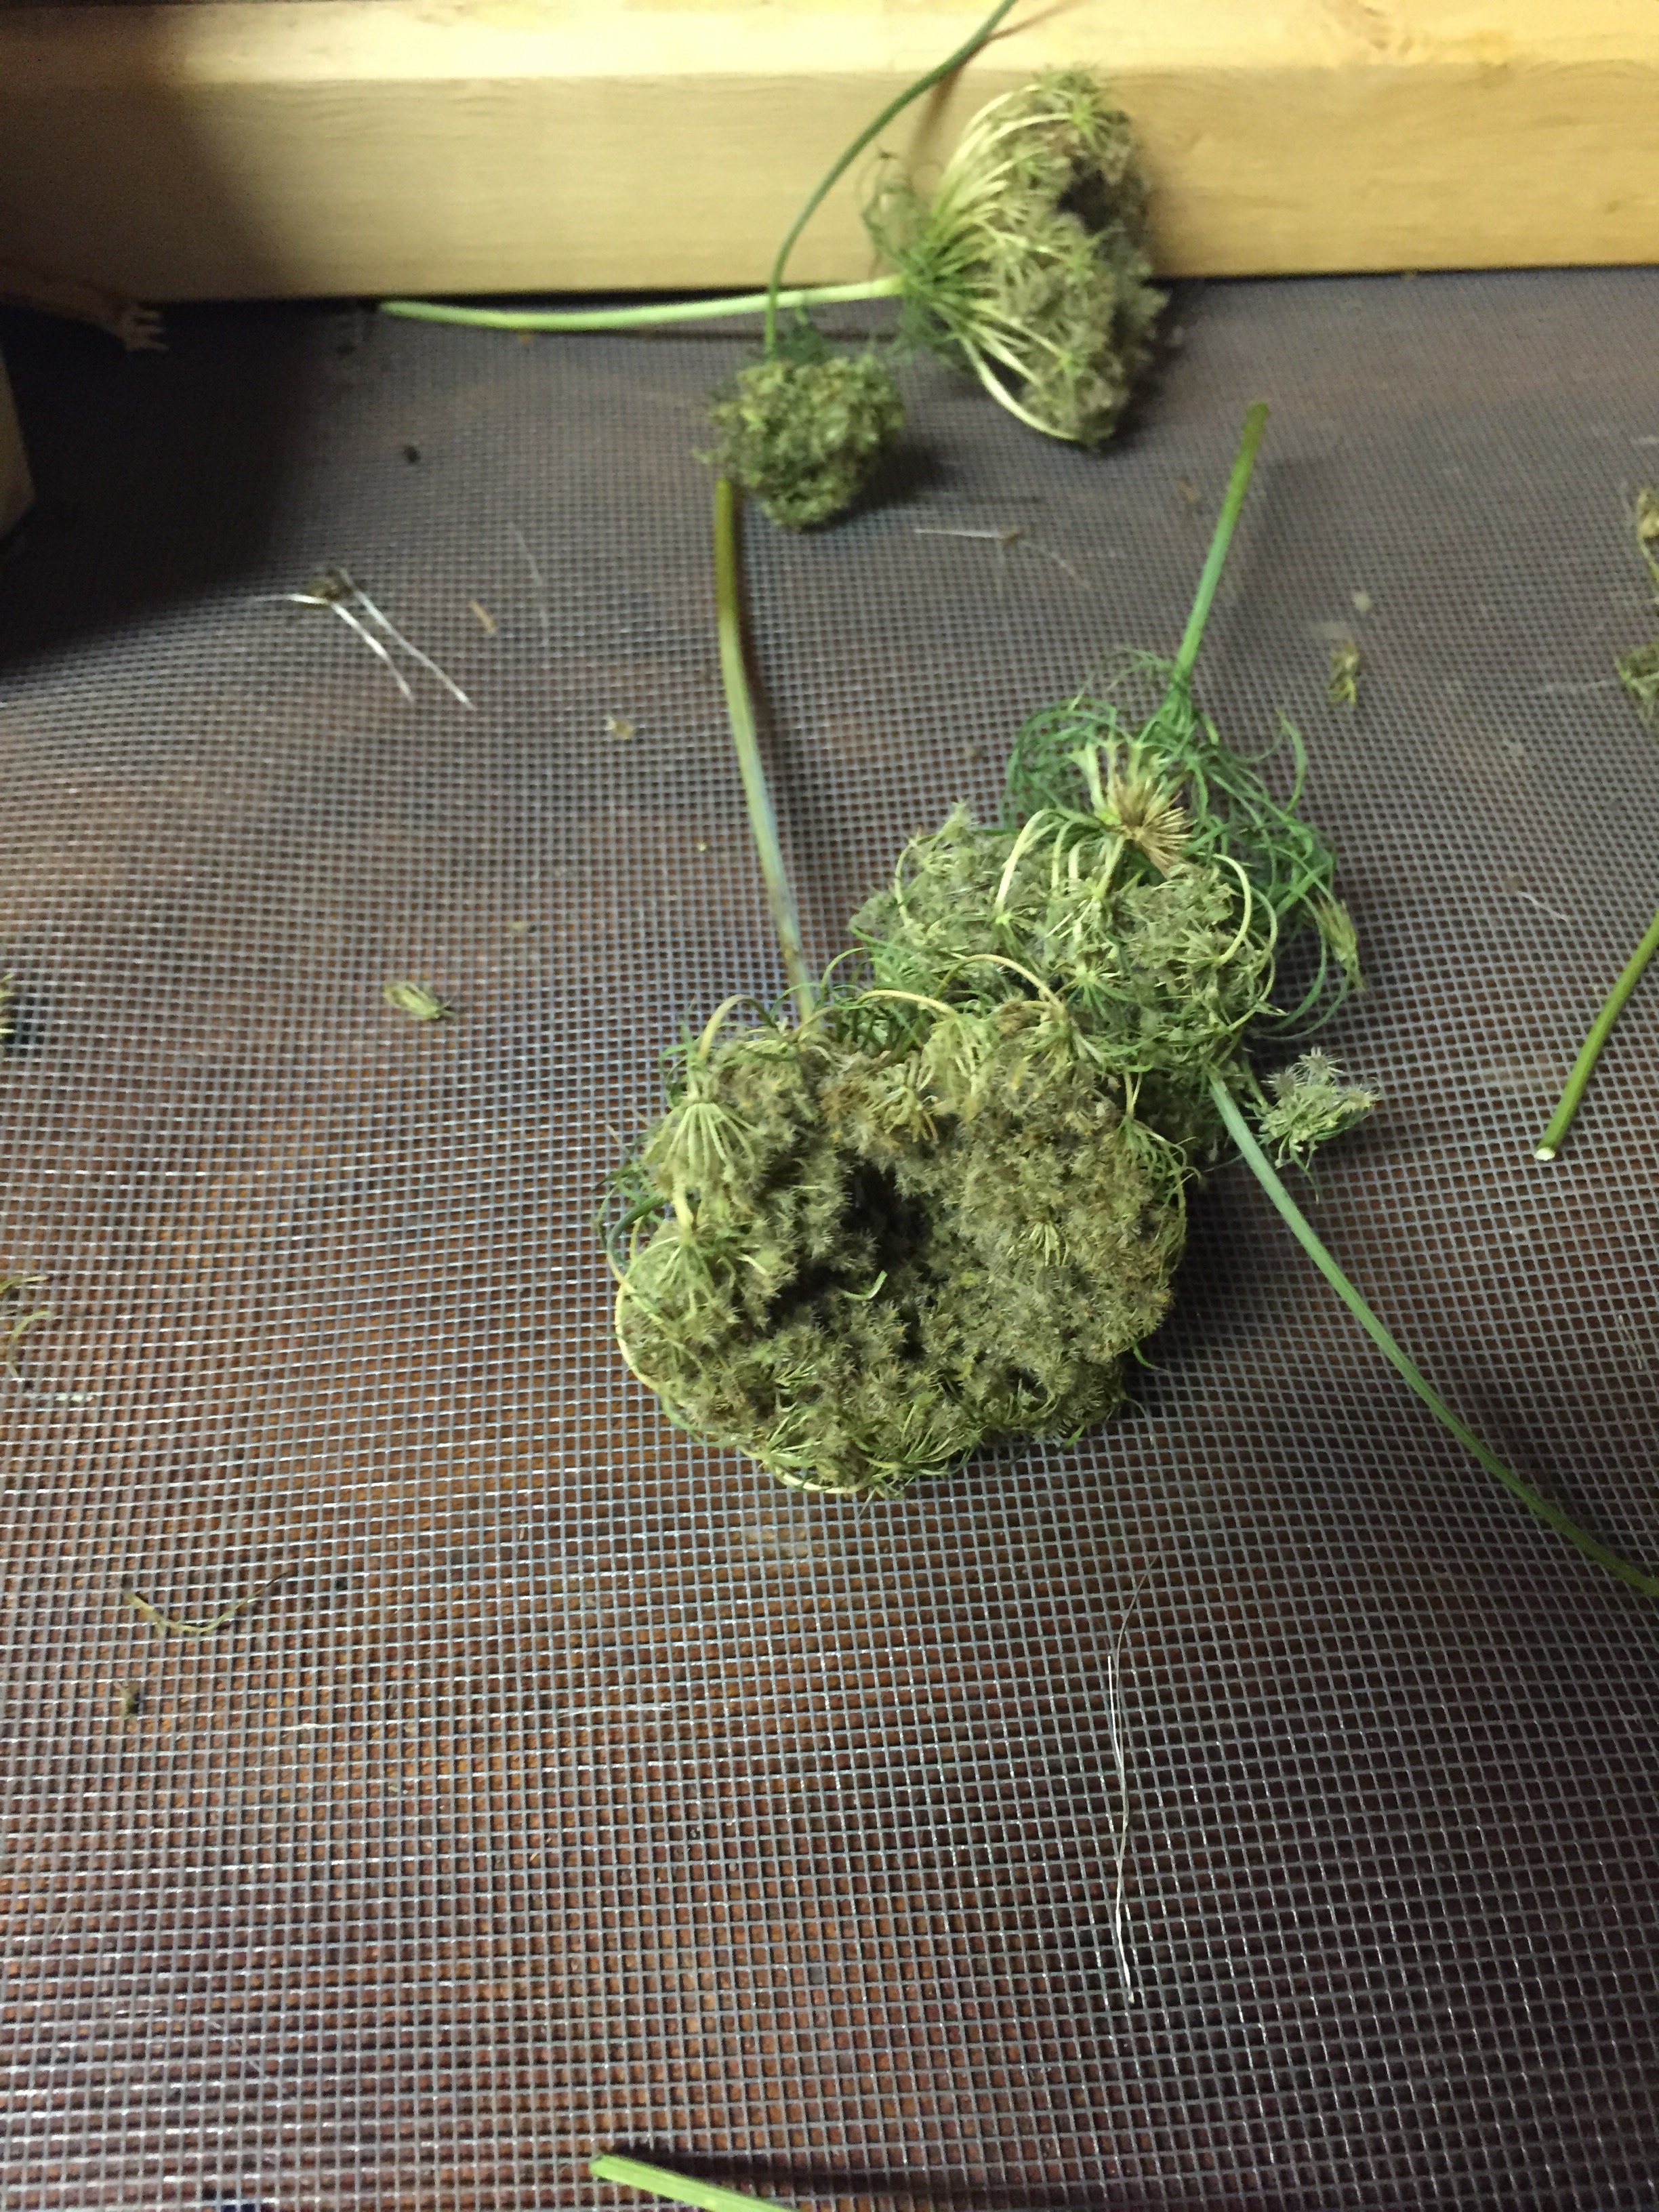
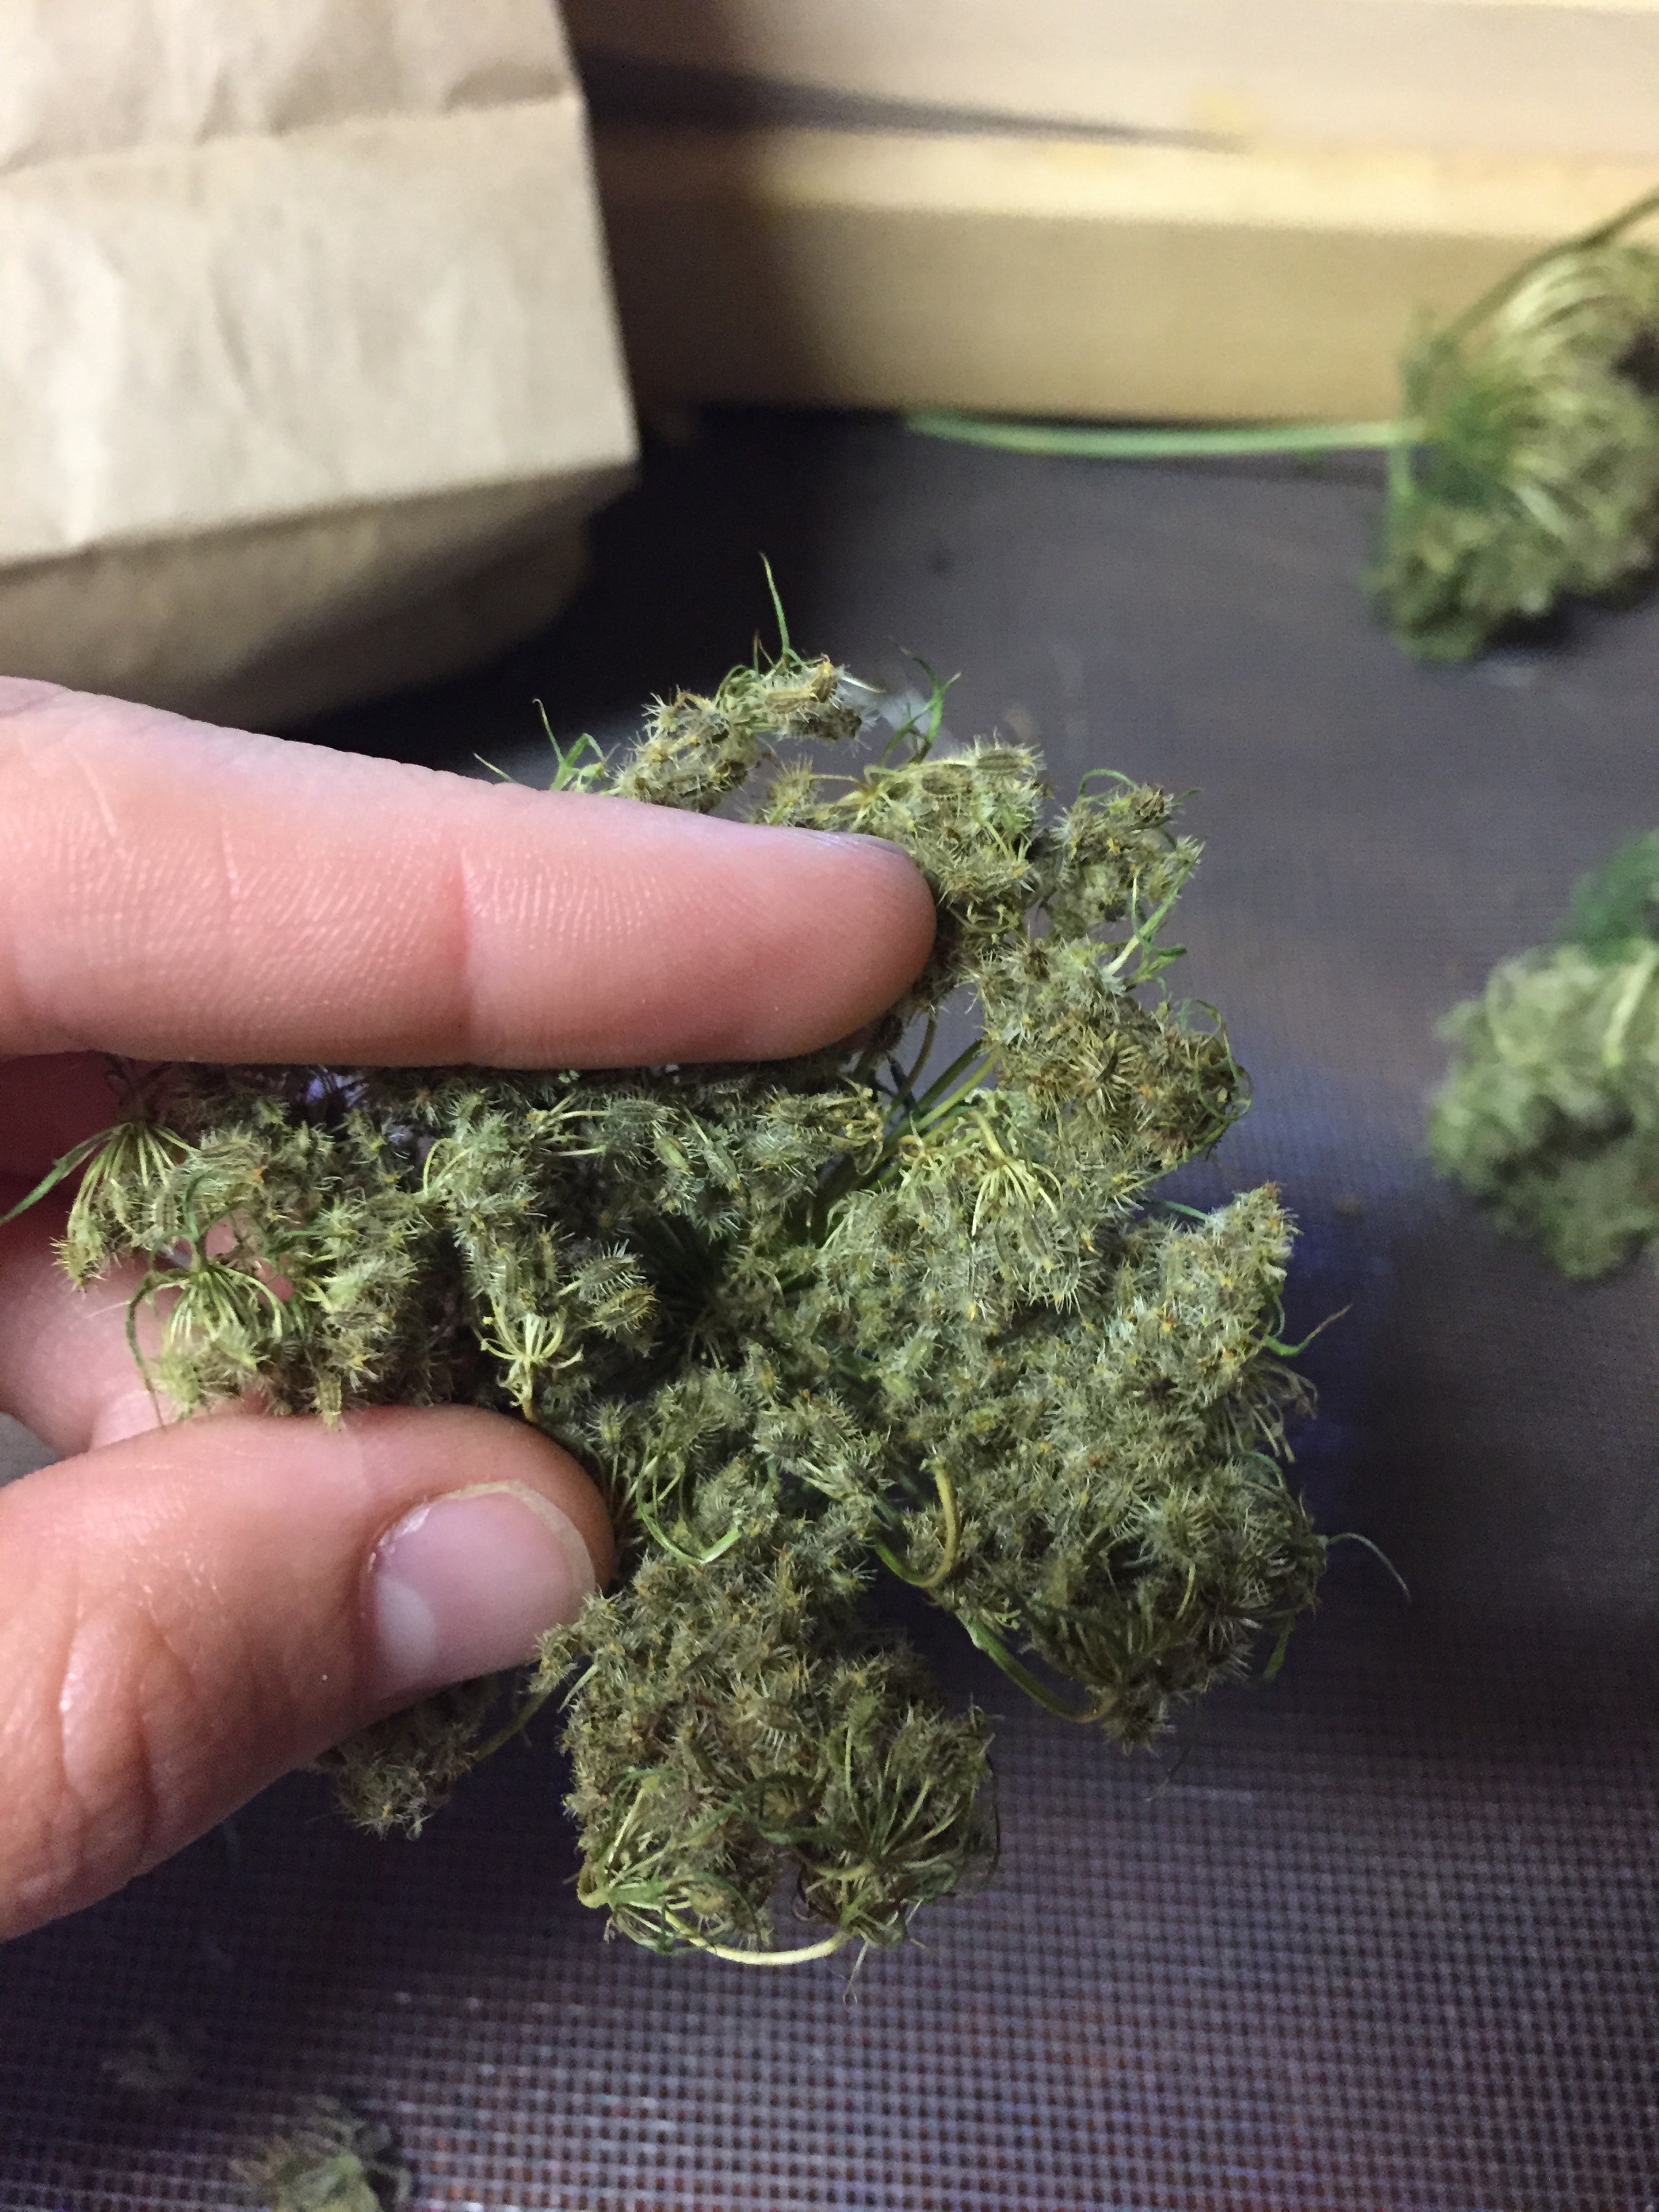
1. Collect carrot seed heads after they become dry on the stalk. The seeds should begin to turn brown when the heads are ready to collect.
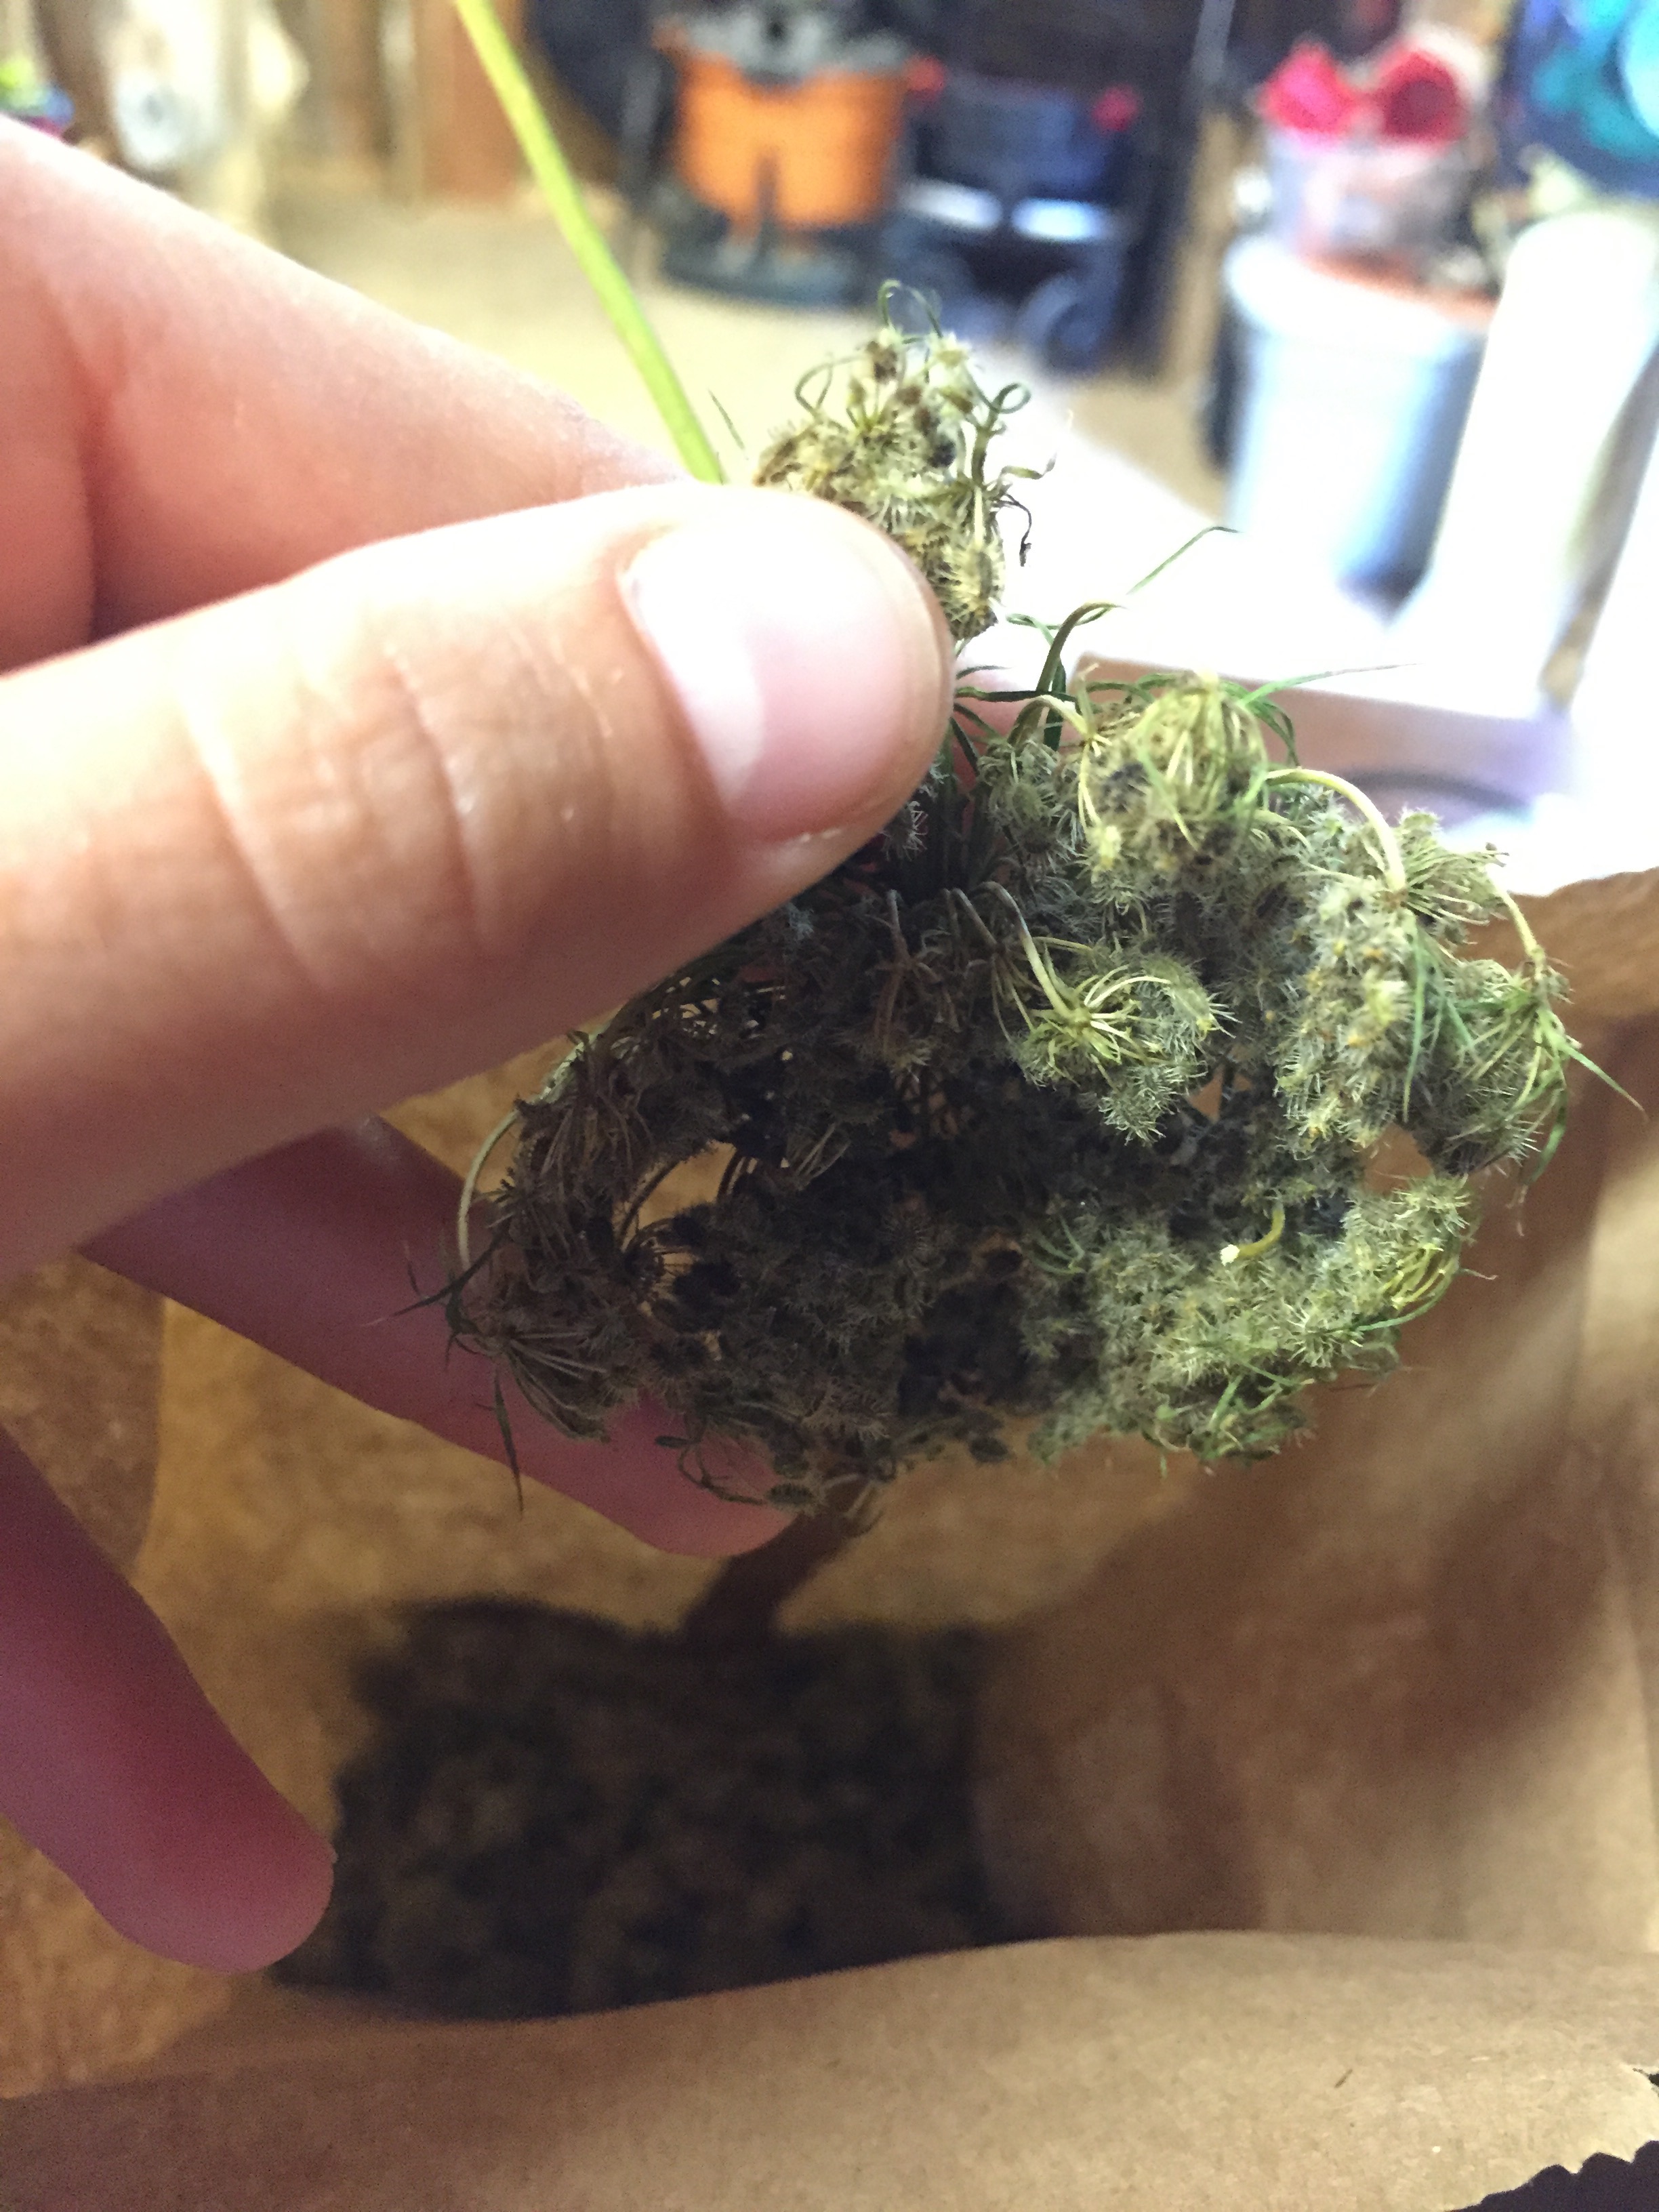
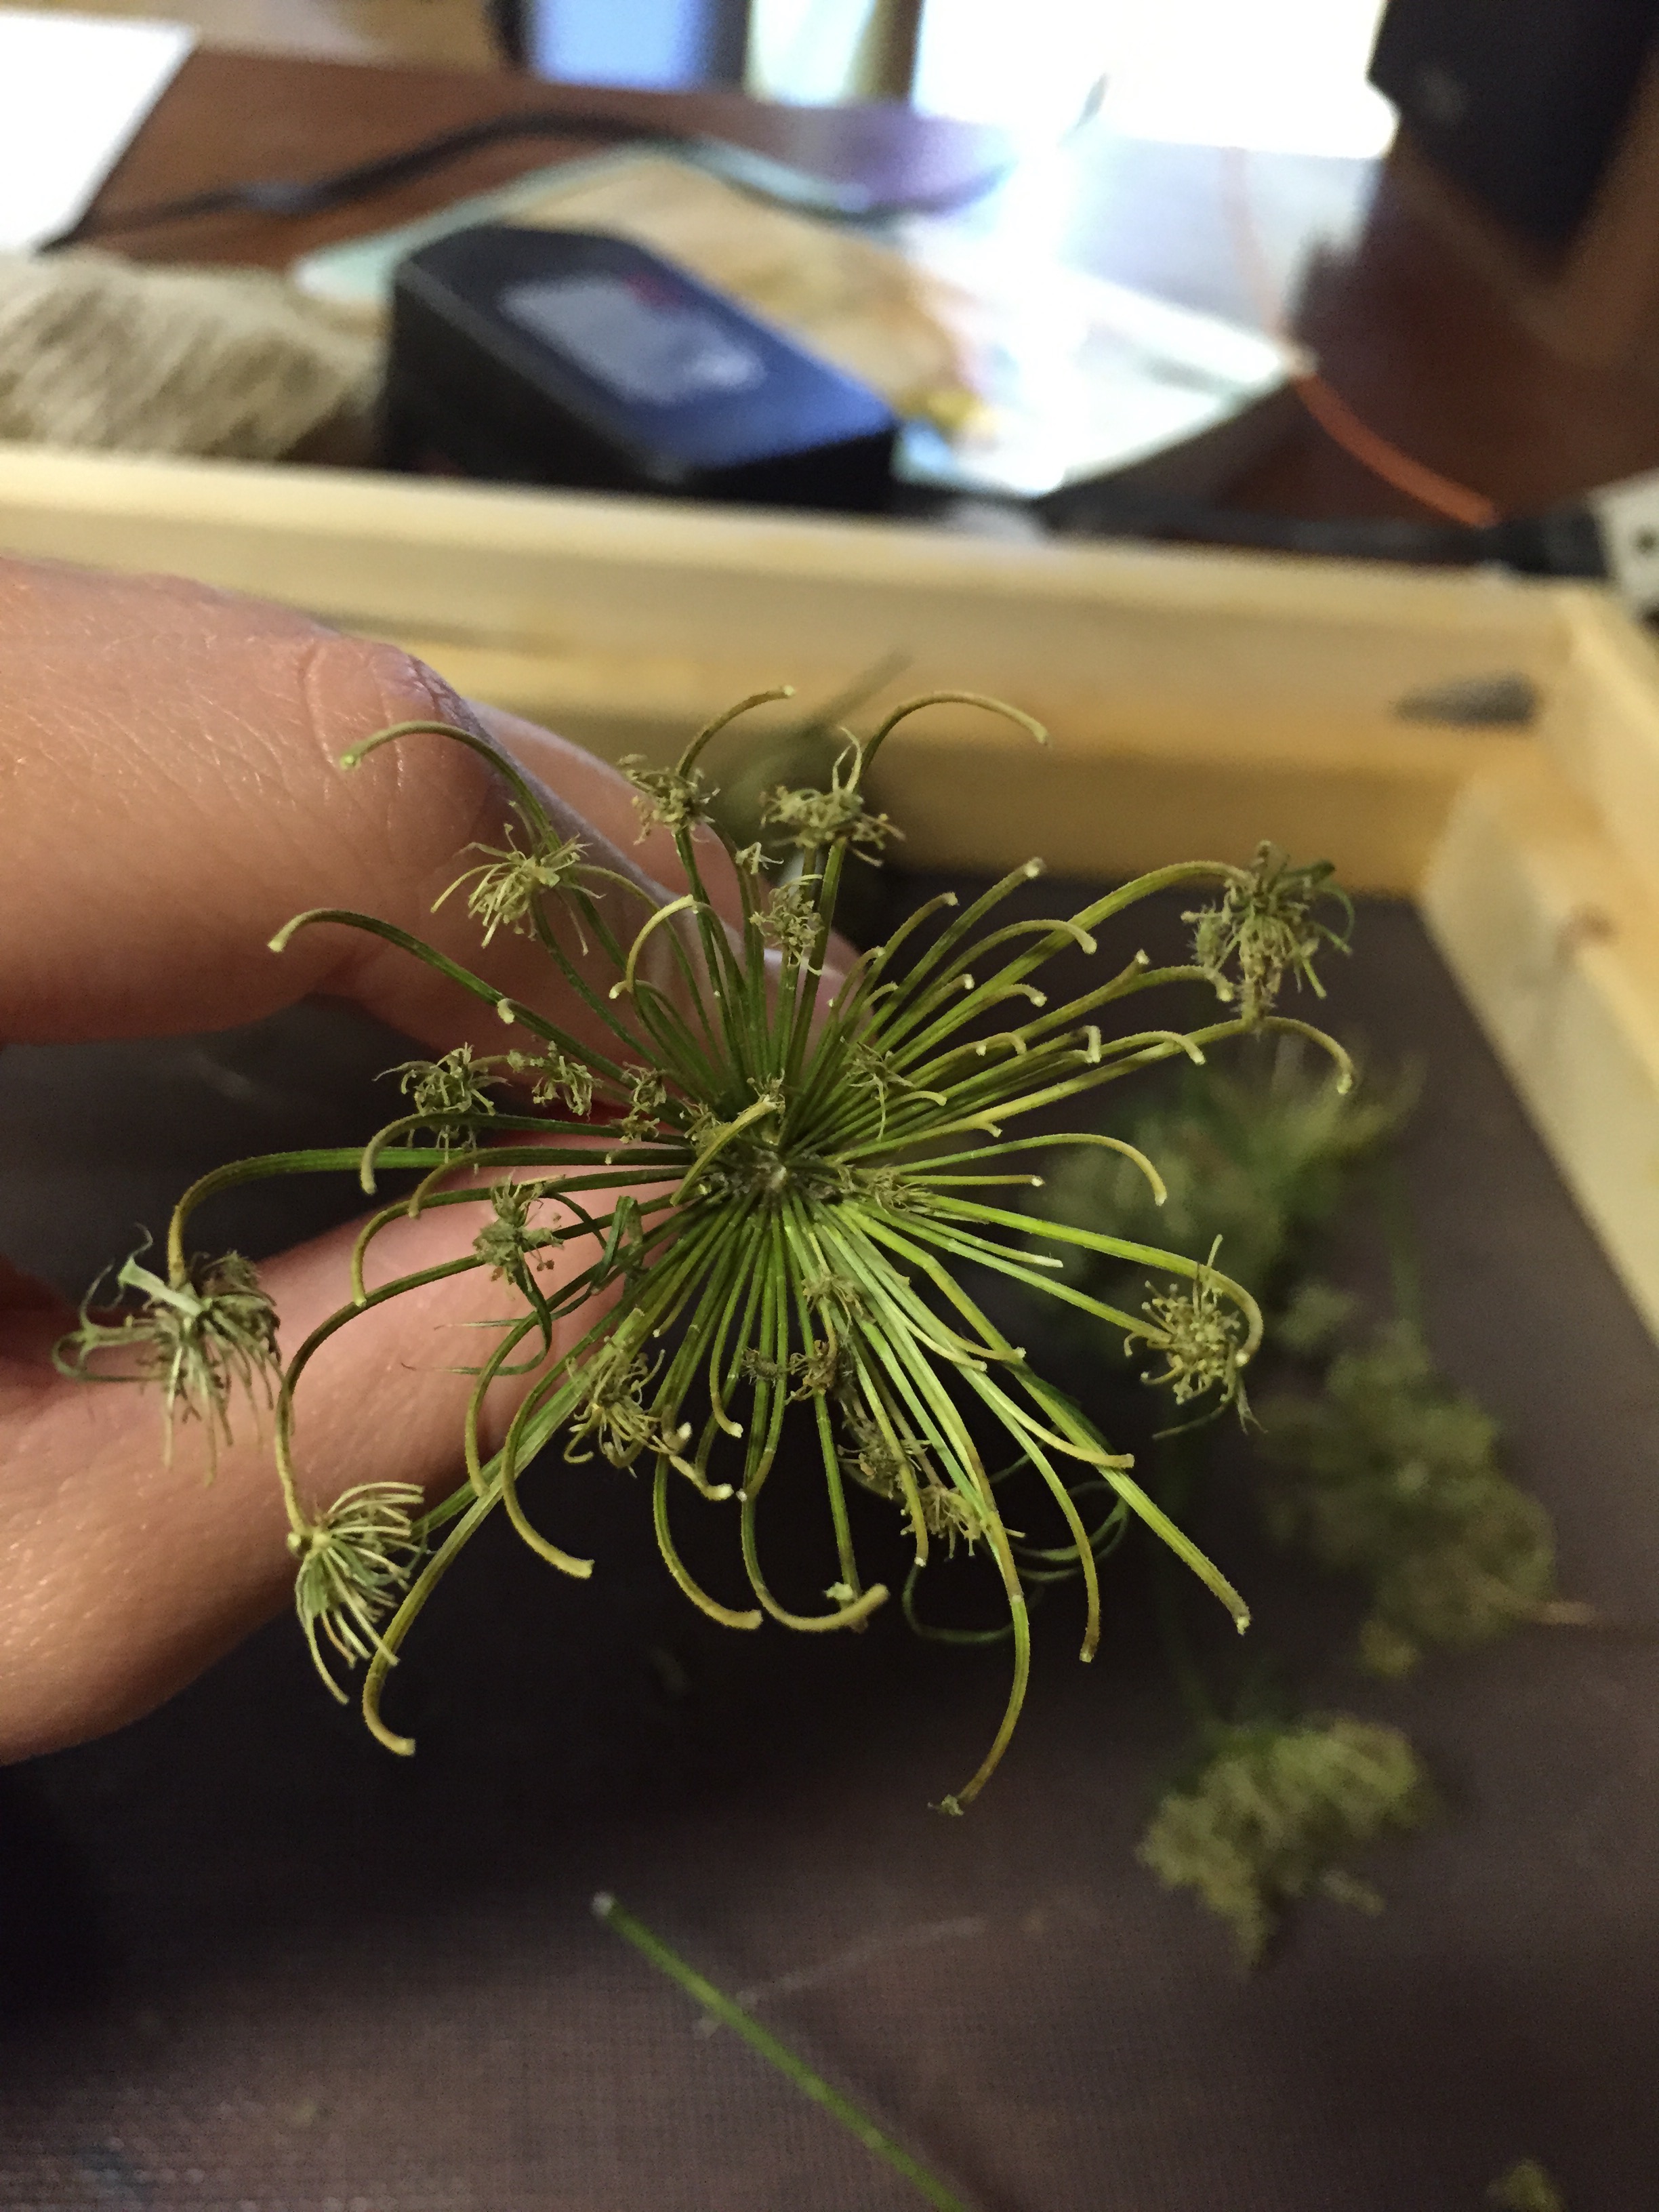
2. Separate the dried seeds into a bag until the seed head is clean.
3. Put seeds into a sealable bag and store in a dry place.
Radishes

Basil